Inserting the batteries
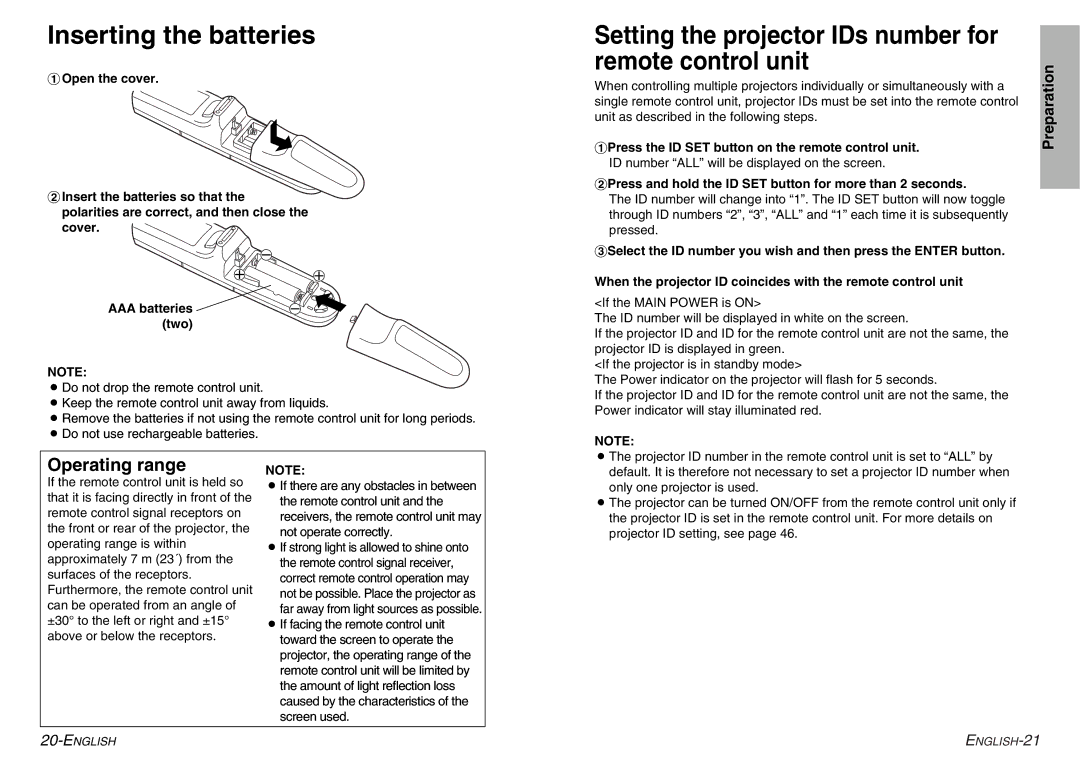
#Open the cover.
$Insert the batteries so that the polarities are correct, and then close the cover.
AAA batteries ![]() (two)
(two)
NOTE:
BDo not drop the remote control unit.
BKeep the remote control unit away from liquids.
BRemove the batteries if not using the remote control unit for long periods.
BDo not use rechargeable batteries.
Operating range | NOTE: |
If the remote control unit is held so | BIf there are any obstacles in between |
that it is facing directly in front of the | the remote control unit and the |
remote control signal receptors on | receivers, the remote control unit may |
the front or rear of the projector, the | not operate correctly. |
operating range is within | BIf strong light is allowed to shine onto |
approximately 7 m (23´) from the | the remote control signal receiver, |
surfaces of the receptors. | correct remote control operation may |
Furthermore, the remote control unit | not be possible. Place the projector as |
can be operated from an angle of | far away from light sources as possible. |
±30° to the left or right and ±15° | BIf facing the remote control unit |
above or below the receptors. | toward the screen to operate the |
| projector, the operating range of the |
| remote control unit will be limited by |
| the amount of light reflection loss |
| caused by the characteristics of the |
| screen used. |
|
|
Setting the projector IDs number for remote control unit
When controlling multiple projectors individually or simultaneously with a single remote control unit, projector IDs must be set into the remote control unit as described in the following steps.
#Press the ID SET button on the remote control unit. ID number “ALL” will be displayed on the screen.
$Press and hold the ID SET button for more than 2 seconds.
The ID number will change into “1”. The ID SET button will now toggle through ID numbers “2”, “3”, “ALL” and “1” each time it is subsequently pressed.
%Select the ID number you wish and then press the ENTER button.
When the projector ID coincides with the remote control unit
<If the MAIN POWER is ON>
The ID number will be displayed in white on the screen.
If the projector ID and ID for the remote control unit are not the same, the projector ID is displayed in green.
<If the projector is in standby mode>
The Power indicator on the projector will flash for 5 seconds.
If the projector ID and ID for the remote control unit are not the same, the Power indicator will stay illuminated red.
NOTE:
BThe projector ID number in the remote control unit is set to “ALL” by default. It is therefore not necessary to set a projector ID number when only one projector is used.
BThe projector can be turned ON/OFF from the remote control unit only if the projector ID is set in the remote control unit. For more details on projector ID setting, see page 46.
Preparation