
PT-AE8000U, PTAE8000U specifications
Panasonic, a renowned name in the world of electronics, has produced a diverse range of televisions, among which the TC-32LC54, TC-L42U5X, TC-L32C5X, TC-L32C5, and PTAE8000U stand out for their impressive features and innovative technologies.The Panasonic TC-32LC54 is a 32-inch flat-screen LCD television that delivers a captivating viewing experience. It boasts a resolution of 1366 x 768 pixels, allowing for sharp and vibrant images. The TV features a high contrast ratio and wide viewing angles, thanks to its IPS panel technology. Additionally, the TC-32LC54 includes an integrated digital tuner for seamless access to HD programming.
Next in line is the TC-L42U5X, a 42-inch LCD television that takes the viewing experience to the next level with its Full HD 1080p resolution. This model comes equipped with VIERA's 24p cinematic playback, ensuring that movies are presented as intended by filmmakers. The TC-L42U5X is also energy-efficient, featuring an Eco Mode that reduces power consumption while maintaining optimum picture quality. Users can enjoy enhanced connectivity with multiple HDMI inputs and USB ports.
The TC-L32C5X offers a perfect blend of performance and affordability. This 32-inch model features LED backlighting for improved contrast and brightness. The TC-L32C5X supports multiple media formats through its USB port, allowing users to enjoy photos, music, and videos directly from USB drives. Furthermore, the TV's VIERA Link feature simplifies the connection of multiple devices, making it easy to control everything with a single remote.
In contrast, the TC-L32C5 is designed for those seeking reliable performance without excessive features. This 32-inch LCD model offers solid picture quality and viewing angles, making it suitable for smaller living spaces. It includes essential connectivity options like HDMI and RCA input, ensuring compatibility with a range of devices.
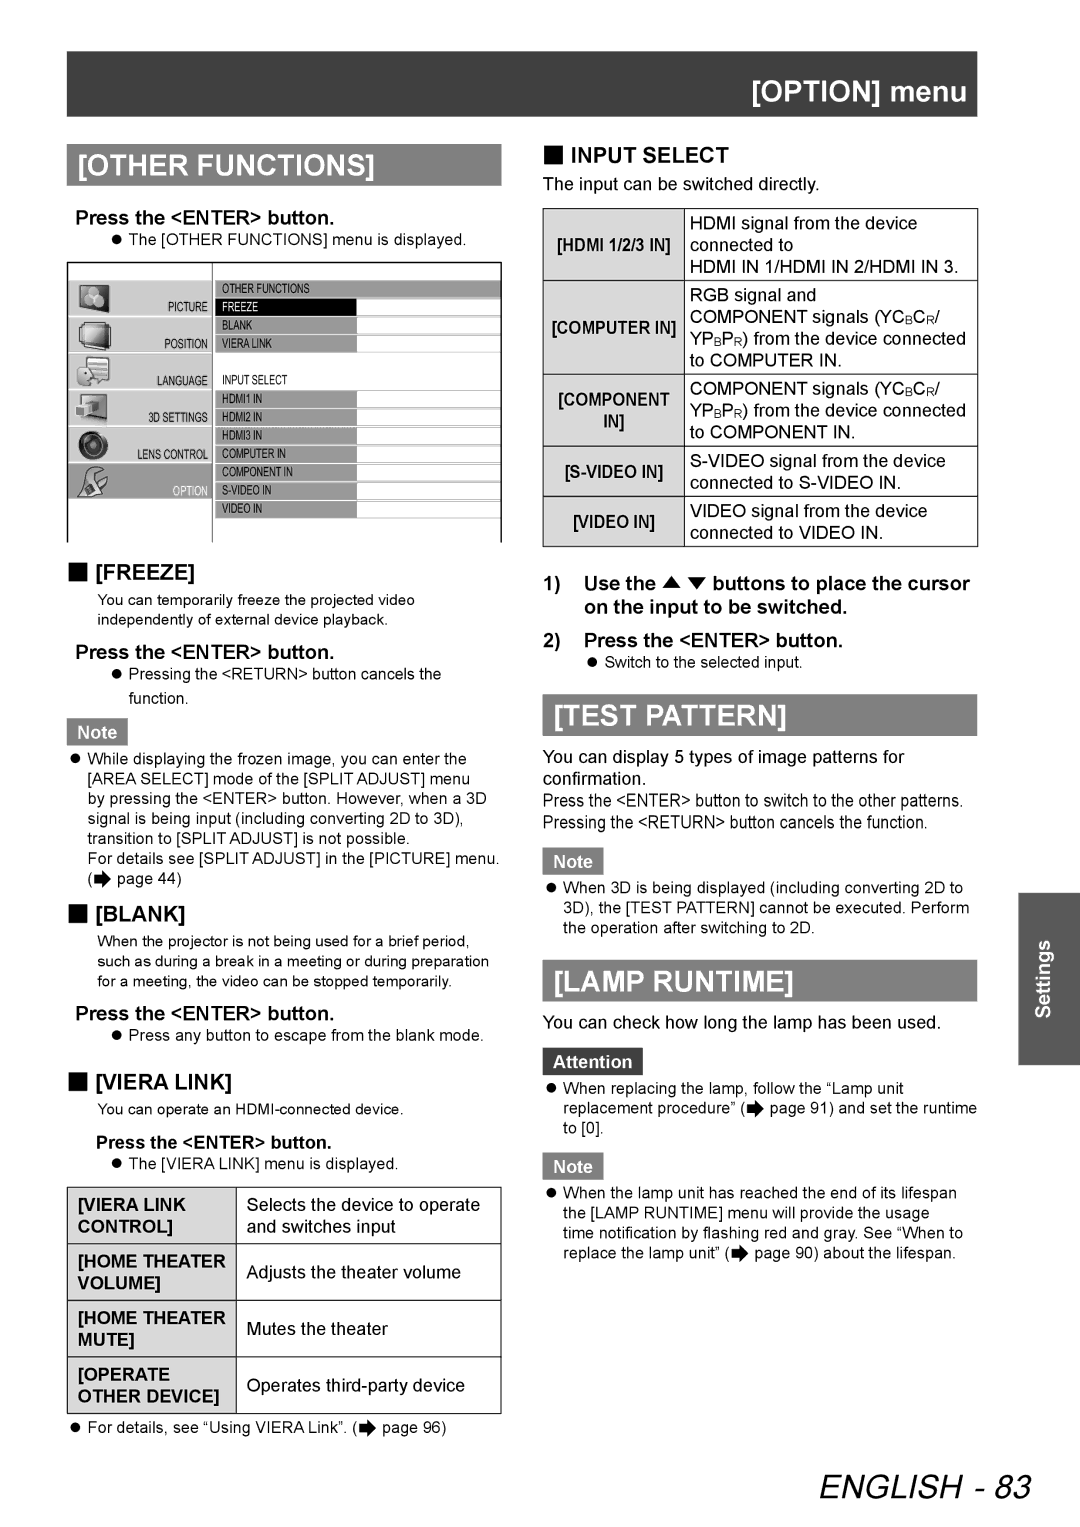
Finally, the PTAE8000U is a high-performance projector that brings cinematic experiences to the home theater. With a resolution of 1080p and a brightness of 2400 lumens, it delivers stunning visuals even in well-lit rooms. The PTAE8000U features advanced lens shift capabilities, allowing for easy installation in various settings. Its THX certification ensures accurate color reproduction and exceptional sound quality, enhancing the overall viewing experience.
In conclusion, Panasonic's lineup of TVs and projectors demonstrates the brand's commitment to quality, performance, and innovation, catering to various consumer needs and preferences.