The radio | Cassette tapes — Play and Recording |
Manual tuning | Play |
ENGLISH
The radio/Cassette tapes — Play and Recording
RQTX0282
24
1Press [FM/AM] to select “FM” or “AM”.
2Press [t] or [y] (main unit: [2/REW/u] or
[1/FF/i]) to select the frequency of the desired station.
•“ST” is displayed when a stereo FM broadcast is being received.
If noise is excessive When “FM” is selected
Press [PLAY MODE] to change to “MONO” mode. To cancel, press [PLAY MODE] again.
The mode also cancels when you change the frequency.
When “AM” is selected
Press [FUNCTION] to select “BP 1” “BP 2”. The setting is recalled whenever “AM” is selected.
AM frequency step (on main unit)
Except for Australia and N.Z
The step is
1Select “FM”.
2Press and hold [FM/AM] on the main unit.
After a few seconds the display changes to show the current minimum frequency.
3Continue to hold down [FM/AM].
When the minimum frequency changes, release the button. To return to the original step, repeat the above steps.
Note
After changing the setting, previously preset frequencies will be cleared. Preset them again.
Preset tuning (by remote control only)
Preset channels to make selection simpler. 30 FM and 15 AM stations can be preset.
Automatic presetting
1Press [FM/AM] to select “FM” or “AM”.
2Press [MENU] to switch between “LOWEST” or “CURRENT” frequency.
3Press and hold [OK] to start presetting. Release the button when “FM AUTO” or “AM AUTO” is displayed.
The tuner presets all the stations it can receive into the channels in ascending order. “SET OK” is displayed when the stations are memorized and radio tunes to the last preset station.
Manual presetting
1Press [t] or [y] to tune to the required station.
2 Press [OK].
3 Press the numeric buttons to select a channel. For channels 10 to 30, press [≧10], then the two digits.
The station occupying a channel is erased if another station is preset to that channel.
Selecting a preset station
Press the numeric buttons to select the channel.
OR
Press [w], [q] or [u, 2/REW], [i, 1/FF] to select the channel.
You can use the deck for tape playback.
Use normal position tapes.
High position and metal position tapes can be played, but the unit will not be able to identify the characteristics of these tapes.
1Press [7, TAPE]. The unit turns on.
If a cassette was loaded, play starts automatically (One touch play).
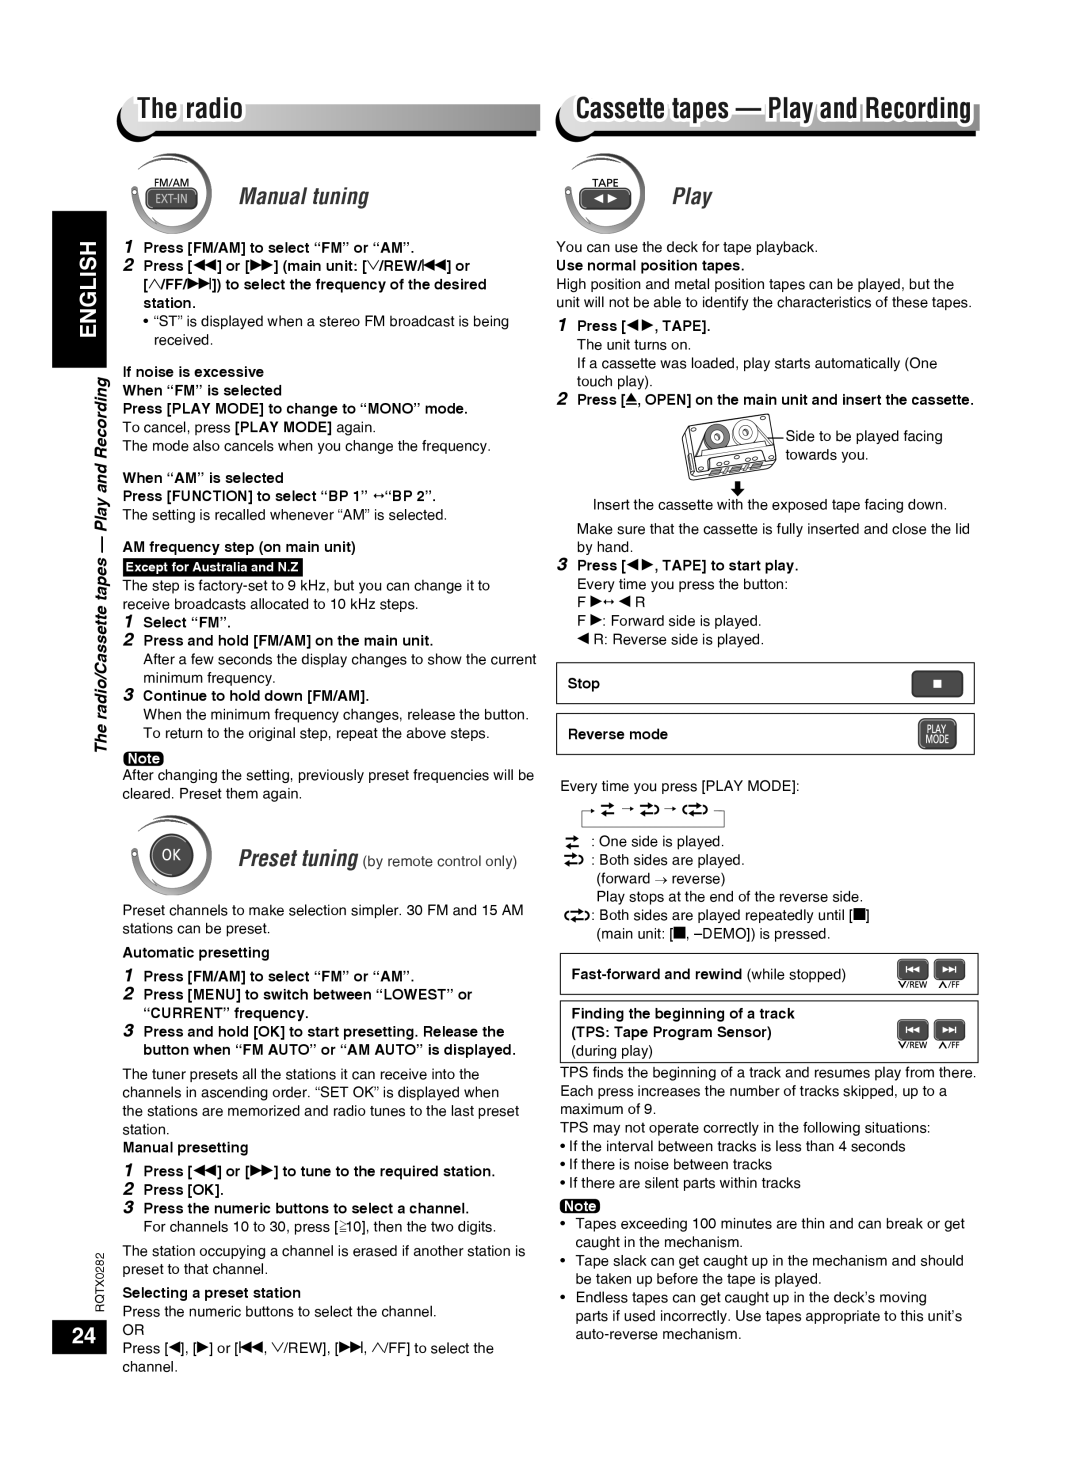
2Press [;, OPEN] on the main unit and insert the cassette.
![]()
![]() Side to be played facing towards you.
Side to be played facing towards you.
Insert the cassette with the exposed tape facing down.
Make sure that the cassette is fully inserted and close the lid by hand.
3Press [7, TAPE] to start play. Every time you press the button: F q w R
F q: Forward side is played.
w R: Reverse side is played.
Stop
Reverse mode
Every time you press [PLAY MODE]:
: One side is played.
![]()
![]() : Both sides are played. (forward → reverse)
: Both sides are played. (forward → reverse)
Play stops at the end of the reverse side. ![]()
![]()
![]() : Both sides are played repeatedly until [g]
: Both sides are played repeatedly until [g]
(main unit: [g,
Fast-forward and rewind (while stopped)
Finding the beginning of a track (TPS: Tape Program Sensor)
(during play)
TPS finds the beginning of a track and resumes play from there. Each press increases the number of tracks skipped, up to a maximum of 9.
TPS may not operate correctly in the following situations:
•If the interval between tracks is less than 4 seconds
•If there is noise between tracks
•If there are silent parts within tracks
Note
•Tapes exceeding 100 minutes are thin and can break or get caught in the mechanism.
•Tape slack can get caught up in the mechanism and should be taken up before the tape is played.
•Endless tapes can get caught up in the deck’s moving parts if used incorrectly. Use tapes appropriate to this unit’s