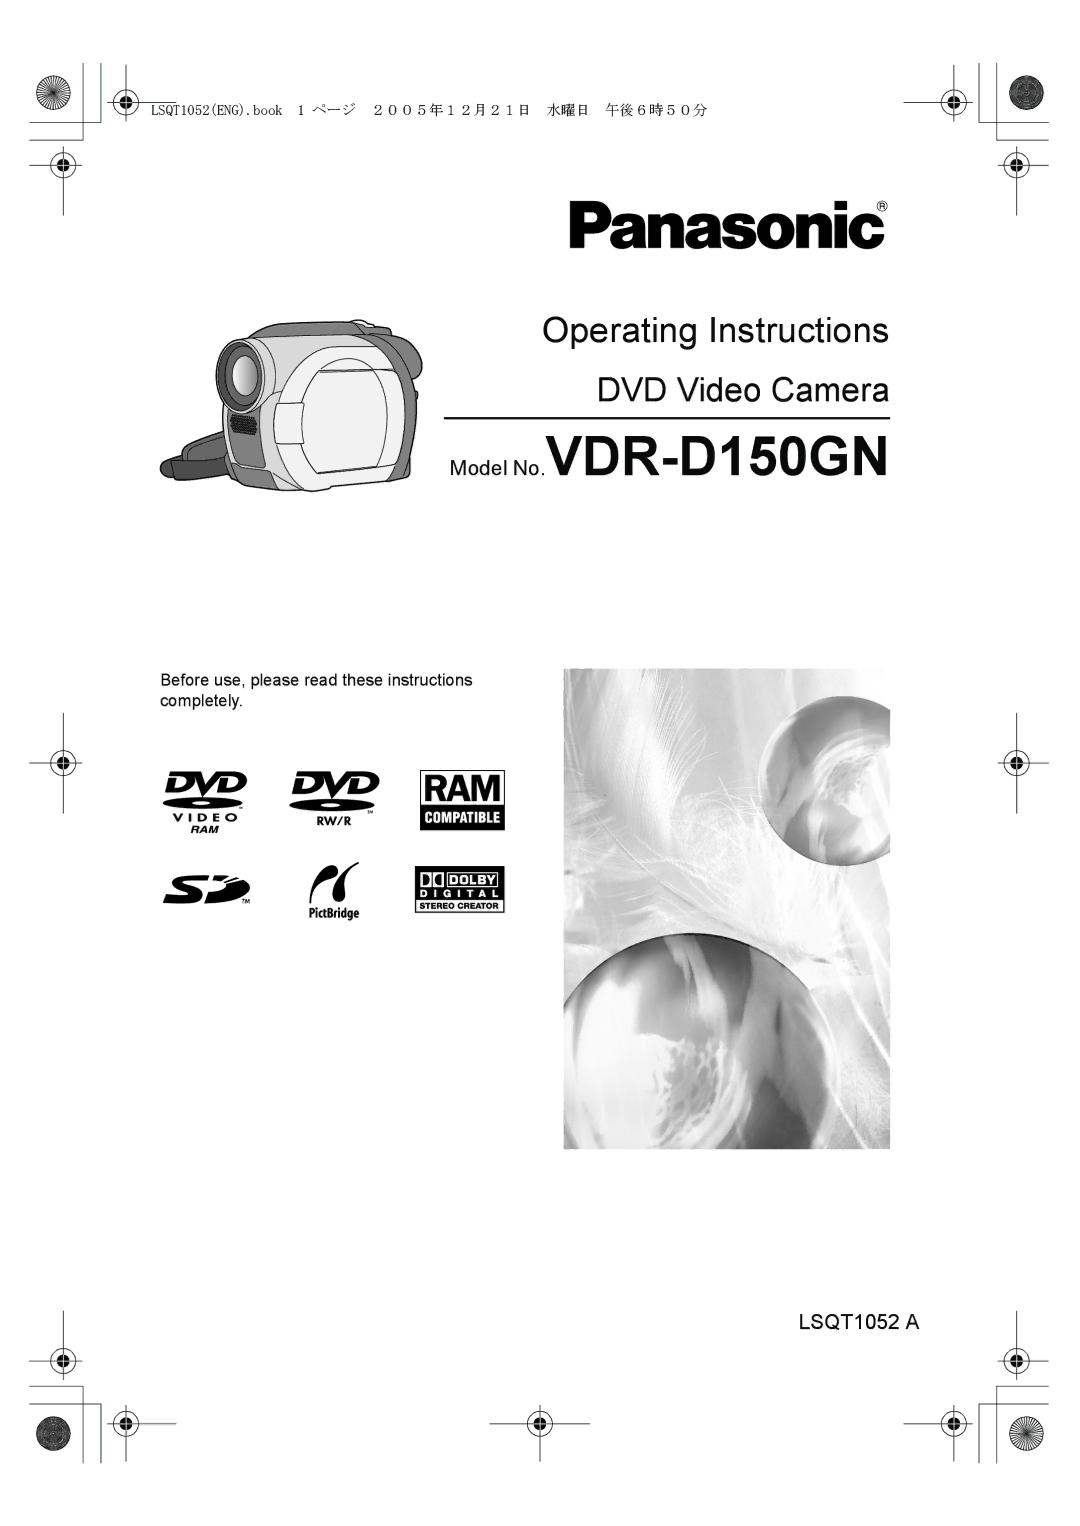
Before use, please read these instructions completely
Model No.VDR-D150GN
If you see this symbol
Use only the recommended accessories
IEC
Carefully observe copyright laws
Indemnity concerning recording content
Contents
With other products
Editing
Others
Before using Easy playback! l
Features
Easy recording! l
Editing scenes! l 64
Using with DVD player/recorder! l
Using Optional accessories
Accessories
Battery pack AV/S cable AC adaptor
DC cable AC cable
Parts identification and handling
Using
Adjust the belt length so it fits your hand
Before using Using grip belt
Adjust the belt length and the pad position
Flip the belt Adjust the length Fix the belt
Fitting the lens cap
Tripod receptacle Before using
Using the viewfinder
Using the LCD monitor
36, Adjusting viewfinder
Pull out the viewfinder until it clicks
Discs that can be used on this unit
Discs and cards
DVD-RAM DVD-RW
Examples of discs that cannot be used on this unit
About format types
≥ DVD-RAM 2.6 GB Ver
≥ MO
Video DVD-Video format VR DVD Video Recording format
When using brand-new DVD-RW
Cards that you can use with this unit
Handling precautions
How to hold a disc or card
Disc and card handling
Do not touch the recorded surface or the terminal surface
Charging the battery
Power supply
Charging lamp Lights up Charging
≥ Hold the battery with your hand so it does not fall
Battery model Voltage Recording Maximum Intermittent
Battery model number Voltage/capacity Charging time
Charging time and recordable time
Charging time
Connecting to the AC outlet
Turning the unit on/off
Status indicator B goes off
Slide the Disc Eject lever once and release it
Inserting/removing a disc
Inserting disc
Removing disc
Double sided disc
Recording/playback side is opposite to the labelled side
After inserting a disc/After recording finishes
Inserting/removing an SD card
Card access lamp
Securely close the card slot cover
Concerning the SD card
Disc recording mode l
Selecting a mode
Disc playback mode l
Card recording mode l
Basic operations
How to use the joystick
Joystick and screen display
Select by moving up
Disc playback mode
Adjustments
Operation icon is off
Icon Direction Function
Direction Function
Self timer
Slide show start/pause
Card playback mode When Slide Show is selected
Switching the language
While stopped, press the Menu button
Using the menu screen
Move the joystick left
To exit the menu screen
Press the Menu button
If the screen shows the incorrect date/time, then adjust it
Setting date and time
≥ The 24-hour system is used to display the time
1530 2006.12.15 12.15.2006 15.12.2006
≥ The recording time is not displayed in disc playback mode
Date OFF
LCD SET
Adjusting LCD monitor/viewfinder
EVF EVF SET
Basic camera positioning
Before recording
Recording Remove the lens cap, then turn the unit on
Recording motion pictures
RAM -RW‹VR› -RW‹V› -R Record motion pictures onto a disc
Flashes red Recording mode Recording time elapsed
Screen indications in the disc recording mode
Recording mode Recordable time
Changing the recording mode of the motion picture
Recording still pictures
Rotate the mode dial to select Press the Photo Shot button
Record the still picture on an SD card
To record still pictures clearly
Progressive function
Screen indications in card recording mode
Recording with a shutter operation effect
Size of still pictures C Quality of still pictures
Zoom in/out function
Various recording functions
Move the zoom lever
To use the zoom microphone function
Digital zoom function
Recording yourself
Soft skin mode
Rotate the LCD monitor towards the lens side
Select again
Start recording. Fade
Fade in/fade out function
To select the colour for fade in/out
To cancel fading
Pause recording. Fade out
Colour which appears in fading pictures can be selected
To return to normal recording
Backlight compensation function
Image on the screen will become brighter
Select ª again
To stop the timer midway through
Self-timer recording
You can record still pictures on an SD card using the timer
Press the Menu button. The self-timer setting is cancelled
Wind noise reduction function
Cinema mode
RAM -RW‹VR› -RW‹V› -R
Night view function
To cancel the Night view function
This is for reducing image shakes during recording
Image stabilizer function
Display Mode Recording conditions
Scene mode
Manual recording functions
To cancel the scene mode function
To restore to the automatic adjustment
Manual focus adjustment
Manual focus indication 1MF is displayed
White balance
Set the AUTO/MANUAL/FOCUS switch to Manual
About the white balance sensor a
To restore to automatic adjustment
Manual shutter speed/aperture adjustment
Move the joystick down several times and select
Motion picture playback
Rotate the mode dial to select
Select the scene to be played back
Press the joystick
Move the volume lever to change the volume level
To adjust the volume
To display the recording date during playback
Frame-by-frame playback
Select the date for playback, then press the joystick
Playing back motion pictures by date
Scenes recorded on the same day are displayed as thumbnails
Select the file to be played back
Still picture playback
Playback Press the joystick
About still picture compatibility
Playing back still pictures as a slide show
Deleting scenes
Editing scenes
Deleting scenes one at a time
Select the scene to be deleted, then press the joystick
Deleting multiple scenes from the thumbnail display
To continue deleting other scenes
To complete editing
Selected scene is played back
Dividing a scene
RAM -RW‹VR›
Combining scenes
What is a playlist?
Using playlists
Recorded scenes Playlist
To add another scene to the same playlist
Creating a new playlist
To playback a playlist
To return to showing the original scenes
Playing back a playlist
Scenes in the selected playlist are displayed as thumbnails
Adding scenes to playlist
Editing a playlist
To continue adding scenes to the playlist
Select the scene to be moved, then press the joystick
Moving scenes
Scenes in a playlist can be moved
Dividing a scene
≥ The selected scene and the next scene are combined
Combining scenes
Deleting scenes
Select Delete # Select or ALL and press the joystick
Editing still pictures
Deleted files cannot be restored
Deleting still pictures
Deleting files one at a time
Select the file to be deleted, then press the joystick
Deleting multiple files from the thumbnail display
To continue deleting other files
Locking still pictures
To complete the settings
To cancel all Dpof settings
Dpof setting
What is DPOF?
Number of prints set to be in Dpof is displayed
Formatting discs
Formatting discs and cards
This is for initializing discs
This is for initializing cards
Formatting an SD card
Finalizing a disc
Finalizing a disc
Finalizing video format discs
Finalizing VR format discs
Un-finalizing a DVD-RW
Protecting a disc
Displaying disc information
Playback on TV
With a TV
Connect this unit and a TV
Start playback on this unit
Playback on DVD recorder/player
With a DVD recorder/player
Playing back a DVD-RAM or a DVD-RW VR format
Playing back a DVD-RW Video format or a DVD-R
Copying recordings onto a DVD recorder’s hard disk
Dubbing images onto other video devices
With a VCR
Connect this unit and a video device
To stop dubbing
Connect this unit and a printer
With a printer PictBridge
Select a file to be printed, then press the joystick
≥ Press the Menu button to exit the menu screen
Standard
Select the paper size setting on Paper Size
T5 Inch Size T7 Inch 2L size T6 Inch Postcard size A4 size
≥ You cannot set paper sizes not supported on the printer
When you stop printing halfway
Select the layout setting on page Layout
Select Print # YES and press the joystick
Menu list
Menus
Motion picture recording menus
≥ Still picture recording menus
Motion picture playback menus
Play Setup
Edit Scene
Setup menu
Indications
Indications
Recording indications
Confirmatory indications
Playback indications
No.10
100-0001
Messages
100
About recovery
Functions that cannot be used simultaneously
Functions Conditions which Disable the functions
101
102
Frequently asked questions
Problem Check points
Troubleshooting
Demo Mode # OFF and press the joystick
103
Disc Eject lever
104
Recording does not start Used for recording. l
To use the unit again, turn the unit off and leave it for a
Deletion is disabled. l
≥ Is the volume too low?
105
106
107
When carrying the unit, do not drop or bump it
About this unit
108
About the battery
About the AC adaptor
109
About the disc
DVD-R
LCD monitor/viewfinder
About the SD card
About condensation
Causes of condensation
111
Explanation of terms
Automatic white balance
White balance
Auto focus
112
113
Specifications
DVD Video Camera
114
115
Number of recordable pictures on an SD card
Picture size 640 k480 Picture quality
LSQT1052 a