•The camera will deactivate the detector for a few minutes after the power of the camera is turned on or the BW setting in the Special Menu is set to something other than OFF.
•The motion detection function is not designed specifically for prevention of theft, fire, etc.
9.Menu/DIP SW Selection
Some of the settings: picture upside down, aperture
level, BW, and synchronization: are operable in the menu setup or from the DIP switch on the camera. You can select MENU or DIP SW in the second from the bot- tom of the **CAM SET UP** menu to apply either set- tings to the camera.
1.Move the cursor to the second bottom line.
2.Press [Left] or [Right] to select the parameter. MENU: Applies the settings specified in the menu
setup.
DIP SW: Applies the settings specified by the DIP switch,
The default setting is DIP SW.
Note: The **SPECIAL** menu specifies the follow- ing: picture upside down, aperture level, and BW settings: while the **CAM SET UP** menu speci- fies the synchronization mode.
10. Special Menu (SPECIAL)
This menu lets you adjust and set up the video signal of the camera to meet your requirements.
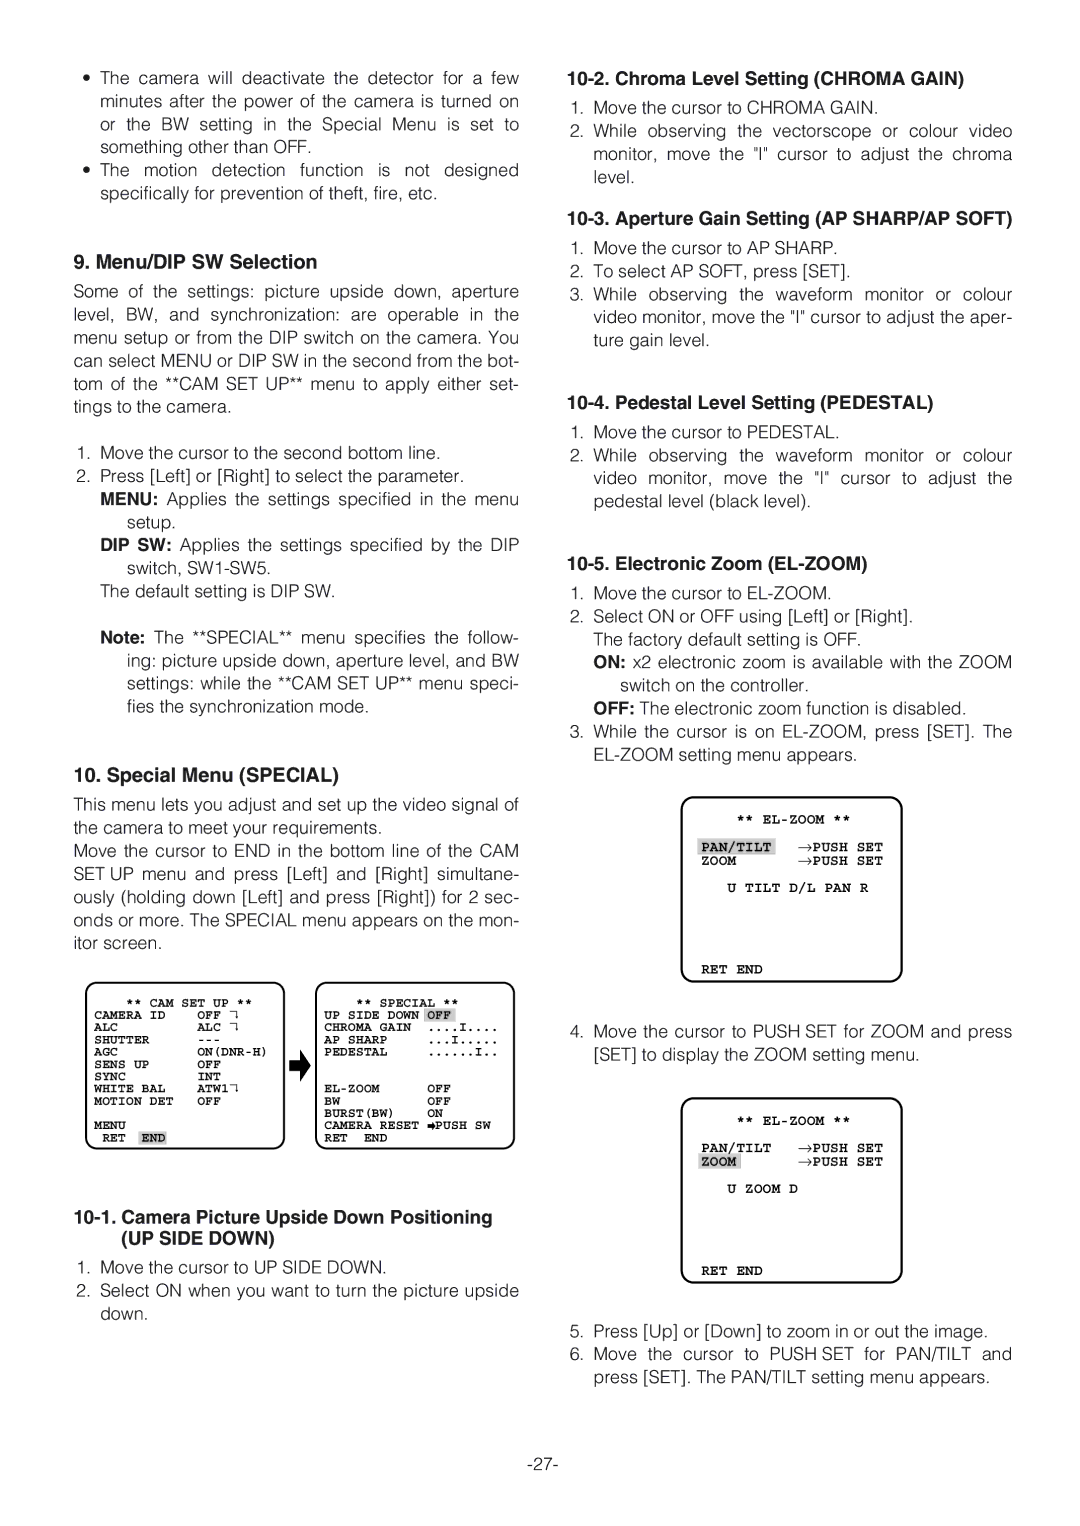
Move the cursor to END in the bottom line of the CAM SET UP menu and press [Left] and [Right] simultane- ously (holding down [Left] and press [Right]) for 2 sec- onds or more. The SPECIAL menu appears on the mon- itor screen.
** CAM SET UP ** | ** SPECIAL ** | ||||||
CAMERA ID | OFF | ↵ | UP SIDE DOWN | OFF |
| ||
ALC | ALC | ↵ | CHROMA GAIN | .... | I.... | ||
SHUTTER |
| AP SHARP | ...I | ||||
AGC | PEDESTAL | ......I.. | |||||
SENS UP | OFF |
|
|
|
| ||
SYNC | INT |
| OFF | ||||
WHITE BAL | ATW1↵ | ||||||
MOTION DET | OFF |
| BW | OFF | |||
|
|
|
|
| BURST(BW) | ON | |
MENU |
|
| CAMERA RESET | PUSH SW | |||
RET | END |
|
|
| RET END |
|
|
(UP SIDE DOWN)
1.Move the cursor to UP SIDE DOWN.
2.Select ON when you want to turn the picture upside
down.
10-2. Chroma Level Setting (CHROMA GAIN)
1.Move the cursor to CHROMA GAIN.
2.While observing the vectorscope or colour video monitor, move the "I" cursor to adjust the chroma level.
10-3. Aperture Gain Setting (AP SHARP/AP SOFT)
1.Move the cursor to AP SHARP.
2.To select AP SOFT, press [SET].
3.While observing the waveform monitor or colour video monitor, move the "I" cursor to adjust the aper- ture gain level.
10-4. Pedestal Level Setting (PEDESTAL)
1.Move the cursor to PEDESTAL.
2.While observing the waveform monitor or colour video monitor, move the "I" cursor to adjust the pedestal level (black level).
10-5. Electronic Zoom (EL-ZOOM)
1.Move the cursor to
2.Select ON or OFF using [Left] or [Right]. The factory default setting is OFF.
ON: x2 electronic zoom is available with the ZOOM switch on the controller.
OFF: The electronic zoom function is disabled.
3.While the cursor is on
**
| →PUSH |
|
PAN/TILT | SET | |
ZOOM | →PUSH | SET |
U TILT D/L PAN R
RET END
4.Move the cursor to PUSH SET for ZOOM and press [SET] to display the ZOOM setting menu.
| ** | |
PAN/TILT | →PUSH SET | |
ZOOM |
| →PUSH SET |
U | ZOOM D |
|
RET END
5.Press [Up] or [Down] to zoom in or out the image.
6.Move the cursor to PUSH SET for PAN/TILT and press [SET]. The PAN/TILT setting menu appears.
