7.Press [Up] or [Down], [Left] or [Right] to change the angular field of view.
8.To return to the
10-6. BW
This function lets you switch from colour to
1.Move the cursor to BW.
2.Select AUTO1, AUTO2, EXT, ON or OFF using [Left] or [Right].
The factory default setting is OFF.
AUTO1: The camera selects black and white mode if the picture is dark, or colour mode if the picture is bright enough.
AUTO2: Applying AUTO1 may cause malfunction when using a source of
Notes:
•Because the type of light source is detected based on information received from the CCD image pickup element, an object that is con- stantly moving or has the same colour as its background may not always be properly recog- nized. When choosing the AUTO2 mode, make sure to use a light source having a wavelength of 800 nm or more.
•The object may be out of focus when using a source of
EXT: Colour picture reverts to
ON:
OFF: Colour mode enabled.
3.Select AUTO1 or AUTO2 using [Left] or [Right].
4.Press [SET].
The AUTO1 or AUTO2 menu appears on the monitor screen.
5.Move the "I" cursor to LEVEL to select the illumi- nance level using [Left] or [Right].
The factory default setting is HIGH.
LOW: Colour picture switches to
HIGH: Colour picture switches to
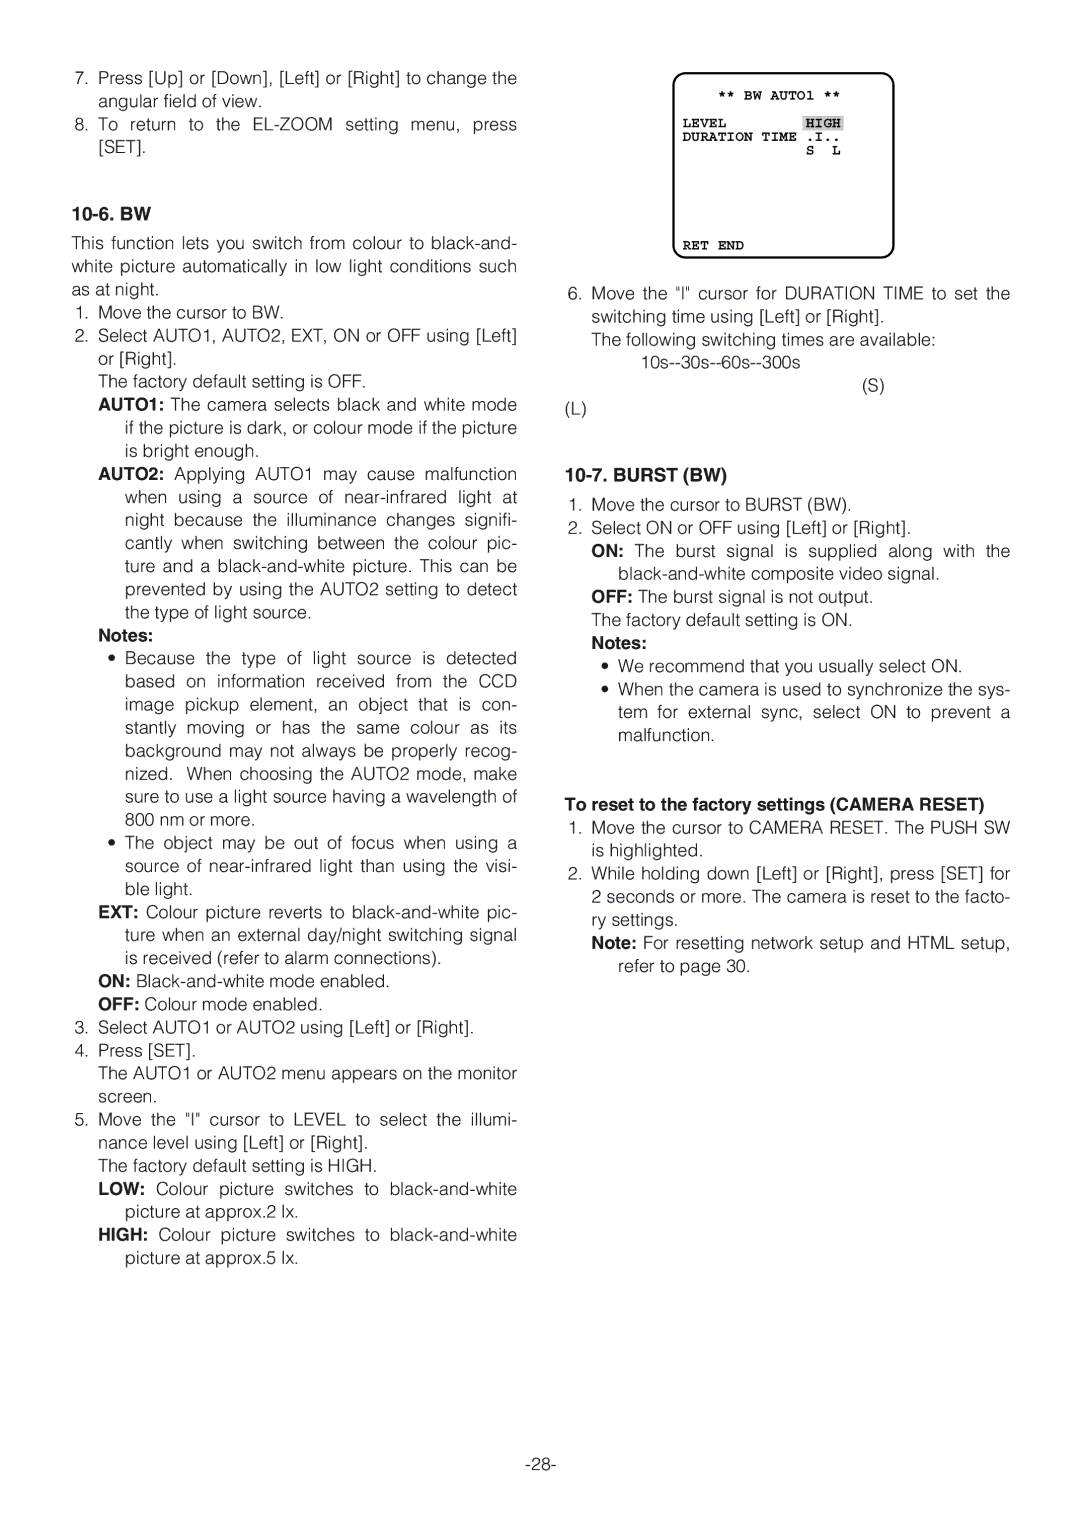
** BW AUTO1 **
LEVEL HIGH
DURATION TIME .I..
S L
RET END
6.Move the "I" cursor for DURATION TIME to set the switching time using [Left] or [Right].
The following switching times are available:
(S)
(L)
10-7. BURST (BW)
1.Move the cursor to BURST (BW).
2.Select ON or OFF using [Left] or [Right].
ON: The burst signal is supplied along with the
OFF: The burst signal is not output. The factory default setting is ON.
Notes:
•We recommend that you usually select ON.
•When the camera is used to synchronize the sys- tem for external sync, select ON to prevent a malfunction.
To reset to the factory settings (CAMERA RESET)
1.Move the cursor to CAMERA RESET. The PUSH SW is highlighted.
2.While holding down [Left] or [Right], press [SET] for 2 seconds or more. The camera is reset to the facto- ry settings.
Note: For resetting network setup and HTML setup, refer to page 30.