3. Using the Web Interface
Enable/Disable DHCP
By default, the router has DHCP server (LAN side) disabled. If you already have a DHCP server running on your network, do not enable the router’s DHCP server.
To enable or disable DHCP:
 Procedure
1.From the Home screen, click on Setup.
2.Under LAN Setup, select LAN Configuration. This will bring up the screen shown in Figure
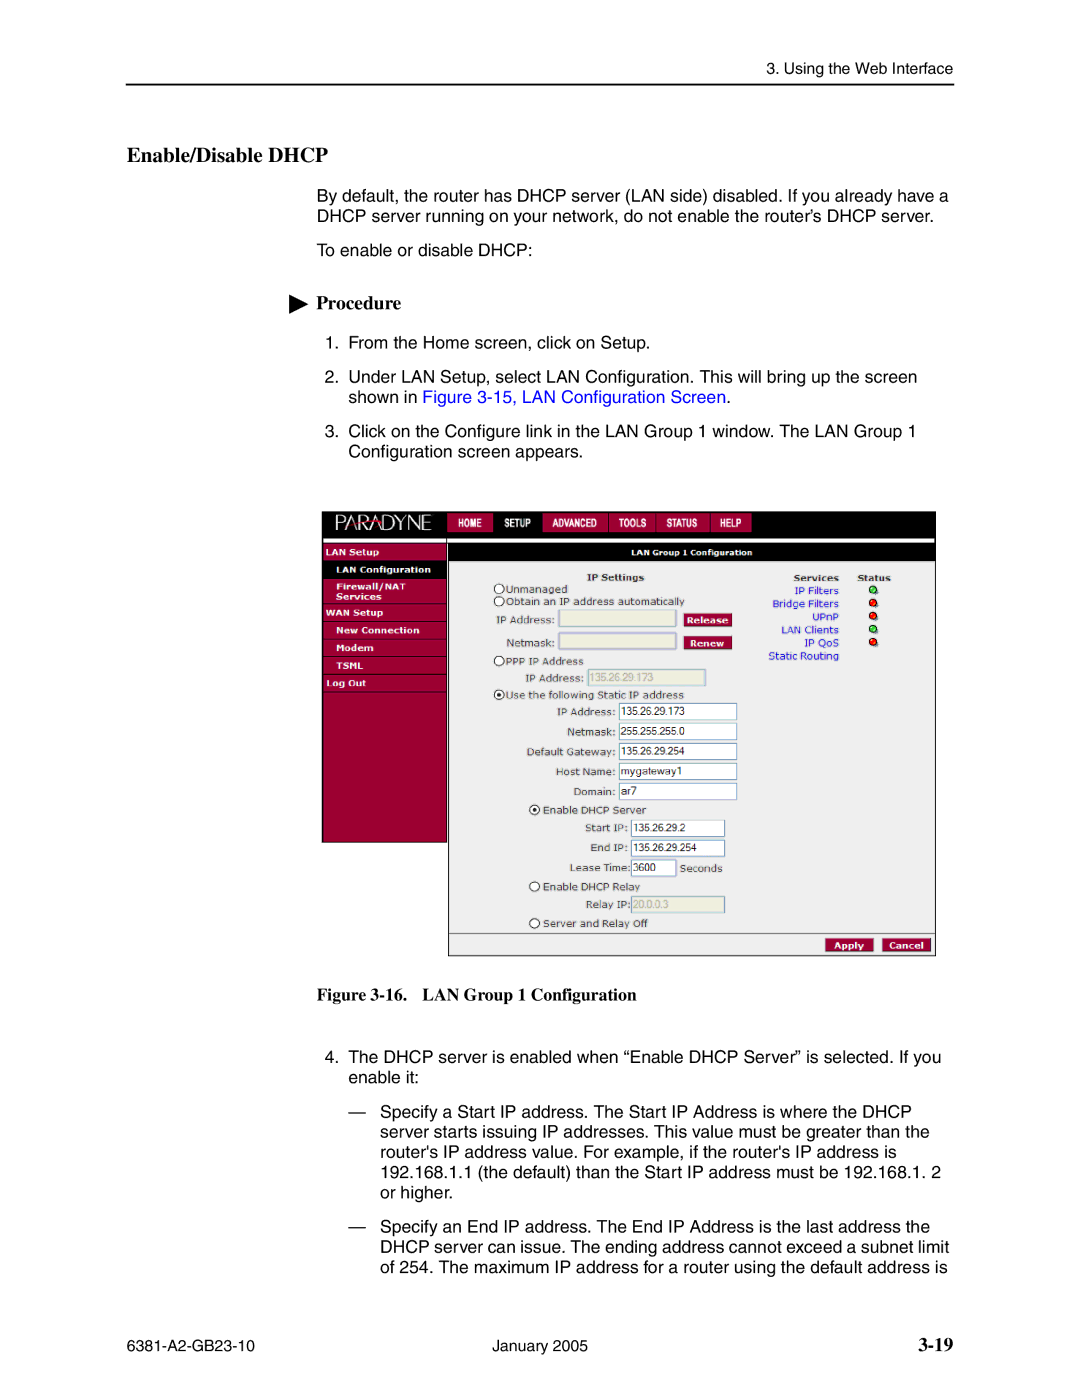
3.Click on the Configure link in the LAN Group 1 window. The LAN Group 1 Configuration screen appears.
Figure 3-16. LAN Group 1 Configuration
4.The DHCP server is enabled when “Enable DHCP Server” is selected. If you enable it:
—Specify a Start IP address. The Start IP Address is where the DHCP server starts issuing IP addresses. This value must be greater than the router's IP address value. For example, if the router's IP address is 192.168.1.1 (the default) than the Start IP address must be 192.168.1. 2 or higher.
—Specify an End IP address. The End IP Address is the last address the DHCP server can issue. The ending address cannot exceed a subnet limit of 254. The maximum IP address for a router using the default address is
January 2005 |