3. Using the Web Interface
3.Click on the Configuration link in the LAN Group 1 window. The LAN Group 1 Configuration screen appears, as shown in Figure
4.Click on “Use the following Static IP Address”.
5.Enter a new IP Address and Netmask.
The Apply button will temporarily save these settings. To make the change permanent, click on Tools (at the top of the page) and select System Commands. At the System Commands page, click on Save All.
Firewall/NAT Services
To enable or disable Firewall and NAT:
 Procedure
1.From the Home screen, click Setup.
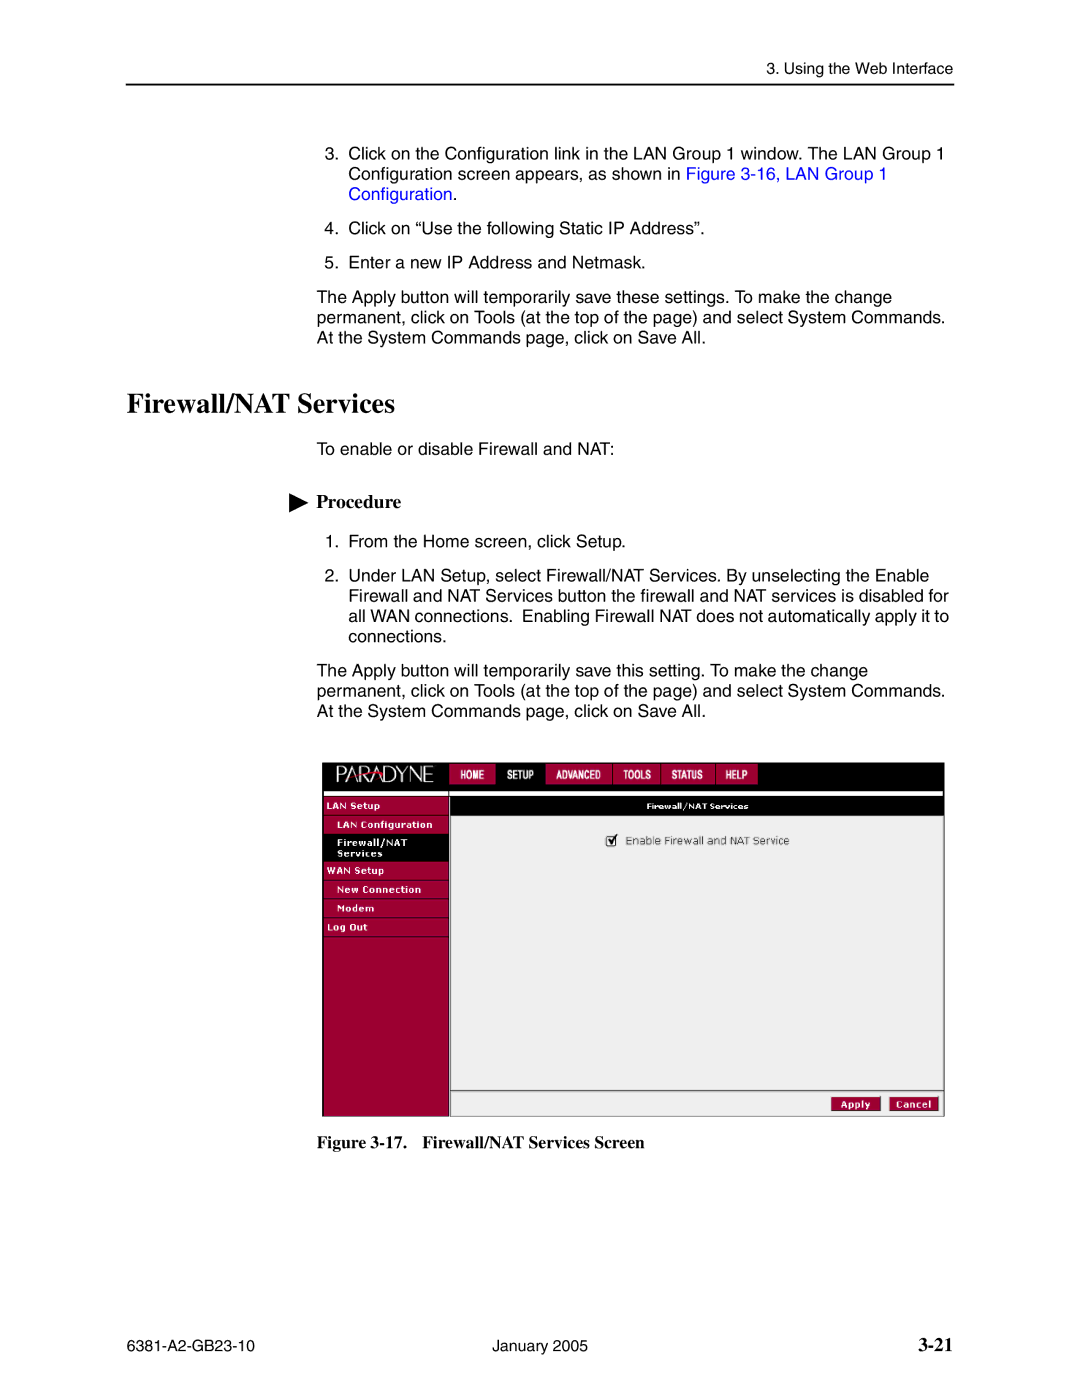
2.Under LAN Setup, select Firewall/NAT Services. By unselecting the Enable Firewall and NAT Services button the firewall and NAT services is disabled for all WAN connections. Enabling Firewall NAT does not automatically apply it to connections.
The Apply button will temporarily save this setting. To make the change permanent, click on Tools (at the top of the page) and select System Commands. At the System Commands page, click on Save All.
Figure 3-17. Firewall/NAT Services Screen
January 2005 |
