Record on Hard Disk (continued)
A Connect the DV camcorder to the DV IN socket on the front panel of this recorder.
B Find the footage on the DV camcorder that you want to start recording from and set the camcorder to pause mode.
C Switch on the TV to the correct programme number for the recorder (e.g. ‘EXT’, ‘0’, ‘AV’).
D Switch on the recorder and press USB/DV on the remote control.
An information box will be displayed.
System State: Stop DV State: Stop Record to Hard Disk As Standard Play Elapsed Time: 00:00:00 Remaining Time: 00:00:00
Press SELECT repeatedly to change the mode of record quality.
E Press RECâ to start recording and press the PLAY button on the DV camcorder to start playback.
To pause the recording, press PAUSE LIVE TV u.
To resume recording, press PAUSE LIVE TV u again.
A new chapter marker is created after recording restarts.
F To stop recording, press STOPÇ.
A new title will be created when you begin another recording.
To record directly to a recordable
DVD, see the chapter ”Record on Recordable DVD”.
Recording from an external device (Camcorder/VCR/ DVD player)
A copy protection system has been built into this recorder to prevent the transfer of data from
Note: Set the preferred mode of record quality before proceeding, see “Before Recording - Default Recording Settings.”
![]()
![]()
![]()
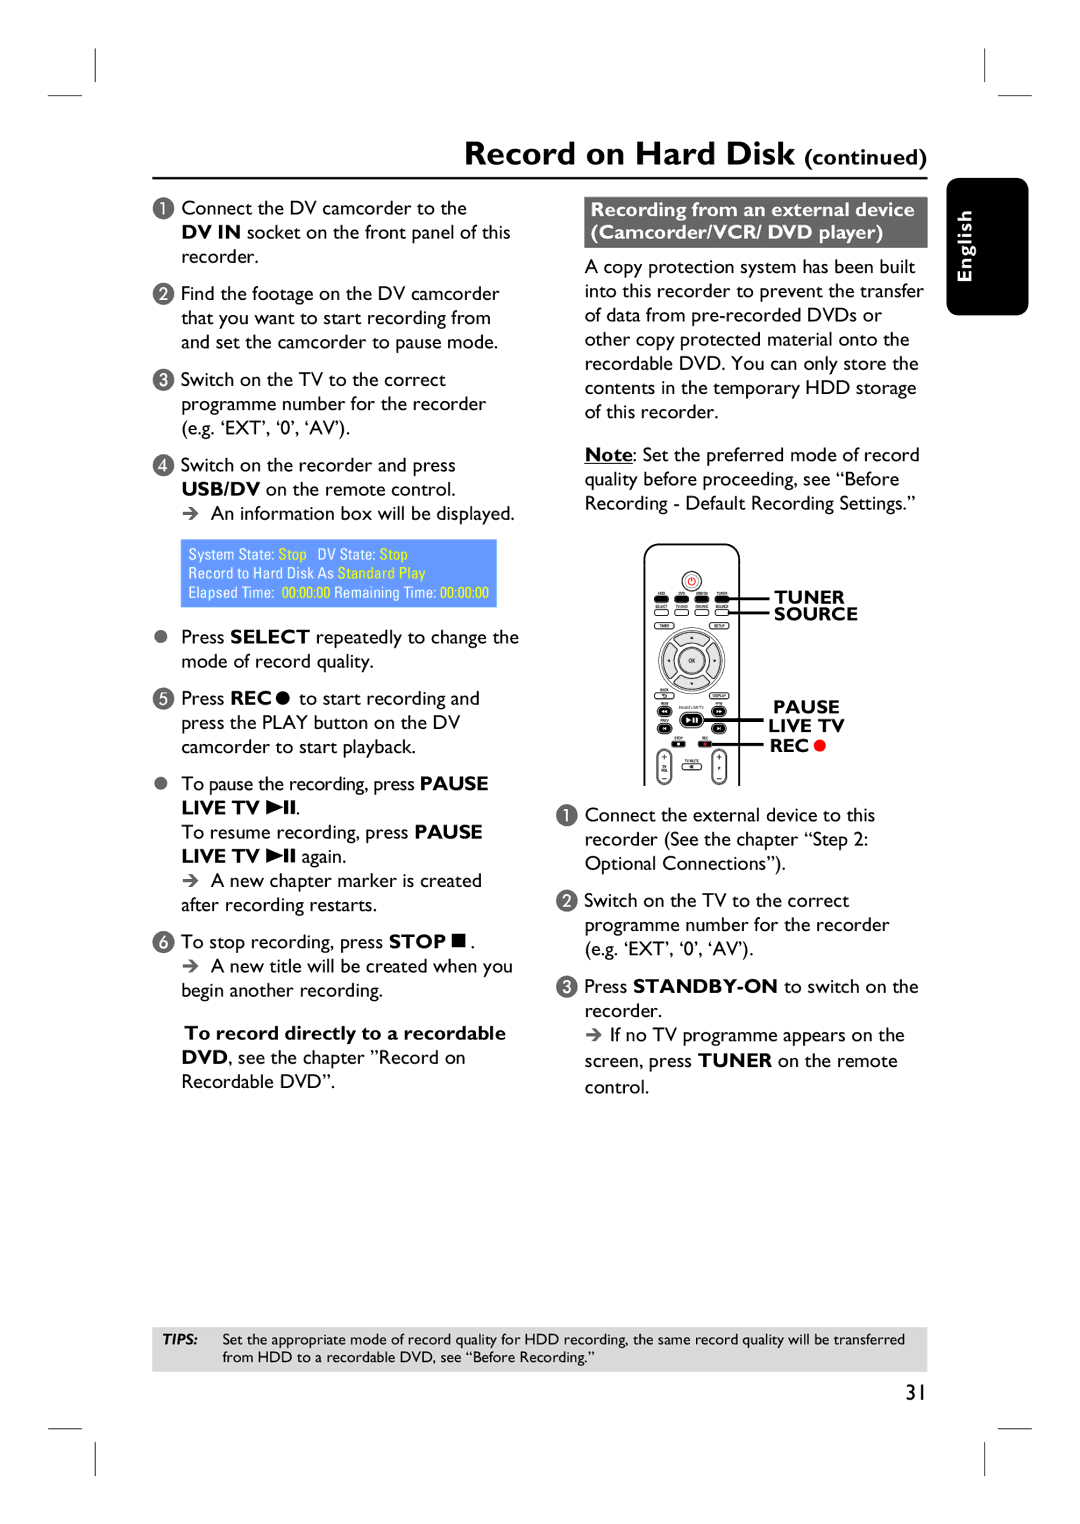
![]() TUNER
TUNER
![]()
![]()
![]()
![]() SOURCE
SOURCE
PAUSE LIVE TV | PAUSE |
![]() LIVE TV
LIVE TV
![]()
![]() REC
REC![]()
A Connect the external device to this recorder (See the chapter “Step 2: Optional Connections”).
B Switch on the TV to the correct programme number for the recorder (e.g. ‘EXT’, ‘0’, ‘AV’).
C Press
If no TV programme appears on the screen, press TUNER on the remote control.
English
TIPS: Set the appropriate mode of record quality for HDD recording, the same record quality will be transferred from HDD to a recordable DVD, see “Before Recording.”
31
