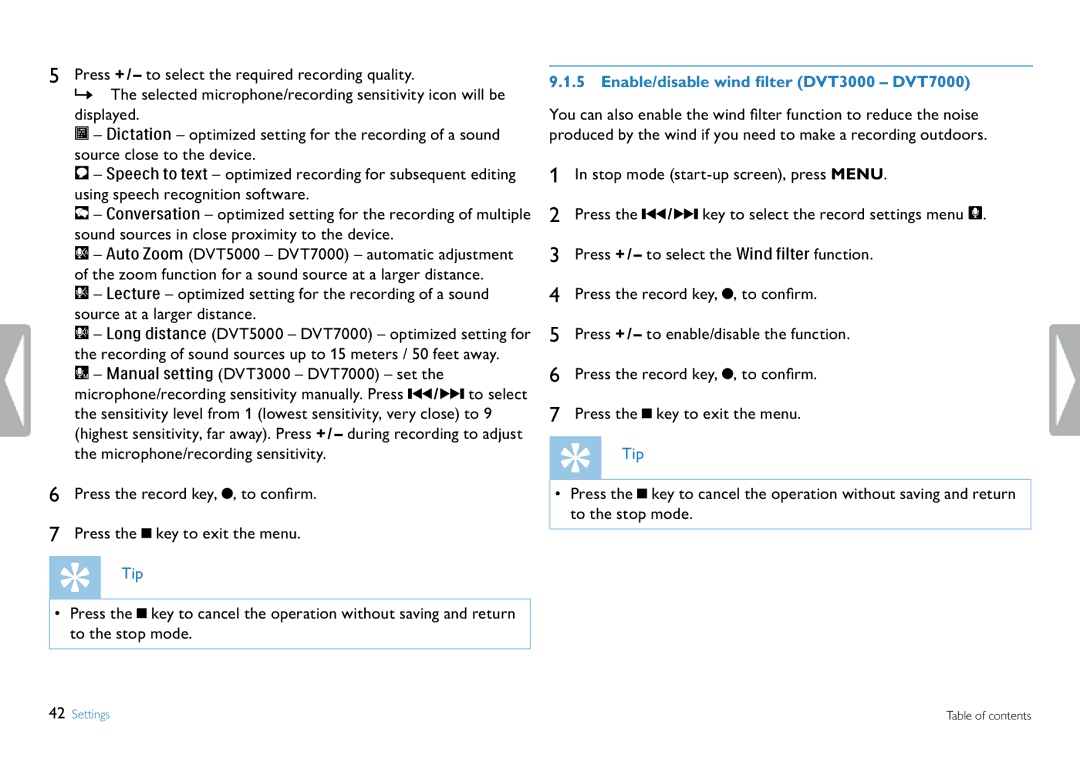
5Press + / – to select the required recording quality.
XX The selected microphone/recording sensitivity icon will be displayed.
° – Dictation – optimized setting for the recording of a sound source close to the device.
± – Speech to text – optimized recording for subsequent editing using speech recognition software.
¯ – Conversation – optimized setting for the recording of multiple sound sources in close proximity to the device.
² – Auto Zoom (DVT5000 – DVT7000) – automatic adjustment of the zoom function for a sound source at a larger distance.
µ – Lecture – optimized setting for the recording of a sound source at a larger distance.
· – Long distance (DVT5000 – DVT7000) – optimized setting for the recording of sound sources up to 15 meters / 50 feet away.
¸ – Manual setting (DVT3000 – DVT7000) – set the microphone/recording sensitivity manually. Press H / B to select the sensitivity level from 1 (lowest sensitivity, very close) to 9 (highest sensitivity, far away). Press + / – during recording to adjust the microphone/recording sensitivity.
6Press the record key, G, to confirm.
7Press the J key to exit the menu.
Tip
•Press the J key to cancel the operation without saving and return to the stop mode.
9.1.5 Enable/disable wind filter(DVT3000 – DVT7000)
You can also enable the wind filter function to reduce the noise produced by the wind if you need to make a recording outdoors.
1In stop mode
2Press the H / B key to select the record settings menu Ó.
3Press + / – to select the Wind filter function.
4Press the record key, G, to confirm.
5Press + / – to enable/disable the function.
6Press the record key, G, to confirm.
7Press the J key to exit the menu.
Tip
•Press the J key to cancel the operation without saving and return to the stop mode.
42 Settings | Table of contents |
