User Manual BDH5011
10. ADVANCED FUNCTIONS
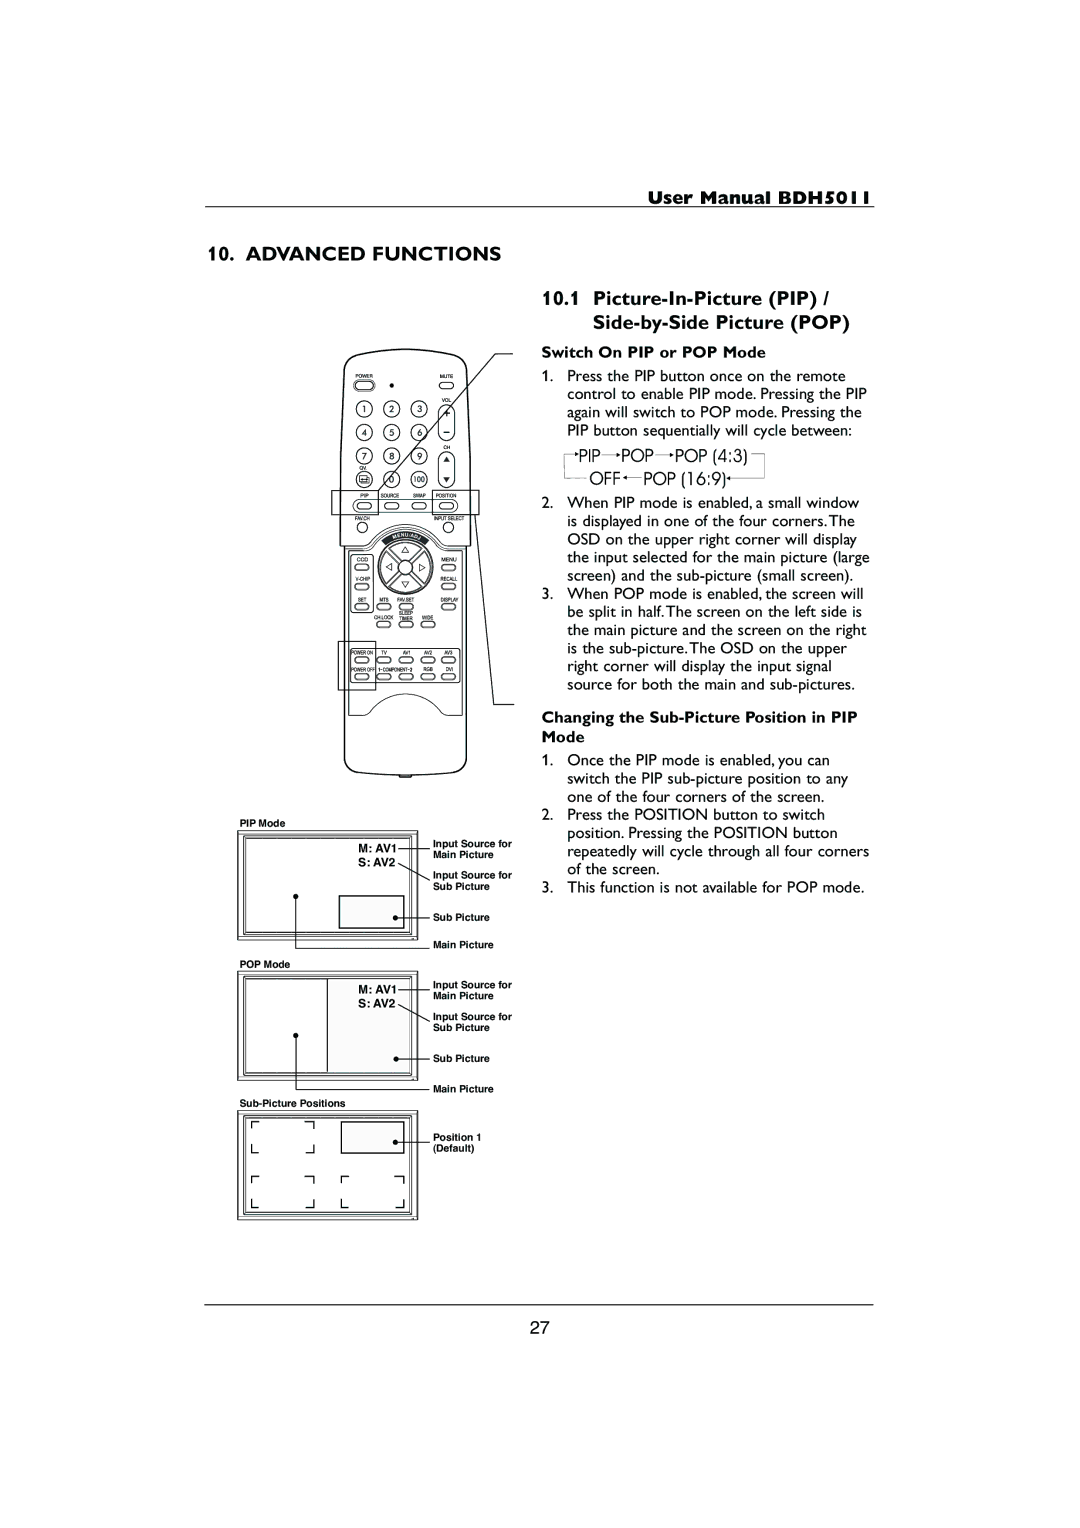
PIP Mode
M: AV1 | Input Source for | |
Main Picture | ||
S: AV2 | ||
| ||
| Input Source for | |
| Sub Picture | |
| Sub Picture | |
| Main Picture | |
POP Mode |
| |
M: AV1 | Input Source for | |
Main Picture | ||
S: AV2 | ||
| ||
| Input Source for | |
| Sub Picture | |
| Sub Picture | |
| Main Picture | |
| ||
| Position 1 | |
| (Default) |
10.1Picture-In-Picture (PIP) / Side-by-Side Picture (POP)
Switch On PIP or POP Mode
1.Press the PIP button once on the remote control to enable PIP mode. Pressing the PIP again will switch to POP mode. Pressing the PIP button sequentially will cycle between:
2.When PIP mode is enabled, a small window is displayed in one of the four corners.The OSD on the upper right corner will display the input selected for the main picture (large screen) and the
3.When POP mode is enabled, the screen will be split in half.The screen on the left side is the main picture and the screen on the right is the
Changing the Sub-Picture Position in PIP Mode
1.Once the PIP mode is enabled, you can switch the PIP
2.Press the POSITION button to switch position. Pressing the POSITION button repeatedly will cycle through all four corners of the screen.
3.This function is not available for POP mode.
27