EN

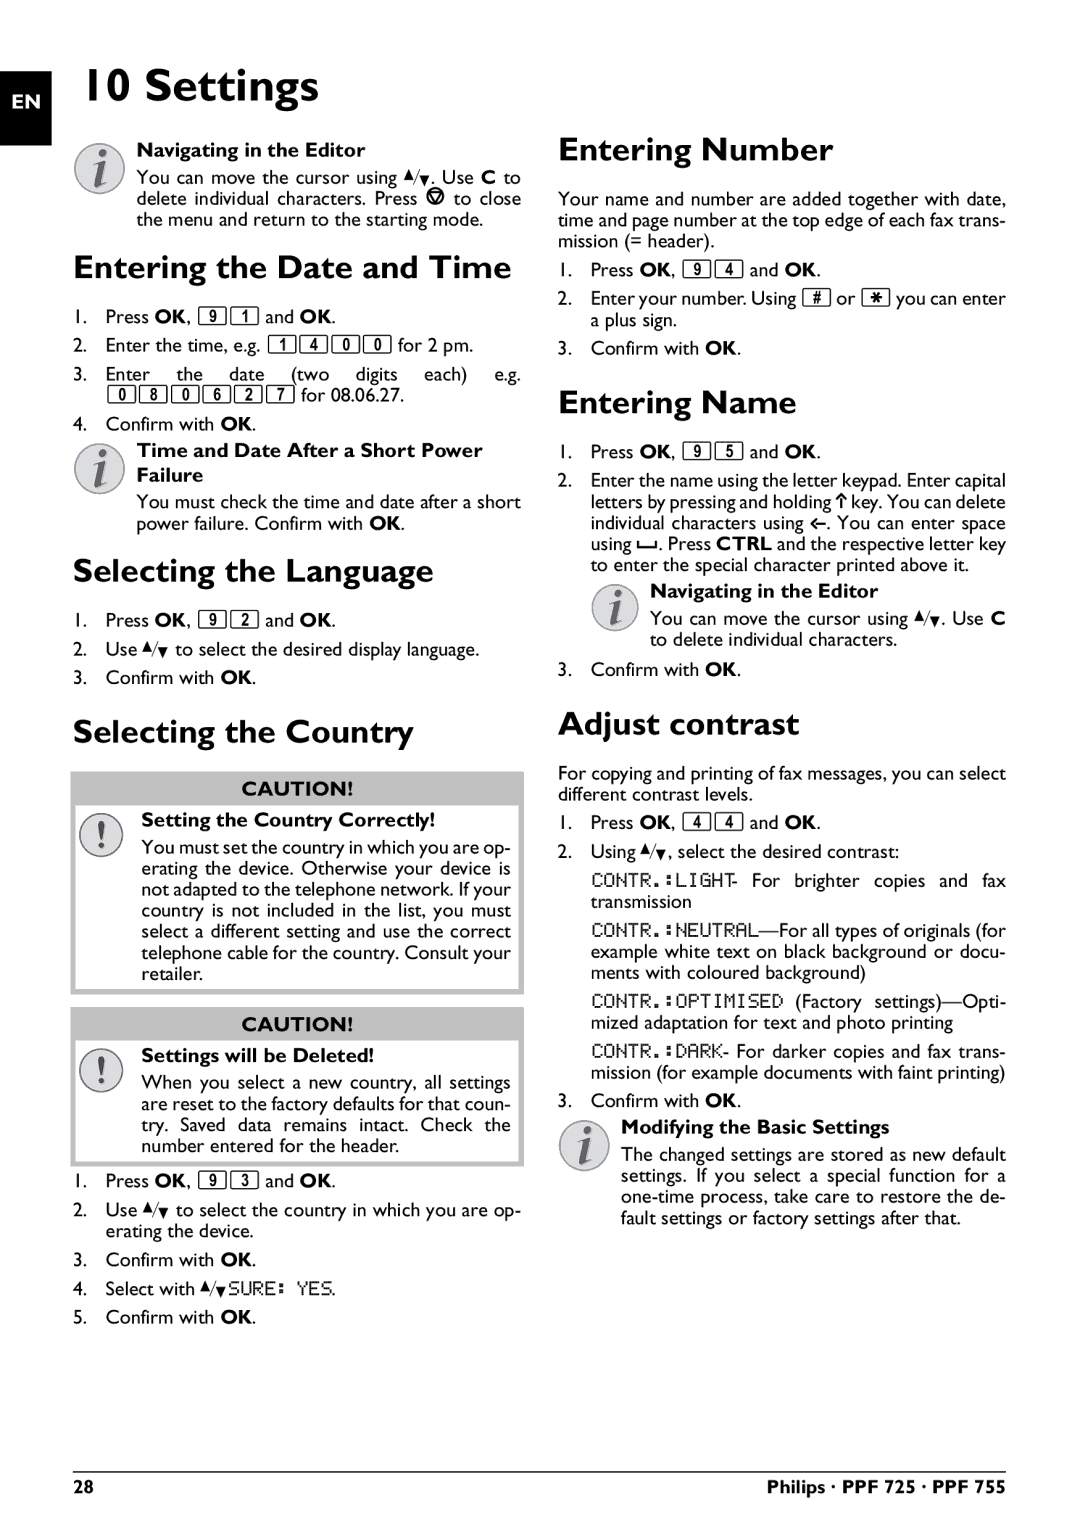
10 Settings

Navigating in the Editor

You can move the cursor using [. Use C to delete individual characters. Press j to close the menu and return to the starting mode.

Entering the Date and Time

1.Press OK, 91 and OK.

2.Enter the time, e.g. 1400 for 2 pm.

3.Enter the date (two digits each) e.g. 080627 for 08.06.27.

4.Confirm with OK.

Time and Date After a Short Power Failure

You must check the time and date after a short power failure. Confirm with OK.

Selecting the Language

1.Press OK, 92 and OK.

2.Use [ to select the desired display language.

3.Confirm with OK.

Entering Number

Your name and number are added together with date, time and page number at the top edge of each fax trans- mission (= header).

1.Press OK, 94 and OK.

2.Enter your number. Using #or *you can enter a plus sign.

3.Confirm with OK.

Entering Name

1. Press OK, 95 and OK.

2. Enter the name using the letter keypad. Enter capital letters by pressing and holding +key. You can delete individual characters using \. You can enter space using ½. Press CTRL and the respective letter key to enter the special character printed above it.

Navigating in the Editor

You can move the cursor using [. Use C to delete individual characters.

3. Confirm with OK.

Selecting the Country

CAUTION!

Setting the Country Correctly!

You must set the country in which you are op- erating the device. Otherwise your device is not adapted to the telephone network. If your country is not included in the list, you must select a different setting and use the correct telephone cable for the country. Consult your retailer.

CAUTION!

Settings will be Deleted!

When you select a new country, all settings are reset to the factory defaults for that coun- try. Saved data remains intact. Check the number entered for the header.

1.Press OK, 93 and OK.

2.Use [ to select the country in which you are op- erating the device.

3.Confirm with OK.

4.Select with [SURE: YES.

5.Confirm with OK.

Adjust contrast

For copying and printing of fax messages, you can select different contrast levels.

1.Press OK, 44 and OK.

2.Using [, select the desired contrast:

CONTR.:LIGHT- For brighter copies and fax transmission

CONTR.:NEUTRAL—For all types of originals (for example white text on black background or docu- ments with coloured background)

CONTR.:OPTIMISED (Factory settings)—Opti- mized adaptation for text and photo printing

CONTR.:DARK- For darker copies and fax trans- mission (for example documents with faint printing)

3.Confirm with OK.

Modifying the Basic Settings

The changed settings are stored as new default settings. If you select a special function for a one-time process, take care to restore the de- fault settings or factory settings after that.

28

Philips · PPF 725 · PPF 755

Page 28
Image 28
Philips PPF 755, PPF 725 user manual Settings

PPF 725, PPF 755 specifications

The Philips PPF 725 and PPF 755 are contemporary multi-functional fax machines that cater to both personal and small business use, embodying reliability and advanced technology to facilitate efficient document communication.

One of the main features of these models is their high-speed fax capabilities. The PPF 725 and PPF 755 can send and receive documents swiftly, ensuring that important communications are not delayed. Their impressive memory storage allows users to store multiple documents, reducing the risk of loss during busy periods. This feature is particularly beneficial in a work setting where timely correspondence is critical.

Both models are equipped with a user-friendly LCD display, making navigation and operation straightforward. Users can easily access various functions, such as sending faxes, copying documents, and even printing, directly from the intuitive interface. The PPF 755, however, boasts an enhanced display that delivers clearer visibility, further streamlining the user experience.

For those concerned about paper handling, both fax machines utilize a compact design while maintaining a sizable paper tray capacity. This minimizes the need for frequent paper reloading, contributing to overall productivity. The PPF 755 model even includes automatic duplexing capabilities, allowing users to print on both sides of the paper, which helps to reduce paper consumption.

The printing technology used in these devices is commendable. Both the PPF 725 and PPF 755 leverage thermal transfer printing, which provides sharp and clear output. This technology not only ensures high-quality prints but also contributes to the longevity of the machine’s components, reducing maintenance needs over time.

In terms of connectivity, these models support a standard telephone line for fax transmission, enhancing their versatility. Additionally, some variations of the PPF 755 may offer options for connecting to a computer or network, thereby expanding the functionality to include scanning and copying digital documents.

Overall, the Philips PPF 725 and PPF 755 are designed to meet the modern demands of document management. With their advanced features, efficient technologies, and user-oriented design, they stand as reliable choices for anyone looking to streamline their faxing, copying, and printing tasks in a professional or personal environment.