Boat Remote User’s Manual
To mount the switch, follow these steps:
1.Place the switch on a horizontal, flat surface in the bilge, at the desired location.
2.Gently lift the float and mark the location of the front screw.
3.Move the switch away from the location mark and drive in one of the screws provided approximately 1/2" from the flat surface, so that the switch can easily slide under the head of the screw.
4.Slide the float switch under the head of the screw and then drive the second screw provided into the back screw hole, being careful not to overly tighten the screw as this may distort the switch and impair its operation.
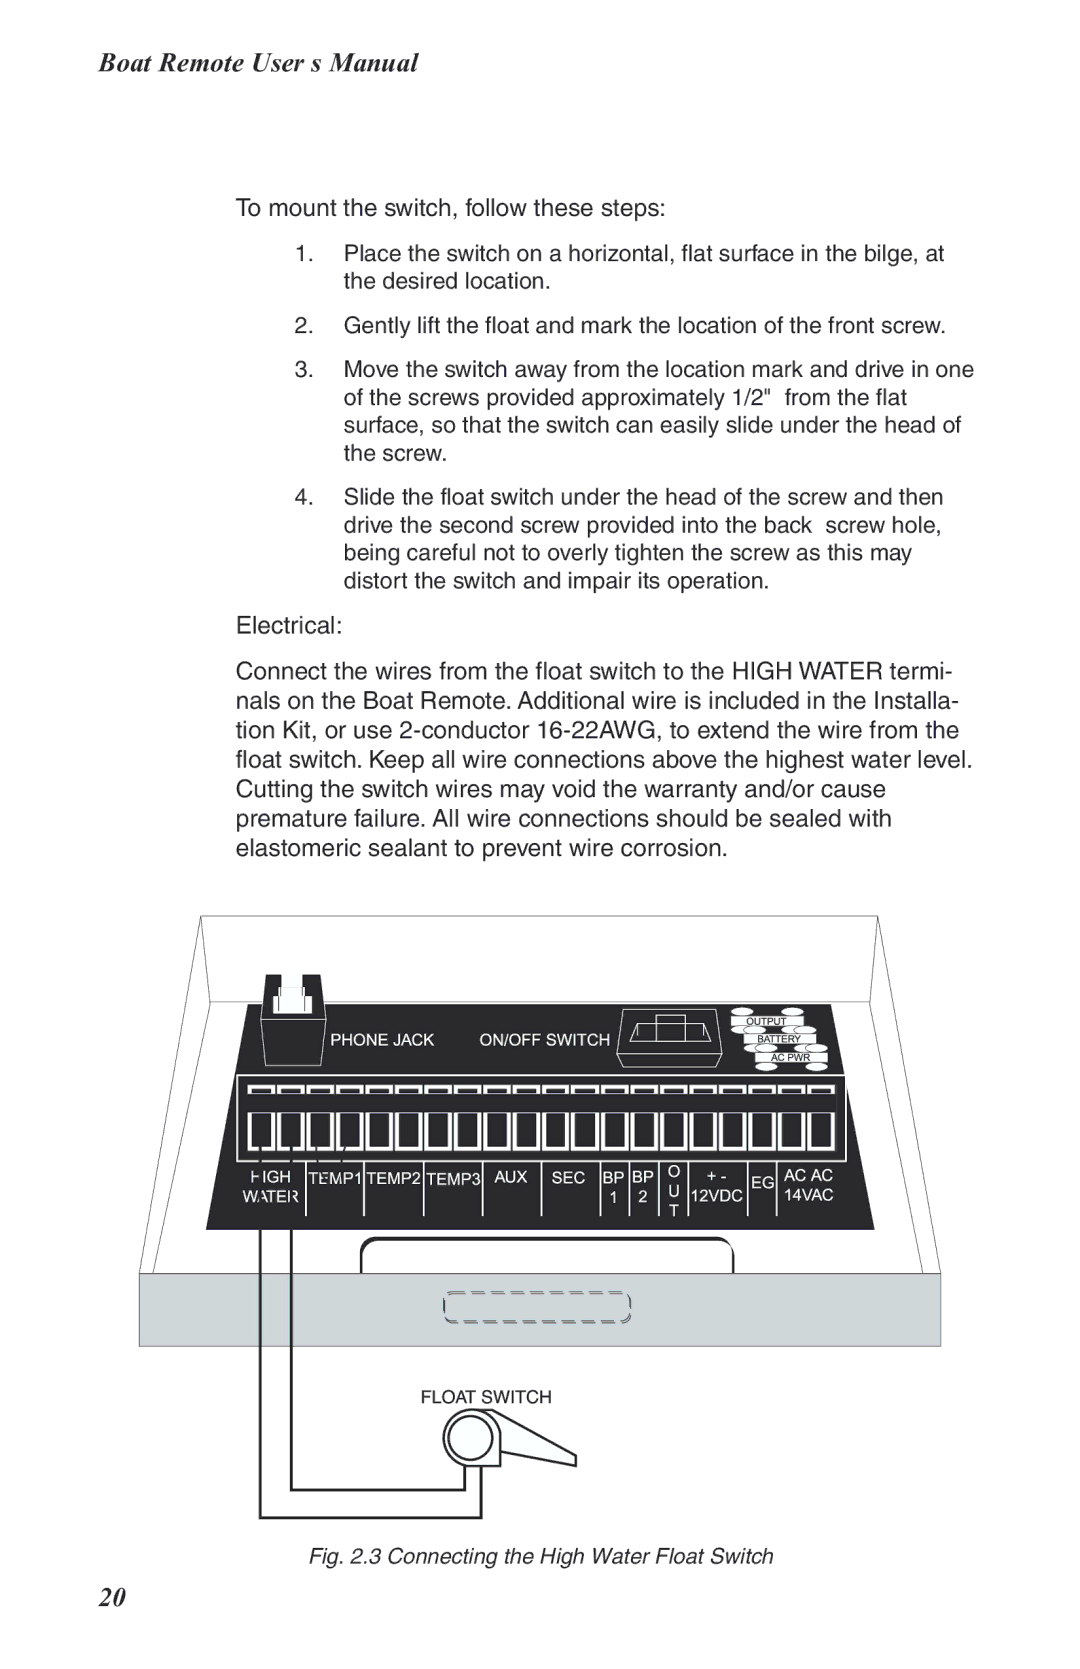
Electrical:
Connect the wires from the float switch to the HIGH WATER termi- nals on the Boat Remote. Additional wire is included in the Installa- tion Kit, or use
Fig. 2.3 Connecting the High Water Float Switch
20