Chapter 2: Installation
CHAPTER 2:
INSTALLATION
Correctly installing Boat Remote will ensure proper functioning of the unit. Please read the entire chapter before starting the installation process. Failure to properly install the unit will result in erratic operation, shortened product life and a void warranty.
Within the packaging will be a warranty registration card. Please take the time to fill this out and mail it. The One Year Limited Warranty is explained in the back of this manual.
Operating Environment
The Boat Remote should be installed and operated in an area that provides space for wiring sensors to the unit, near an AC outlet and telephone line. The operating temperature range of the unit is
Mounting
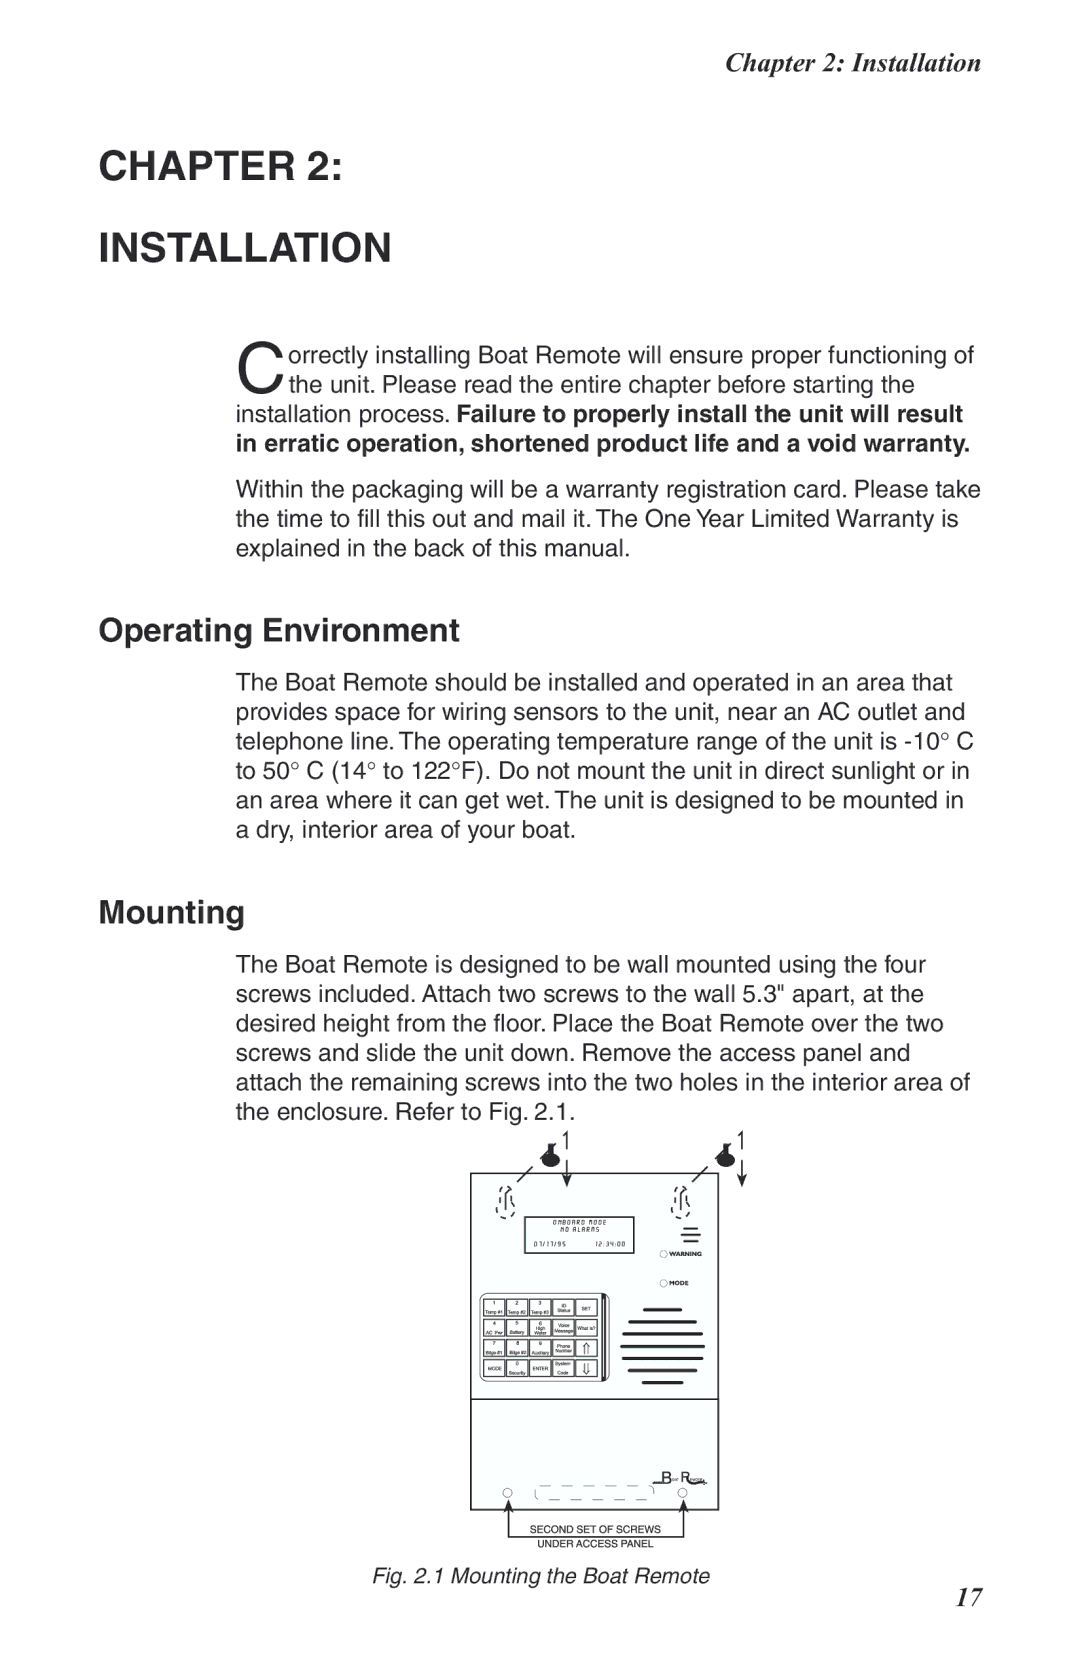
The Boat Remote is designed to be wall mounted using the four screws included. Attach two screws to the wall 5.3" apart, at the desired height from the floor. Place the Boat Remote over the two screws and slide the unit down. Remove the access panel and attach the remaining screws into the two holes in the interior area of the enclosure. Refer to Fig. 2.1.
Fig. 2.1 Mounting the Boat Remote
17
