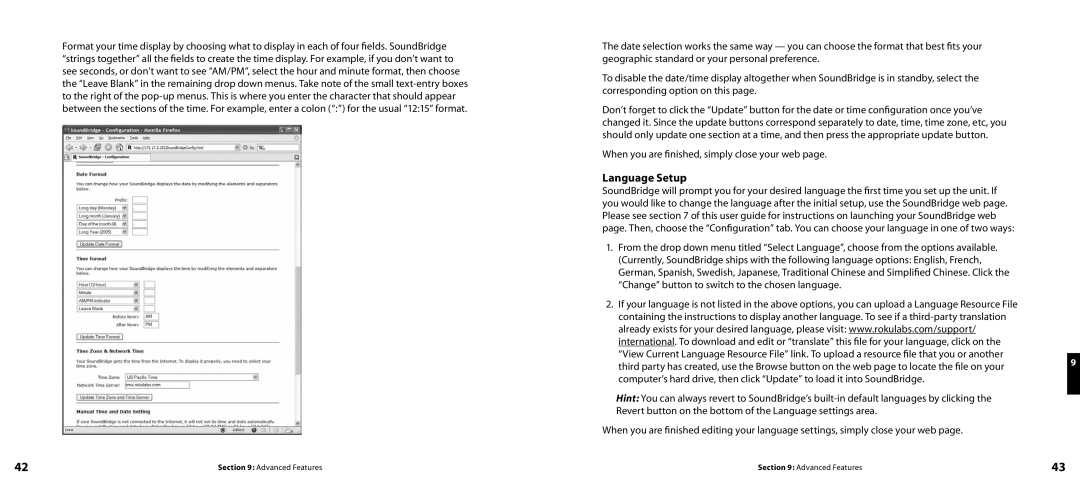
Format your time display by choosing what to display in each of four fields. SoundBridge “strings together” all the fields to create the time display. For example, if you don’t want to see seconds, or don’t want to see “AM/PM”, select the hour and minute format, then choose the “Leave Blank” in the remaining drop down menus. Take note of the small
The date selection works the same way — you can choose the format that best fits your geographic standard or your personal preference.
To disable the date/time display altogether when SoundBridge is in standby, select the corresponding option on this page.
Don’t forget to click the “Update” button for the date or time configuration once you’ve changed it. Since the update buttons correspond separately to date, time, time zone, etc, you should only update one section at a time, and then press the appropriate update button.
When you are finished, simply close your web page.
Language Setup
SoundBridge will prompt you for your desired language the first time you set up the unit. If you would like to change the language after the initial setup, use the SoundBridge web page. Please see section 7 of this user guide for instructions on launching your SoundBridge web page. Then, choose the “Configuration” tab. You can choose your language in one of two ways:
1.From the drop down menu titled “Select Language”, choose from the options available. (Currently, SoundBridge ships with the following language options: English, French, German, Spanish, Swedish, Japanese, Traditional Chinese and Simplified Chinese. Click the “Change” button to switch to the chosen language.
2.If your language is not listed in the above options, you can upload a Language Resource File containing the instructions to display another language. To see if a
“View Current Language Resource File” link. To upload a resource file that you or another
third party has created, use the Browse button on the web page to locate the file on your9 computer’s hard drive, then click “Update” to load it into SoundBridge.
Hint: You can always revert to SoundBridge’s
When you are finished editing your language settings, simply close your web page.
42 | Section 9: Advanced Features | Section 9: Advanced Features | 43 |
