Audio Adjustment
Audio menu
This system has the following three audio menus:
Main <Main> (page 12)
This carries out balance adjustments as well as bass/treble adjustment, the basis for sound quality adjustments. It also sets up and adjusts the position selector, which corrects the ori- entation of the sound image for the listener’s position in the vehicle.
Equalizer <Equalizer> (page 20)
This corrects complex frequency disturbance in a vehicle.
The equalizer function for the component can make fine adjustments of sound quality for each frequency.
Network <Network> (page 30)
This adjusts the reproduced frequency band
Note:
•The 5/∞/2/3 buttons on the head unit
Switching to the audio menu
When the system is ON, you can adjust the sound quality.
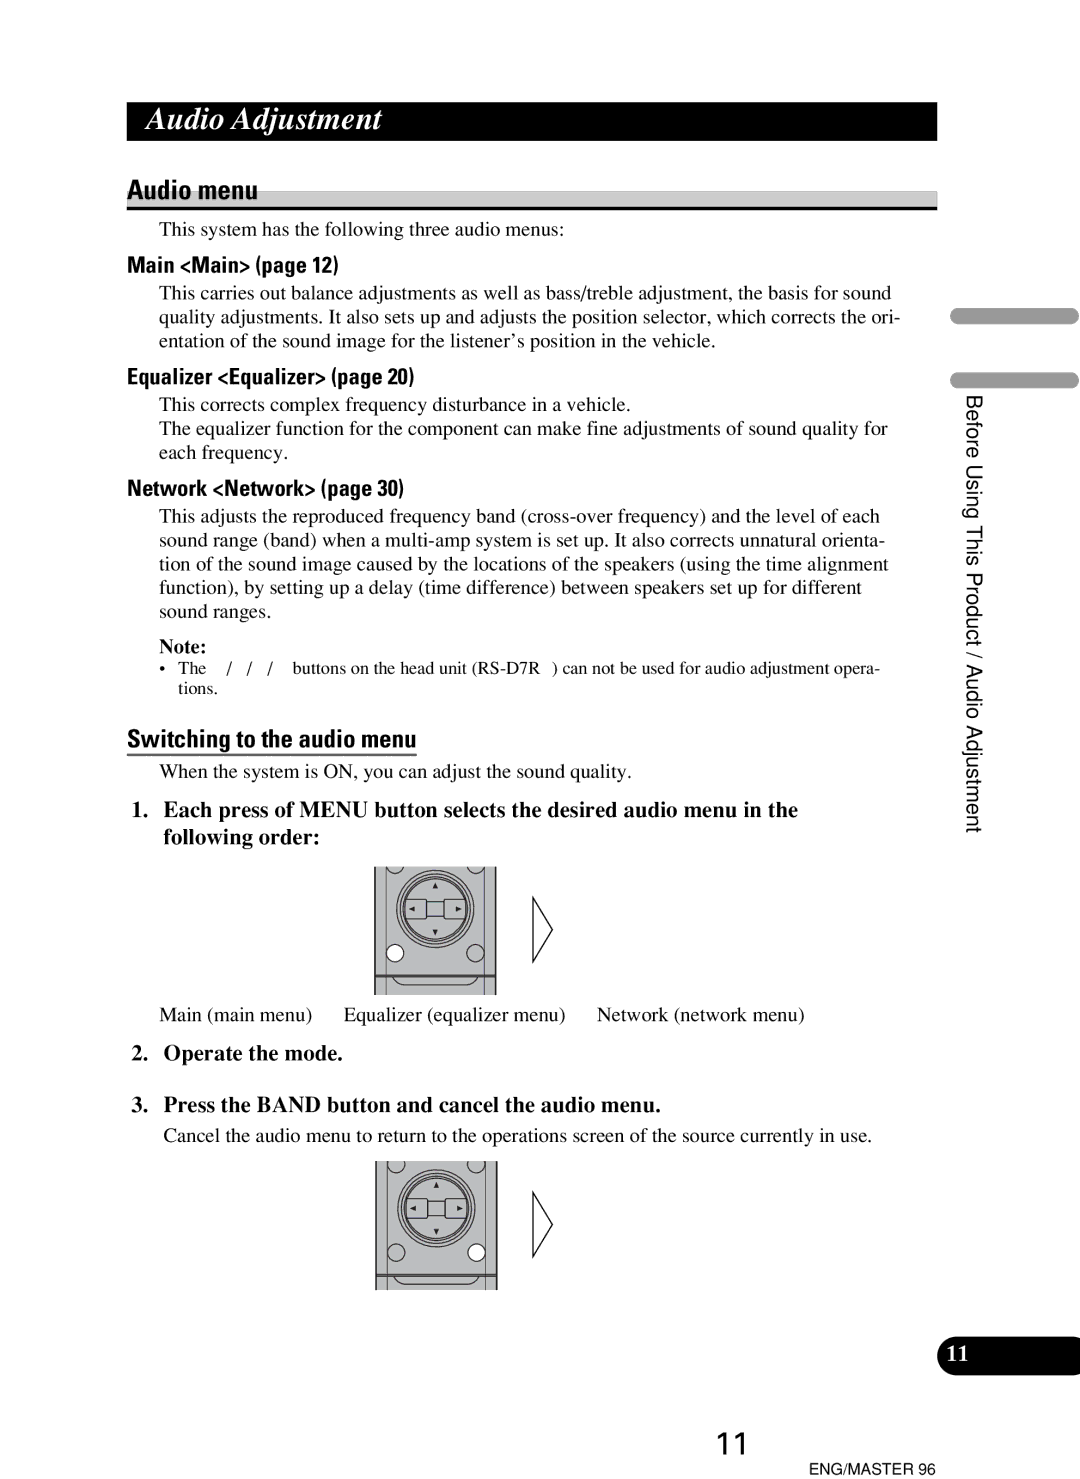
1.Each press of MENU button selects the desired audio menu in the following order:
Main (main menu) = Equalizer (equalizer menu) = Network (network menu)
2.Operate the mode.
3.Press the BAND button and cancel the audio menu.
Cancel the audio menu to return to the operations screen of the source currently in use.
11
Before Using This Product / Audio Adjustment
11
ENG/MASTER 96