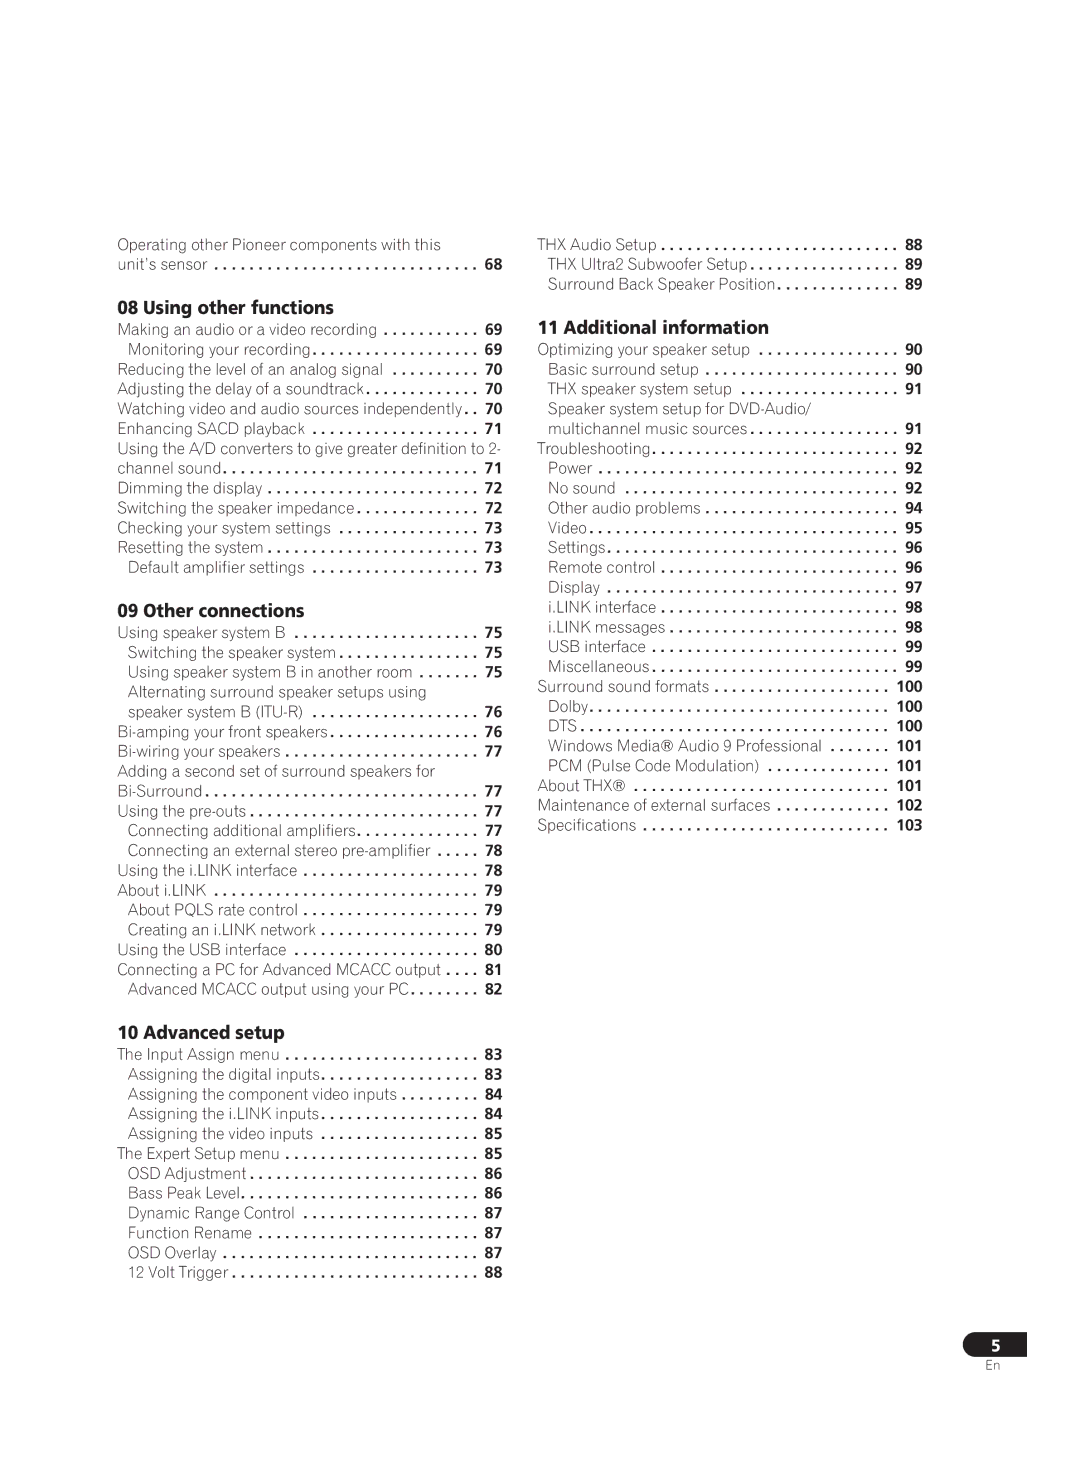
Operating other Pioneer components with this

unit’s sensor . . . . . . . . . . . . . . . . . . . . . . . . . . . . . . 68

08 Using other functions

Making an audio or a video recording . . . . . . . . . . . 69 Monitoring your recording. . . . . . . . . . . . . . . . . . . 69 Reducing the level of an analog signal . . . . . . . . . . 70 Adjusting the delay of a soundtrack. . . . . . . . . . . . . 70 Watching video and audio sources independently . . 70 Enhancing SACD playback . . . . . . . . . . . . . . . . . . . 71 Using the A/D converters to give greater definition to 2- channel sound. . . . . . . . . . . . . . . . . . . . . . . . . . . . . 71 Dimming the display . . . . . . . . . . . . . . . . . . . . . . . . 72 Switching the speaker impedance . . . . . . . . . . . . . . 72 Checking your system settings . . . . . . . . . . . . . . . . 73 Resetting the system . . . . . . . . . . . . . . . . . . . . . . . . 73 Default amplifier settings . . . . . . . . . . . . . . . . . . . 73

09 Other connections

Using speaker system B . . . . . . . . . . . . . . . . . . . . . 75 Switching the speaker system . . . . . . . . . . . . . . . . 75 Using speaker system B in another room . . . . . . . 75 Alternating surround speaker setups using speaker system B (ITU-R) . . . . . . . . . . . . . . . . . . . 76

Bi-ampingyour front speakers . . . . . . . . . . . . . . . . . 76 Bi-wiringyour speakers . . . . . . . . . . . . . . . . . . . . . . 77 Adding a second set of surround speakers for Bi-Surround . . . . . . . . . . . . . . . . . . . . . . . . . . . . . . . 77 Using the pre-outs . . . . . . . . . . . . . . . . . . . . . . . . . . 77

Connecting additional amplifiers. . . . . . . . . . . . . . 77 Connecting an external stereo pre-amplifier . . . . . 78 Using the i.LINK interface . . . . . . . . . . . . . . . . . . . . 78 About i.LINK . . . . . . . . . . . . . . . . . . . . . . . . . . . . . . 79 About PQLS rate control . . . . . . . . . . . . . . . . . . . . 79 Creating an i.LINK network . . . . . . . . . . . . . . . . . . 79 Using the USB interface . . . . . . . . . . . . . . . . . . . . . 80 Connecting a PC for Advanced MCACC output . . . . 81 Advanced MCACC output using your PC. . . . . . . . 82

THX Audio Setup . . . . . . . . . . . . . . . . . . . . . . . . . . . 88

THX Ultra2 Subwoofer Setup . . . . . . . . . . . . . . . . . 89

Surround Back Speaker Position. . . . . . . . . . . . . . 89

11 Additional information

Optimizing your speaker setup . . . . . . . . . . . . . . . . 90 Basic surround setup . . . . . . . . . . . . . . . . . . . . . . 90 THX speaker system setup . . . . . . . . . . . . . . . . . . 91 Speaker system setup for DVD-Audio/multichannel music sources . . . . . . . . . . . . . . . . . 91

Troubleshooting. . . . . . . . . . . . . . . . . . . . . . . . . . . . 92 Power . . . . . . . . . . . . . . . . . . . . . . . . . . . . . . . . . . 92 No sound . . . . . . . . . . . . . . . . . . . . . . . . . . . . . . . 92 Other audio problems . . . . . . . . . . . . . . . . . . . . . . 94 Video . . . . . . . . . . . . . . . . . . . . . . . . . . . . . . . . . . . 95 Settings. . . . . . . . . . . . . . . . . . . . . . . . . . . . . . . . . 96 Remote control . . . . . . . . . . . . . . . . . . . . . . . . . . . 96 Display . . . . . . . . . . . . . . . . . . . . . . . . . . . . . . . . . 97 i.LINK interface . . . . . . . . . . . . . . . . . . . . . . . . . . . 98 i.LINK messages . . . . . . . . . . . . . . . . . . . . . . . . . . 98 USB interface . . . . . . . . . . . . . . . . . . . . . . . . . . . . 99 Miscellaneous . . . . . . . . . . . . . . . . . . . . . . . . . . . . 99

Surround sound formats . . . . . . . . . . . . . . . . . . . . 100 Dolby. . . . . . . . . . . . . . . . . . . . . . . . . . . . . . . . . . 100 DTS . . . . . . . . . . . . . . . . . . . . . . . . . . . . . . . . . . . 100 Windows Media® Audio 9 Professional . . . . . . . 101 PCM (Pulse Code Modulation) . . . . . . . . . . . . . . 101

About THX® . . . . . . . . . . . . . . . . . . . . . . . . . . . . . 101 Maintenance of external surfaces . . . . . . . . . . . . . 102 Specifications . . . . . . . . . . . . . . . . . . . . . . . . . . . . 103

10 Advanced setup

The Input Assign menu . . . . . . . . . . . . . . . . . . . . . . 83

Assigning the digital inputs. . . . . . . . . . . . . . . . . . 83

Assigning the component video inputs . . . . . . . . . 84

Assigning the i.LINK inputs . . . . . . . . . . . . . . . . . . 84

Assigning the video inputs . . . . . . . . . . . . . . . . . . 85

The Expert Setup menu . . . . . . . . . . . . . . . . . . . . . . 85 OSD Adjustment . . . . . . . . . . . . . . . . . . . . . . . . . . 86 Bass Peak Level. . . . . . . . . . . . . . . . . . . . . . . . . . . 86 Dynamic Range Control . . . . . . . . . . . . . . . . . . . . 87 Function Rename . . . . . . . . . . . . . . . . . . . . . . . . . 87 OSD Overlay . . . . . . . . . . . . . . . . . . . . . . . . . . . . . 87 12 Volt Trigger . . . . . . . . . . . . . . . . . . . . . . . . . . . . 88

5

En

Page 5
Image 5
Pioneer VSA-AX10Ai manual Using other functions, Other connections, Additional information, Advanced setup

VSA-AX10Ai specifications

The Pioneer VSA-AX10Ai is a high-end, multi-channel home theater receiver that stands out for its robust performance and cutting-edge technologies. Launched as a flagship model, it combines advanced audio processing capabilities with a formidable power output, catering to both audiophiles and home theater enthusiasts.

One of the standout features of the VSA-AX10Ai is its Direct Energy HD Amplification technology, which incorporates a Class D amplifier design. This technology not only ensures high power efficiency but also minimizes distortion, delivering pristine sound quality at high volumes. The receiver boasts a substantial output of 200 watts per channel over eight channels, making it an ideal choice for driving large, demanding speaker systems.

In terms of audio decoding, the VSA-AX10Ai supports a multitude of formats, including Dolby TrueHD and DTS-HD Master Audio. This feature allows the receiver to provide a cinematic surround sound experience, ensuring that every detail of the soundtrack is delivered with accuracy and clarity. The device is also equipped with a high-quality 24-bit/192 kHz DAC, assuring top-notch sound reproduction from a variety of sources.

The VSA-AX10Ai features Pioneer’s sophisticated MCACC (Multi-Channel Acoustic Calibration System), which automatically calibrates the audio output to match the room's acoustics. By measuring sound from each speaker and adjusting levels, delays, and equalization, it ensures a balanced sound field, regardless of room shape or speaker placement.

Connectivity is extensive, with multiple HDMI inputs offering 4K pass-through and upscaling capabilities. This makes the receiver well-suited for modern home theater setups that require integration with 4K Ultra HD displays. It also includes legacy inputs, ensuring compatibility with older audio and video equipment.

Another noteworthy characteristic is the receiver’s build quality. The VSA-AX10Ai features a rigid chassis designed to minimize vibration as well as a premium-grade power supply, which contributes to its overall reliability and performance.

Overall, the Pioneer VSA-AX10Ai encapsulates the essence of high-fidelity home audio and video. With its extensive feature set, exceptional sound quality, and robust performance capabilities, it remains a top choice for those seeking a comprehensive and immersive home theater experience. Whether for music playback or movie watching, this receiver delivers an unparalleled audio experience that stands the test of time.