Making a Recording

Making an Audio or a Video Recording

The following steps show you how to make an audio or a video recording from the built in tuner, or from an audio or video source connected to the receiver (such as a CD player or TV). Recordings can be made to a CD- Recorder, cassette deck, MD, VCR, or DVR deck connected to the CD-R/TAPE/MD, VCR or DVR in/out connectors.

memo

The receiver's volume, balance tone (bass, treble, loudness), and surround effects have no

effect on the recorded signal.


3￿ 1￿ Á￿


MPX

DTV ON / OFF DTV MENU


7￿ 4￿ ¢￿


2

DSP TEST TONE

1

CH SELECT

CH LEVEL FL DIMMER


ë￿


LOUDNESS FUNCTION MUTING SETUP

AV PRE-PROGRAMMED AND LEARNING

REMOTE CONTROL UNIT

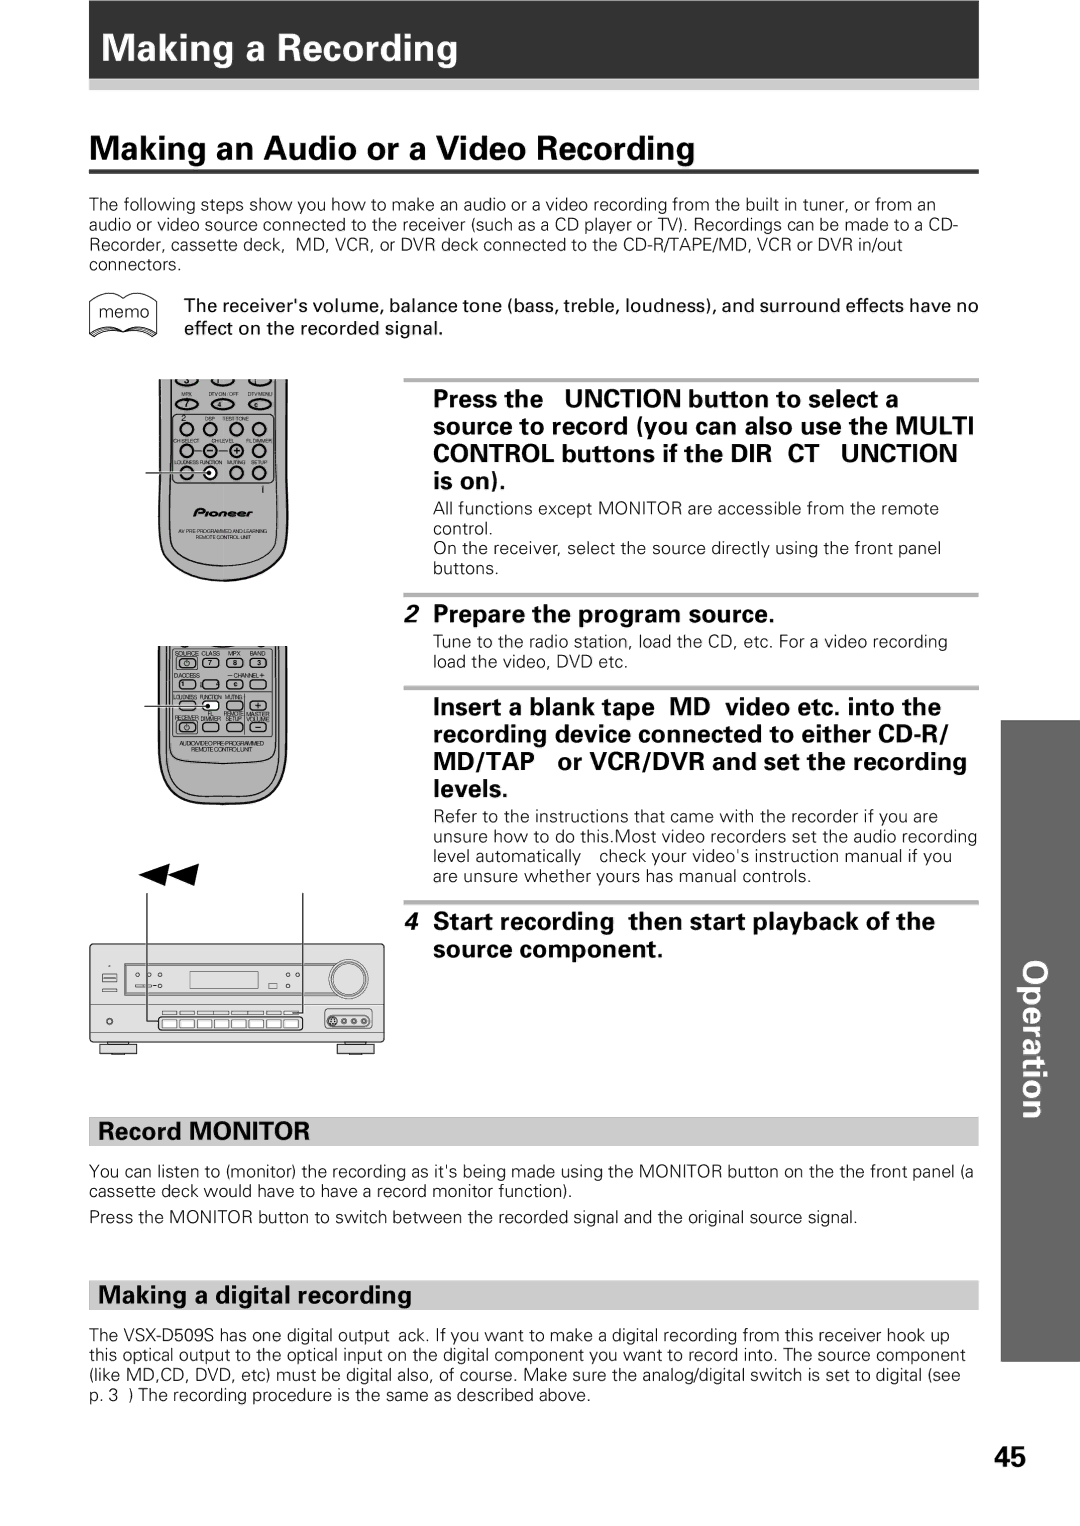
1Press the FUNCTION button to select a source to record (you can also use the MULTI CONTROL buttons if the DIRECT FUNCTION

is on).

All functions except MONITOR are accessible from the remote control.

On the receiver, select the source directly using the front panel buttons.

2Prepare the program source.


SOURCE CLASS

MPX

BAND


7￿

8￿

3


D.ACCESS

CHANNEL


1

1￿ Á￿ 4￿ ¢￿

LOUDNESS FUNCTION MUTING


FL

REMOTE MASTER


RECEIVER DIMMER

SETUP

VOLUME


AUDIO/VIDEOPRE-PROGRAMMED

REMOTECONTROLUNIT

1 MONITOR

Tune to the radio station, load the CD, etc. For a video recording load the video, DVD etc.

3Insert a blank tape, MD, video etc. into the recording device connected to either CD-R/ MD/TAPE or VCR/DVR and set the recording

levels.

Refer to the instructions that came with the recorder if you are unsure how to do this.Most video recorders set the audio recording level automatically—check your video's instruction manual if you are unsure whether yours has manual controls.

4Start recording, then start playback of the source component.

Operation

Record MONITOR

You can listen to (monitor) the recording as it's being made using the MONITOR button on the the front panel (a cassette deck would have to have a record monitor function).

Press the MONITOR button to switch between the recorded signal and the original source signal.

Making a digital recording

The VSX-D509S has one digital output jack. If you want to make a digital recording from this receiver hook up this optical output to the optical input on the digital component you want to record into. The source component (like MD,CD, DVD, etc) must be digital also, of course. Make sure the analog/digital switch is set to digital (see p. 37) The recording procedure is the same as described above.

45

Page 45
Image 45
Pioneer VSX-D409 Making a Recording, Making an Audio or a Video Recording, Prepare the program source, Record Monitor

VSX-D409, VSX-D509S specifications

The Pioneer VSX-D509S and VSX-D409 are two standout receivers from Pioneer's lineup, renowned for their robust performance and user-friendly features. Designed for home theater enthusiasts, both models offer a solid foundation for an immersive audio experience.

The VSX-D509S features a power output of 100 watts per channel at 8 ohms, ensuring ample power to drive a variety of speakers with clarity and depth. Its dual-zone capability allows users to enjoy two different audio sources in separate areas, making it an excellent choice for larger homes or multi-room audio setups. The receiver also includes Dolby Digital and DTS decoding, giving users access to high-quality surround sound for a more engaging movie and music experience.

Meanwhile, the VSX-D409 also offers a respectable 100 watts per channel, delivering dynamic range and sound fidelity that enhances any listening environment. Although it lacks some of the advanced features of the 509S, it still provides a solid surround sound experience through Dolby Digital and DTS processing capabilities.

Both models come equipped with Pioneer's innovative MCACC (Multi-Channel Acoustic Calibration System), allowing for automated speaker calibration. This technology automatically adjusts levels and delays, optimizing the sound for various room acoustics, and ensuring that users can enjoy their media in the best possible quality.

In terms of connectivity, the VSX-D509S and VSX-D409 come with multiple inputs, including optical and coaxial digital audio inputs, ensuring compatibility with a wide range of audio sources. They also feature composite and S-Video inputs for video devices, providing versatility for users with different systems.

The design of these receivers is sleek and functional, making them a stylish addition to any home entertainment setup. The user-friendly interface and remote control provide easy access to settings and features, allowing users to tailor their listening experience effortlessly.

In summary, the Pioneer VSX-D509S and VSX-D409 are excellent choices for anyone looking to enhance their home theater experience. With powerful amplification, advanced decoding technologies, speaker calibration, and versatile connectivity options, these receivers accommodate both audiophiles and casual listeners alike, making them valuable components in any audio system.