SCREEN Menu
SCREEN Menu (continued)
Item
Description
| Using the ▲/▼ buttons turns on/off the message function. |
| TURN ON ó TURN OFF |
| When the TURN ON is selected, the following message function works. |
| “AUTO IN PROGRESS” while automatically adjusting |
| “NO INPUT IS DETECTED” |
| “SYNC IS OUT OF RANGE” |
| “Searching….” while searching for the input |
MESSAGE | “Detecting….” while an input signal is detected |
The indication of the input signal displayed by changing | |
| The indication of the aspect ratio displayed by changing |
| The indication of the PICTURE MODE displayed by changing |
| The indication of the ACTIVE IRIS displayed by changing |
| The indication of the MY MEMORY displayed by changing |
| The indication of "FREEZE" and "II" while freezing the screen by |
| pressing the FREEZE button. |
| • When the TURN OFF is selected, please remember if the picture |
| is freezing. Do not mistake freezing for a malfunction (21). |
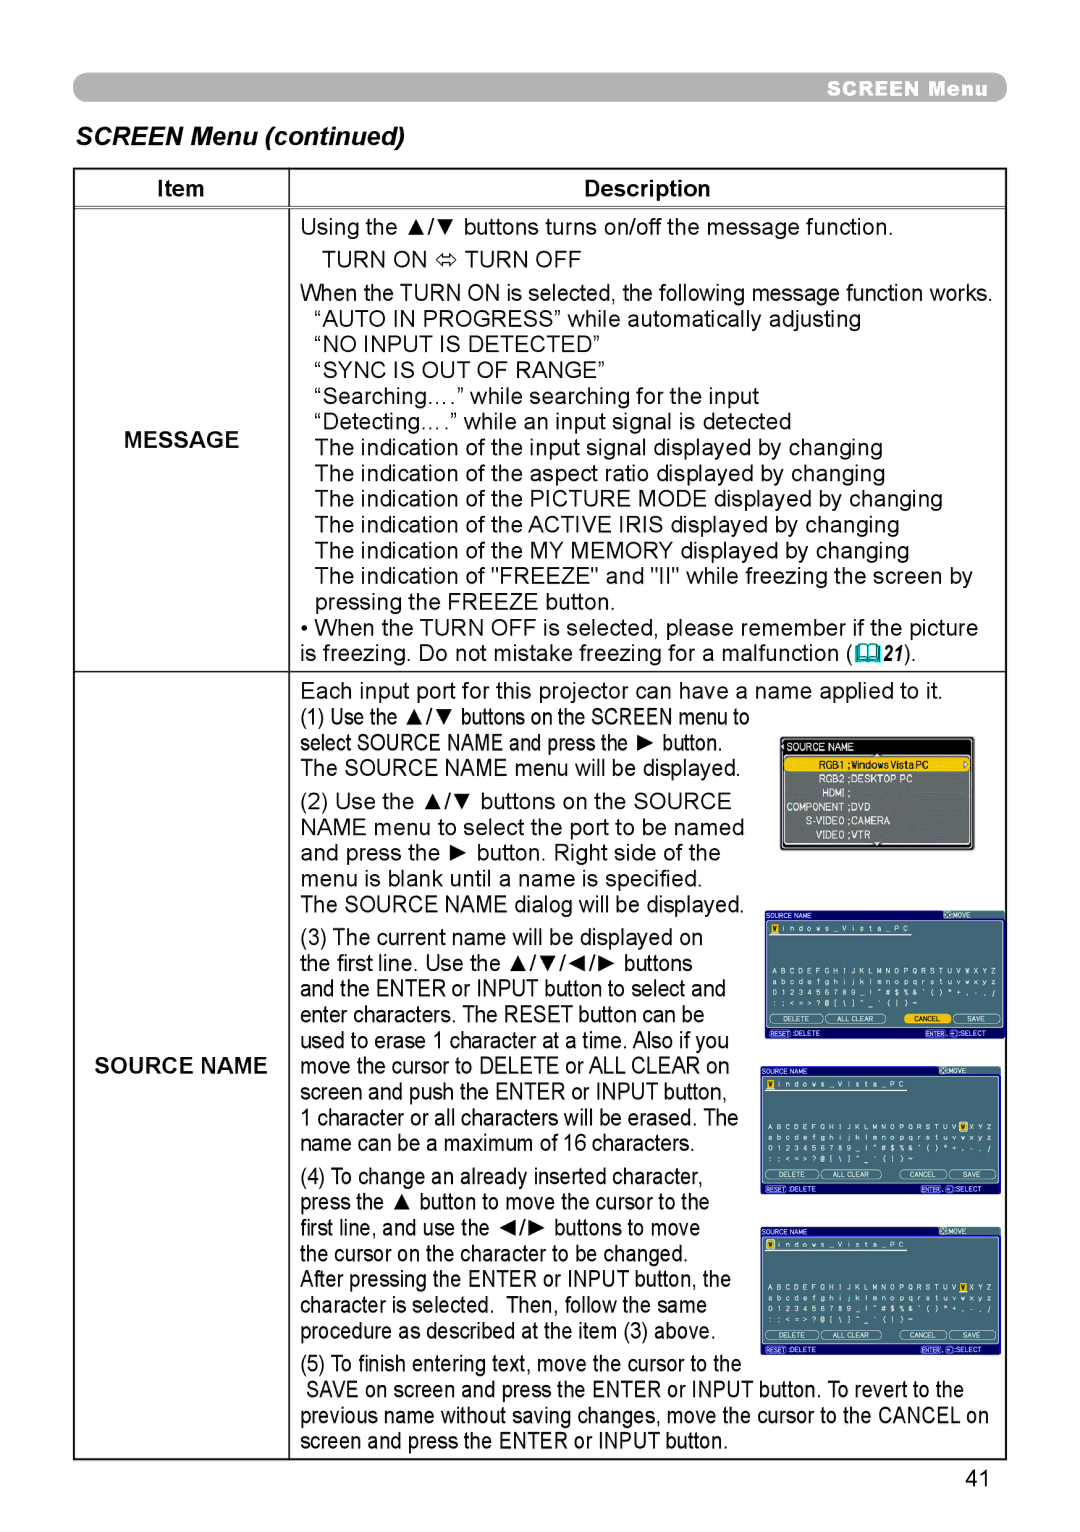
Each input port for this projector can have a name applied to it.
(1)Use the ▲/▼ buttons on the SCREEN menu to select SOURCE NAME and press the ► button. The SOURCE NAME menu will be displayed.
(2)Use the ▲/▼ buttons on the SOURCE
NAME menu to select the port to be named and press the ► button. Right side of the menu is blank until a name is specified.
The SOURCE NAME dialog will be displayed.
(3)The current name will be displayed on
the first line. Use the ▲/▼/◄/► buttons and the ENTER or INPUT button to select and enter characters. The RESET button can be used to erase 1 character at a time. Also if you
SOURCE NAME move the cursor to DELETE or ALL CLEAR on screen and push the ENTER or INPUT button, 1 character or all characters will be erased. The name can be a maximum of 16 characters.
(4)To change an already inserted character, press the ▲ button to move the cursor to the first line, and use the ◄/► buttons to move the cursor on the character to be changed.
After pressing the ENTER or INPUT button, the character is selected. Then, follow the same procedure as described at the item (3) above.
(5)To finish entering text, move the cursor to the
SAVE on screen and press the ENTER or INPUT button. To revert to the previous name without saving changes, move the cursor to the CANCEL on screen and press the ENTER or INPUT button.
41