Click on the Smart Touch icon ![]() located on the Windows system tray. Uncheck [Enable Warning] from the menu that pops up. Click the [No] button in the message box that appears.
located on the Windows system tray. Uncheck [Enable Warning] from the menu that pops up. Click the [No] button in the message box that appears.
If you would like to be prompted with this message again,
you may click on the Smart Touch icon ![]() and check Attention [Enable Warning] from the menu that pops up. Click the
and check Attention [Enable Warning] from the menu that pops up. Click the
[Yes] button in the message box that appears.
Maintenance
Calibrating the Scanner
Calibrate the scanner if colors appear in areas that should be white, or colors of the scanned image and the original vary a lot. This allows you to adjust and compensate for variations which can occur in the optical component over time by its nature.
The following describes how to calibrate the scanner:
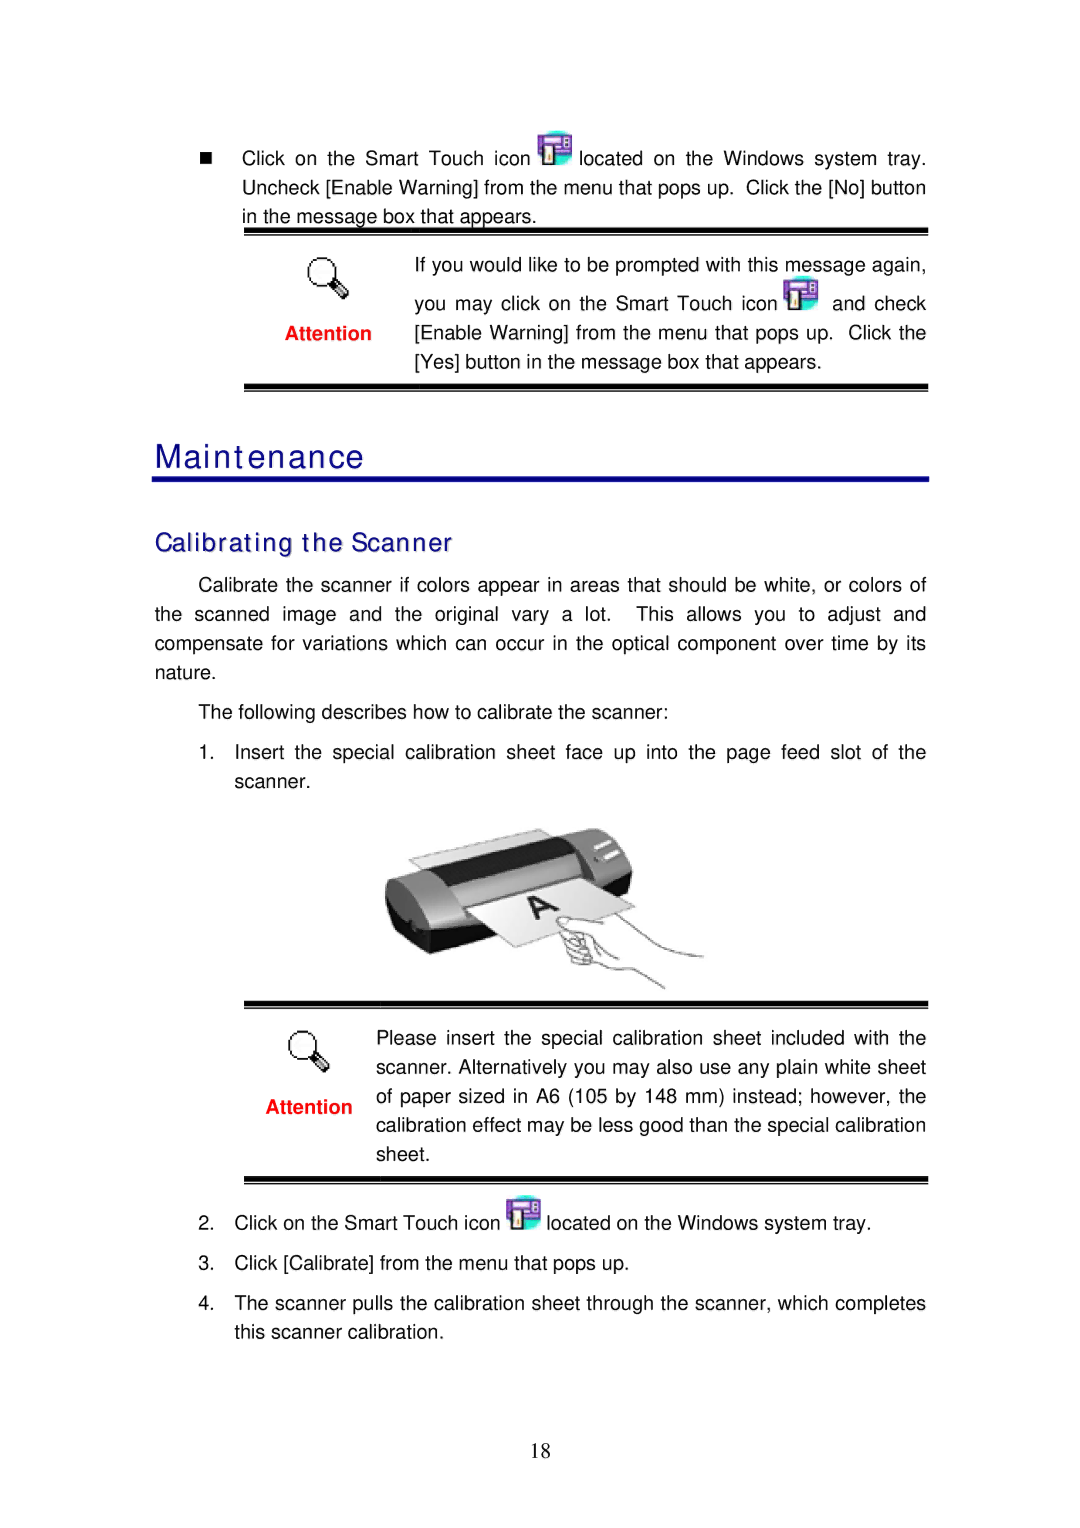
1.Insert the special calibration sheet face up into the page feed slot of the scanner.
Please insert the special calibration sheet included with the scanner. Alternatively you may also use any plain white sheet
Attention of paper sized in A6 (105 by 148 mm) instead; however, the calibration effect may be less good than the special calibration
sheet.
2.Click on the Smart Touch icon ![]() located on the Windows system tray.
located on the Windows system tray.
3.Click [Calibrate] from the menu that pops up.
4.The scanner pulls the calibration sheet through the scanner, which completes this scanner calibration.
18