Installing and Setting up the Scanner
Please follow the
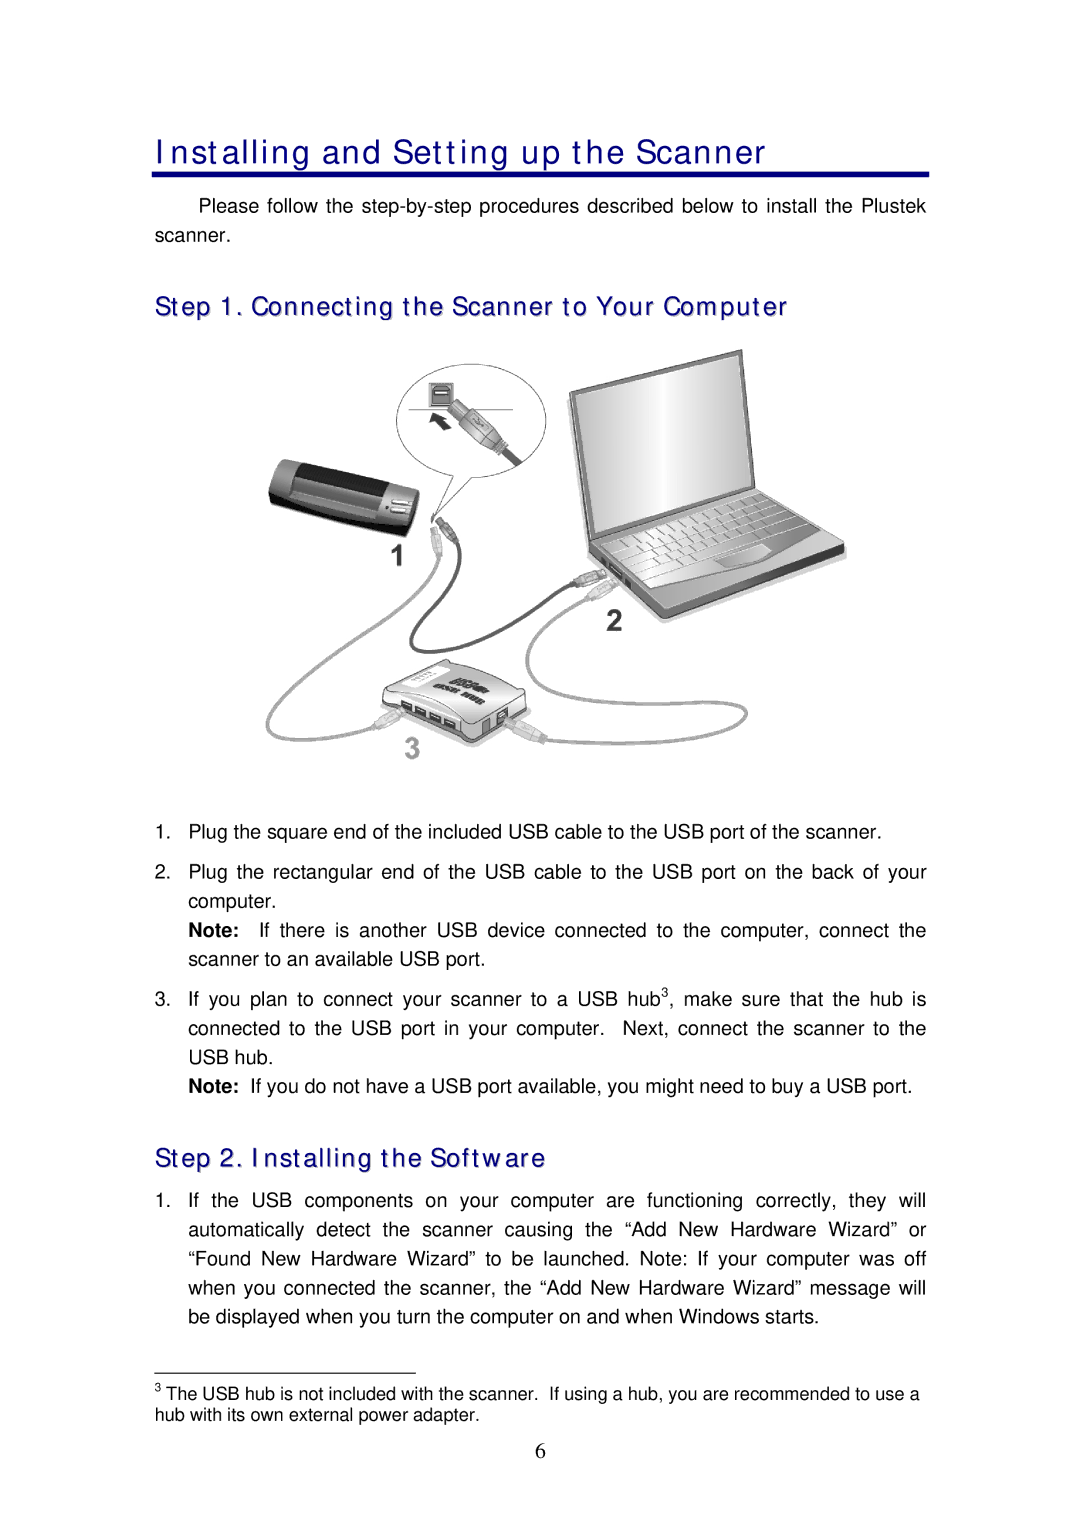
Step 1. Connecting the Scanner to Your Computer
1.Plug the square end of the included USB cable to the USB port of the scanner.
2.Plug the rectangular end of the USB cable to the USB port on the back of your computer.
Note: If there is another USB device connected to the computer, connect the scanner to an available USB port.
3.If you plan to connect your scanner to a USB hub3, make sure that the hub is connected to the USB port in your computer. Next, connect the scanner to the USB hub.
Note: If you do not have a USB port available, you might need to buy a USB port.
Step 2. Installing the Software
1.If the USB components on your computer are functioning correctly, they will automatically detect the scanner causing the “Add New Hardware Wizard” or “Found New Hardware Wizard” to be launched. Note: If your computer was off when you connected the scanner, the “Add New Hardware Wizard” message will be displayed when you turn the computer on and when Windows starts.
3The USB hub is not included with the scanner. If using a hub, you are recommended to use a hub with its own external power adapter.
6