2.For Windows 98 & 2000
a.Click on the [Next] button when the “Add New Hardware Wizard” window is displayed.
b.Select “Search For The Best Driver For Your Device [Recommended]” and click on the [Next] button.
c.The next window will ask you where to search to find the drive. Select [CD- ROM drive], and deselect [Floppy disk drives] if it is checked.
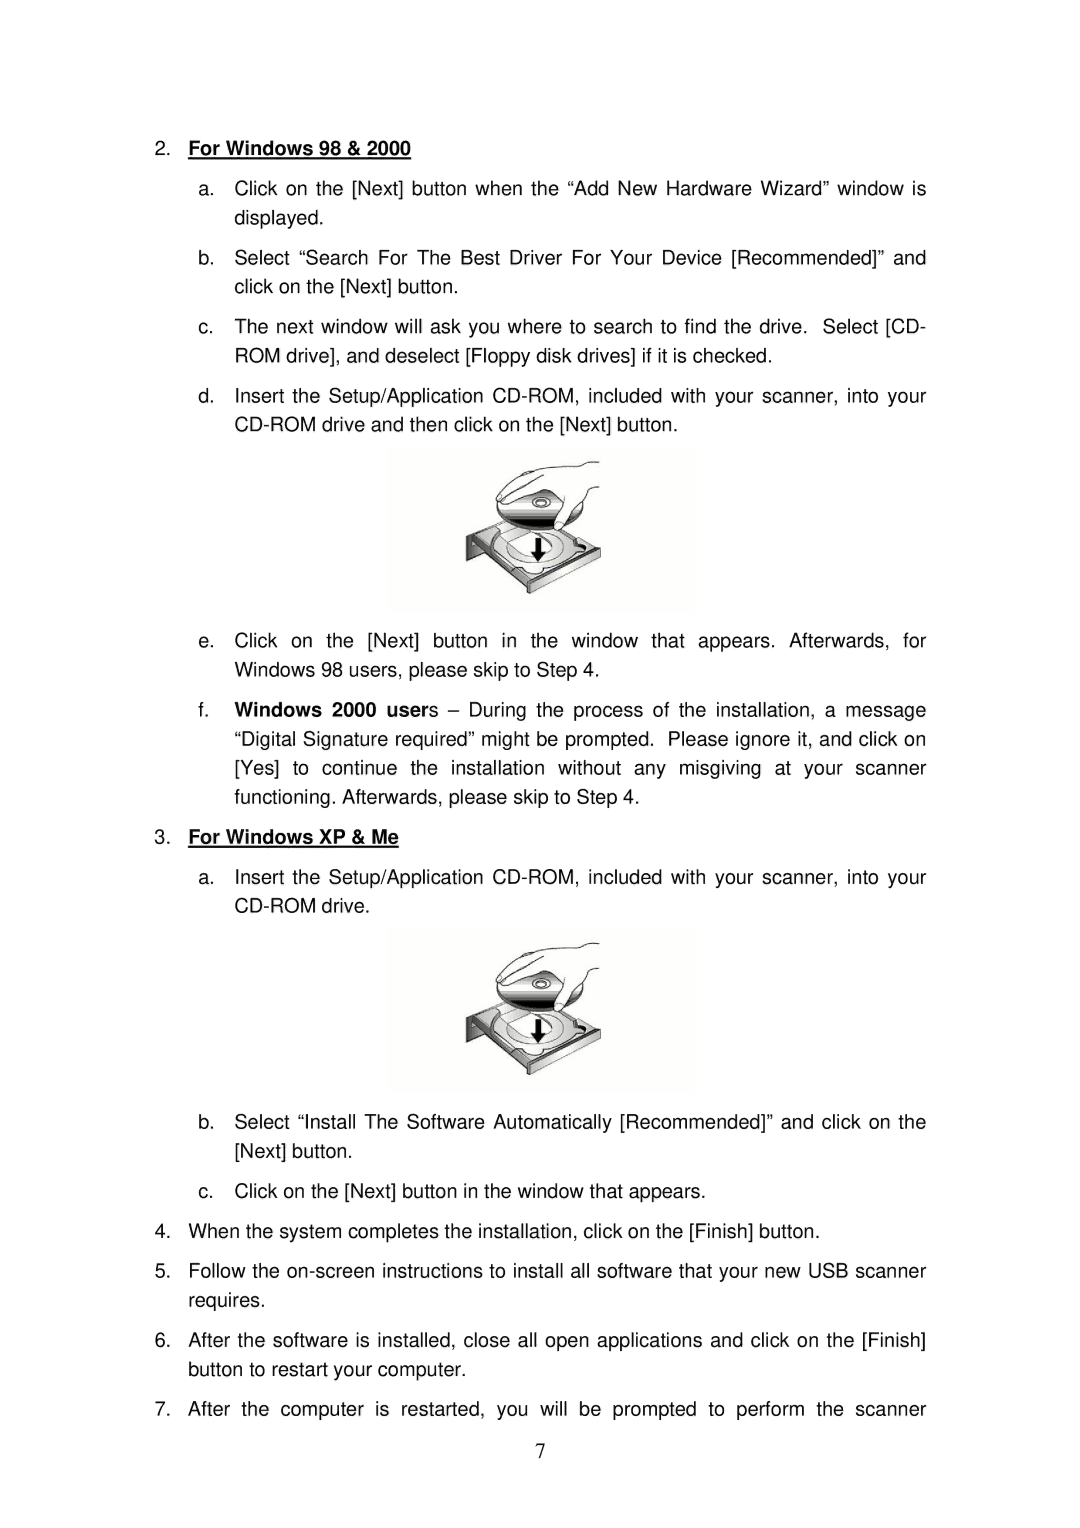
d.Insert the Setup/Application
e.Click on the [Next] button in the window that appears. Afterwards, for Windows 98 users, please skip to Step 4.
f.Windows 2000 users – During the process of the installation, a message “Digital Signature required” might be prompted. Please ignore it, and click on [Yes] to continue the installation without any misgiving at your scanner functioning. Afterwards, please skip to Step 4.
3.For Windows XP & Me
a.Insert the Setup/Application
b.Select “Install The Software Automatically [Recommended]” and click on the [Next] button.
c.Click on the [Next] button in the window that appears.
4.When the system completes the installation, click on the [Finish] button.
5.Follow the
6.After the software is installed, close all open applications and click on the [Finish] button to restart your computer.
7. After the computer is restarted, you will be prompted to perform the scanner
7