![]() in the Windows system tray, and then choose Button Configuration… in the
in the Windows system tray, and then choose Button Configuration… in the
2.In the Button Configuration window, choose from the dropdown list of Button Template to select “File Utility”, and keep in mind the default saving folder show in the “Saving folder” dropdown list.
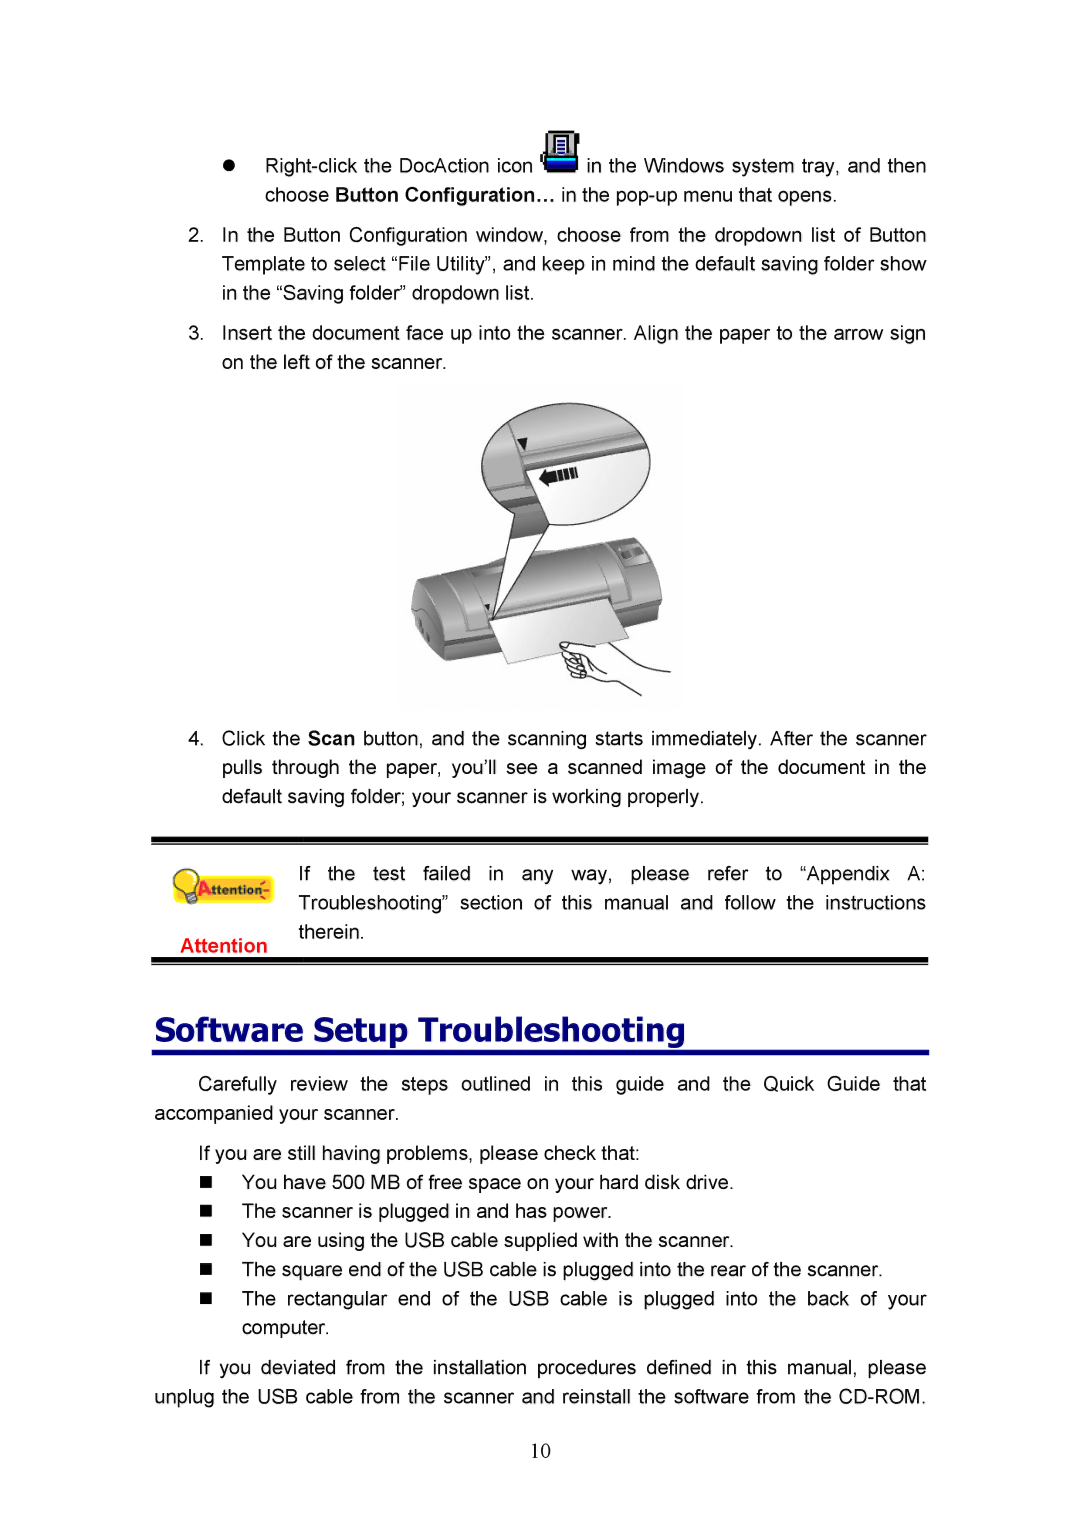
3.Insert the document face up into the scanner. Align the paper to the arrow sign on the left of the scanner.
4.Click the Scan button, and the scanning starts immediately. After the scanner pulls through the paper, you’ll see a scanned image of the document in the default saving folder; your scanner is working properly.
Attention
If the test failed in any way, please refer to “Appendix A: Troubleshooting” section of this manual and follow the instructions therein.
Software Setup Troubleshooting
Carefully review the steps outlined in this guide and the Quick Guide that accompanied your scanner.
If you are still having problems, please check that:
You have 500 MB of free space on your hard disk drive. The scanner is plugged in and has power.
You are using the USB cable supplied with the scanner.
The square end of the USB cable is plugged into the rear of the scanner. The rectangular end of the USB cable is plugged into the back of your computer.
If you deviated from the installation procedures defined in this manual, please unplug the USB cable from the scanner and reinstall the software from the
10
