MAINTENANCE
Active Descent Control (ADC) Fluid |
| |
Fluid Change |
| |
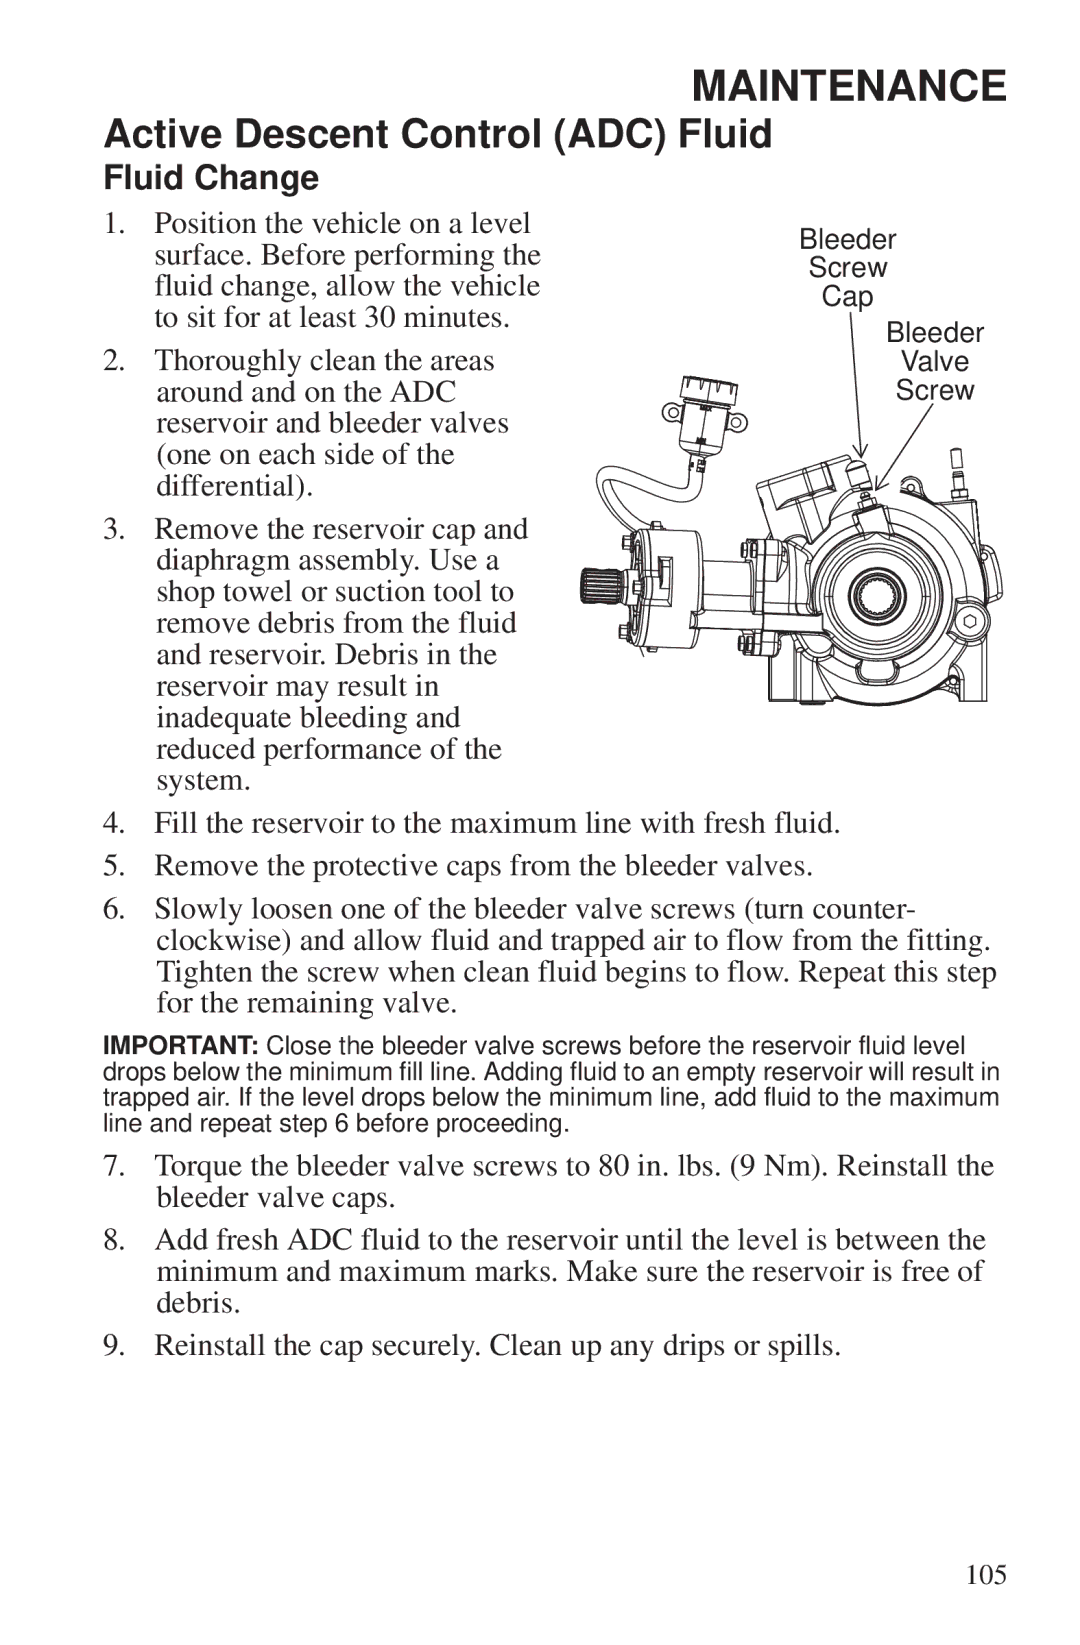
1. Position the vehicle on a level | Bleeder | |
surface. Before performing the | ||
Screw | ||
fluid change, allow the vehicle | ||
Cap | ||
to sit for at least 30 minutes. | ||
Bleeder | ||
2. Thoroughly clean the areas | ||
Valve | ||
around and on the ADC | Screw | |
reservoir and bleeder valves |
| |
(one on each side of the |
| |
differential). |
|
3. Remove the reservoir cap and diaphragm assembly. Use a shop towel or suction tool to remove debris from the fluid and reservoir. Debris in the reservoir may result in inadequate bleeding and reduced performance of the system.
4.Fill the reservoir to the maximum line with fresh fluid.
5.Remove the protective caps from the bleeder valves.
6.Slowly loosen one of the bleeder valve screws (turn counter- clockwise) and allow fluid and trapped air to flow from the fitting. Tighten the screw when clean fluid begins to flow. Repeat this step for the remaining valve.
IMPORTANT: Close the bleeder valve screws before the reservoir fluid level drops below the minimum fill line. Adding fluid to an empty reservoir will result in trapped air. If the level drops below the minimum line, add fluid to the maximum line and repeat step 6 before proceeding.
7.Torque the bleeder valve screws to 80 in. lbs. (9 Nm). Reinstall the bleeder valve caps.
8.Add fresh ADC fluid to the reservoir until the level is between the minimum and maximum marks. Make sure the reservoir is free of debris.
9.Reinstall the cap securely. Clean up any drips or spills.
105