The 120 film adapters
(for 2 1/4 x 2 1/4 and
2 1/4 x 2 3/4 in. film)
1Open the 4x5 carrier as described previously.
2Locate the appropriate adapter for your image. One is designed for 2 1/4 x 2 3/4 in. images, and one is for 2 1/4 x
2 1/4 in. square images. Note: The frame of film must be cut from the film strip in order to be scanned.
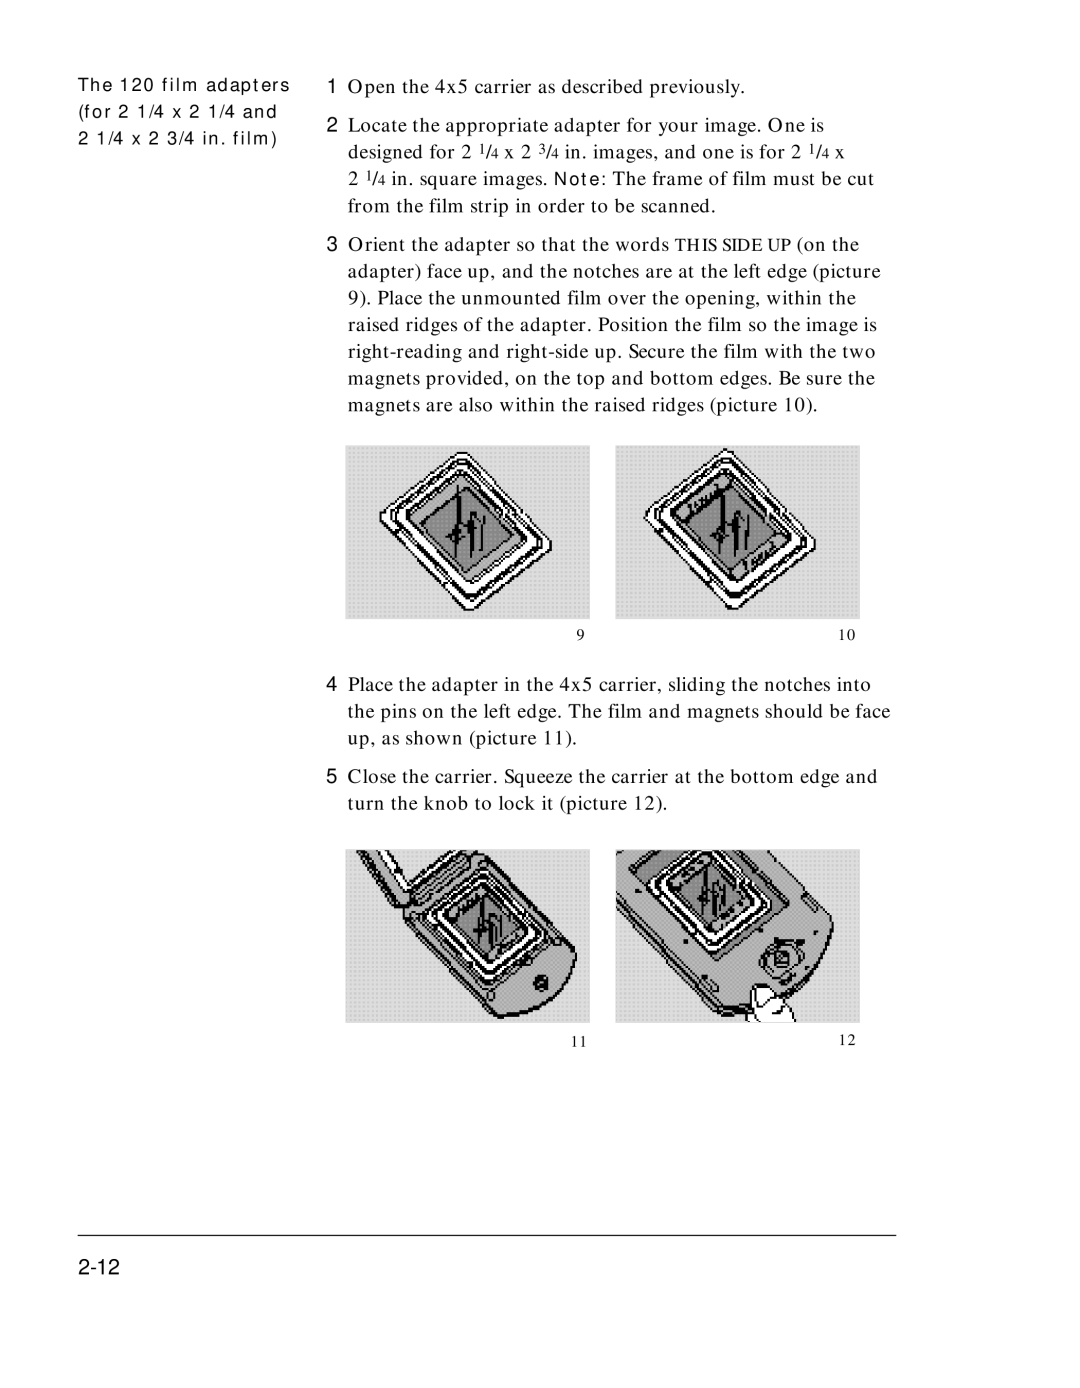
3Orient the adapter so that the words THIS SIDE UP (on the adapter) face up, and the notches are at the left edge (picture 9). Place the unmounted film over the opening, within the raised ridges of the adapter. Position the film so the image is
9 | 10 |
4Place the adapter in the 4x5 carrier, sliding the notches into the pins on the left edge. The film and magnets should be face up, as shown (picture 11).
5Close the carrier. Squeeze the carrier at the bottom edge and turn the knob to lock it (picture 12).
11 | 12 |
