Polycom RMX 4000 Hardware Guide
Connecting the RMX 4000 to -48DC SELV Power
1On the DC Power Rail Modules (PRM’s), set the two circuit breakers to OFF. For more information on circuit breaker types, see "Types of DC Circuit Breakers installed on the RMX 4000” on page
2Ensure that the cables from the Main that supplies electricity to the DC power units are OFF or disconnected.
3Remove the transparent plastic caps on the terminal block.
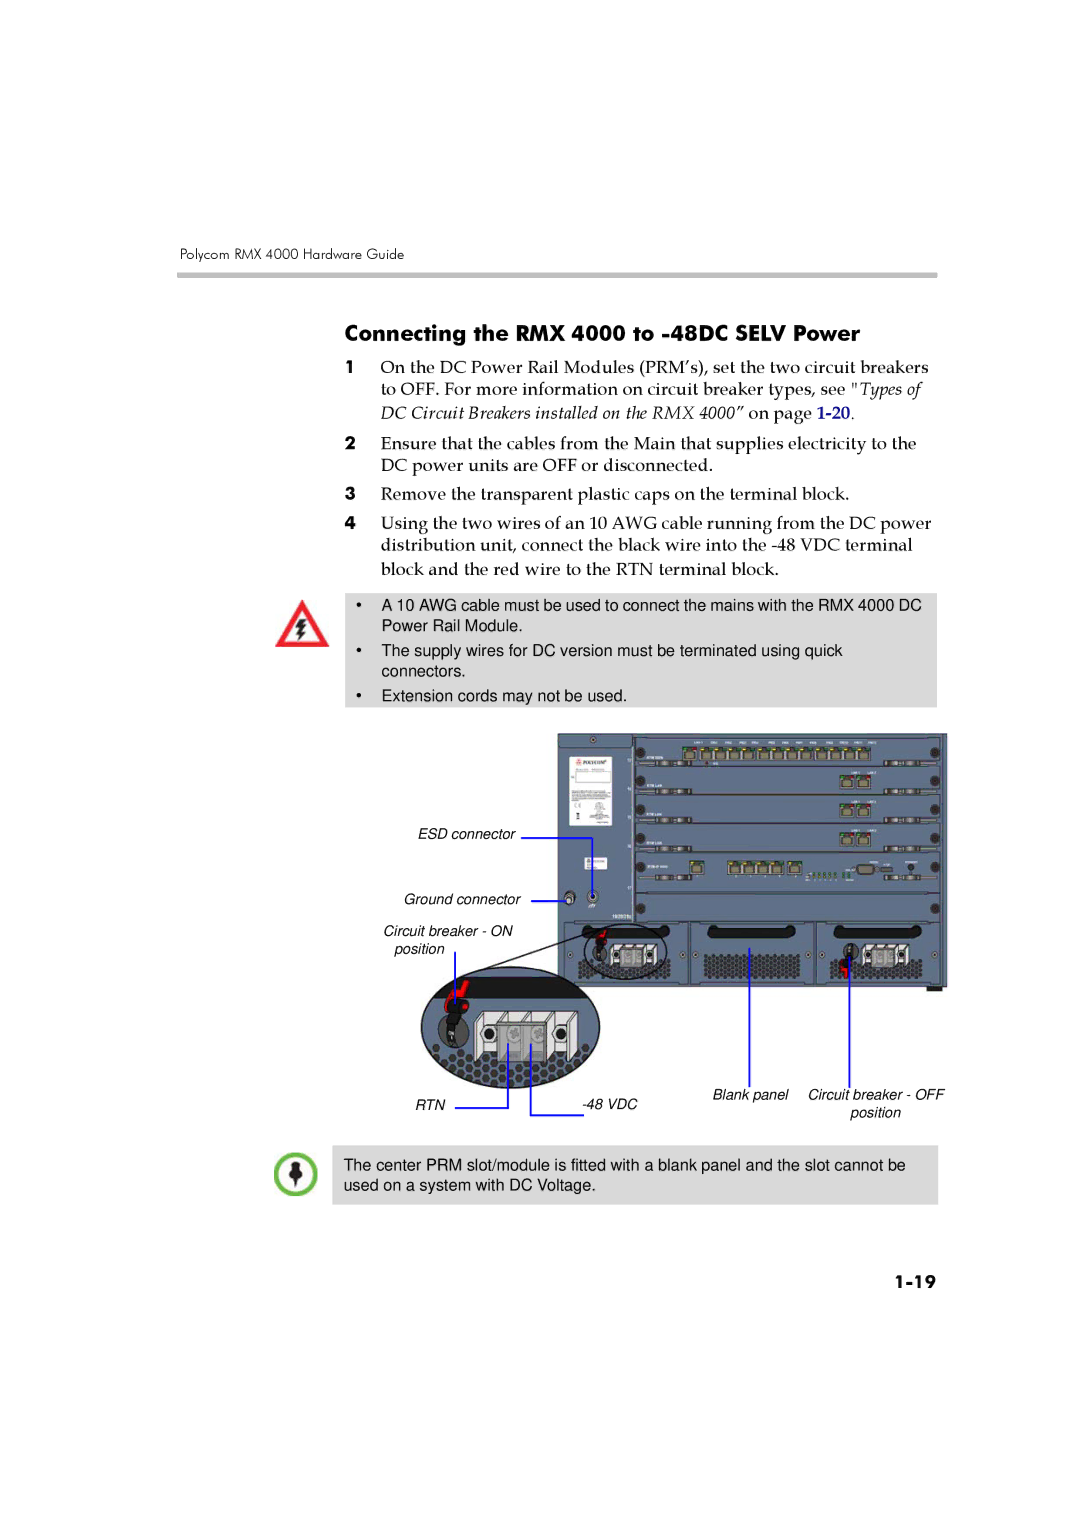
4Using the two wires of an 10 AWG cable running from the DC power distribution unit, connect the black wire into the
•A 10 AWG cable must be used to connect the mains with the RMX 4000 DC Power Rail Module.
•The supply wires for DC version must be terminated using quick connectors.
•Extension cords may not be used.
ESD connector
Ground connector
Circuit breaker - ON position
RTN
| Blank panel Circuit |
| breaker - OFF | ||
|
| ||||
|
| ||||
|
| position | |||
|
|
|
| ||
The center PRM slot/module is fitted with a blank panel and the slot cannot be used on a system with DC Voltage.