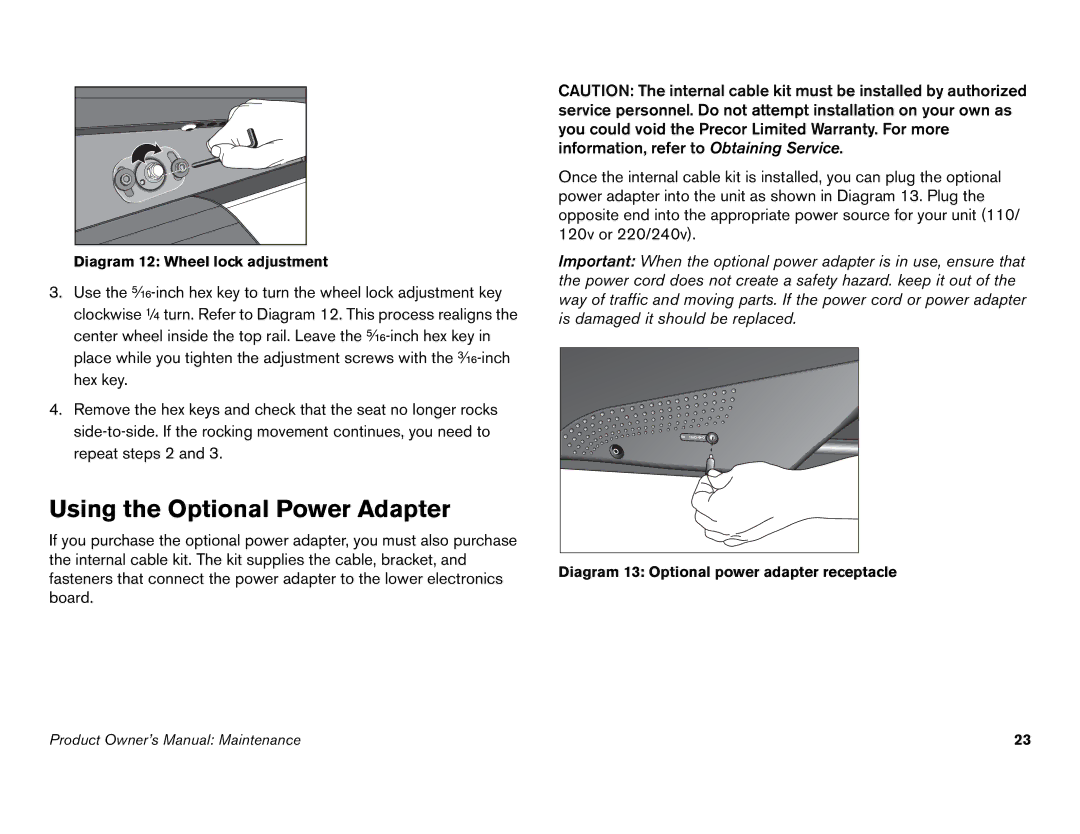
Diagram 12: Wheel lock adjustment
3.Use the
4.Remove the hex keys and check that the seat no longer rocks
Using the Optional Power Adapter
If you purchase the optional power adapter, you must also purchase the internal cable kit. The kit supplies the cable, bracket, and fasteners that connect the power adapter to the lower electronics board.
CAUTION: The internal cable kit must be installed by authorized service personnel. Do not attempt installation on your own as you could void the Precor Limited Warranty. For more information, refer to Obtaining Service.
Once the internal cable kit is installed, you can plug the optional power adapter into the unit as shown in Diagram 13. Plug the opposite end into the appropriate power source for your unit (110/ 120v or 220/240v).
Important: When the optional power adapter is in use, ensure that the power cord does not create a safety hazard. keep it out of the way of traffic and moving parts. If the power cord or power adapter is damaged it should be replaced.
Diagram 13: Optional power adapter receptacle
Product Owner’s Manual: Maintenance | 23 |
