EST150
| Step 4 | Drill | Marking |
Once the mounting points have been marked, use a ⅛˝ drill bit and portable drill to drill the pilot holes.
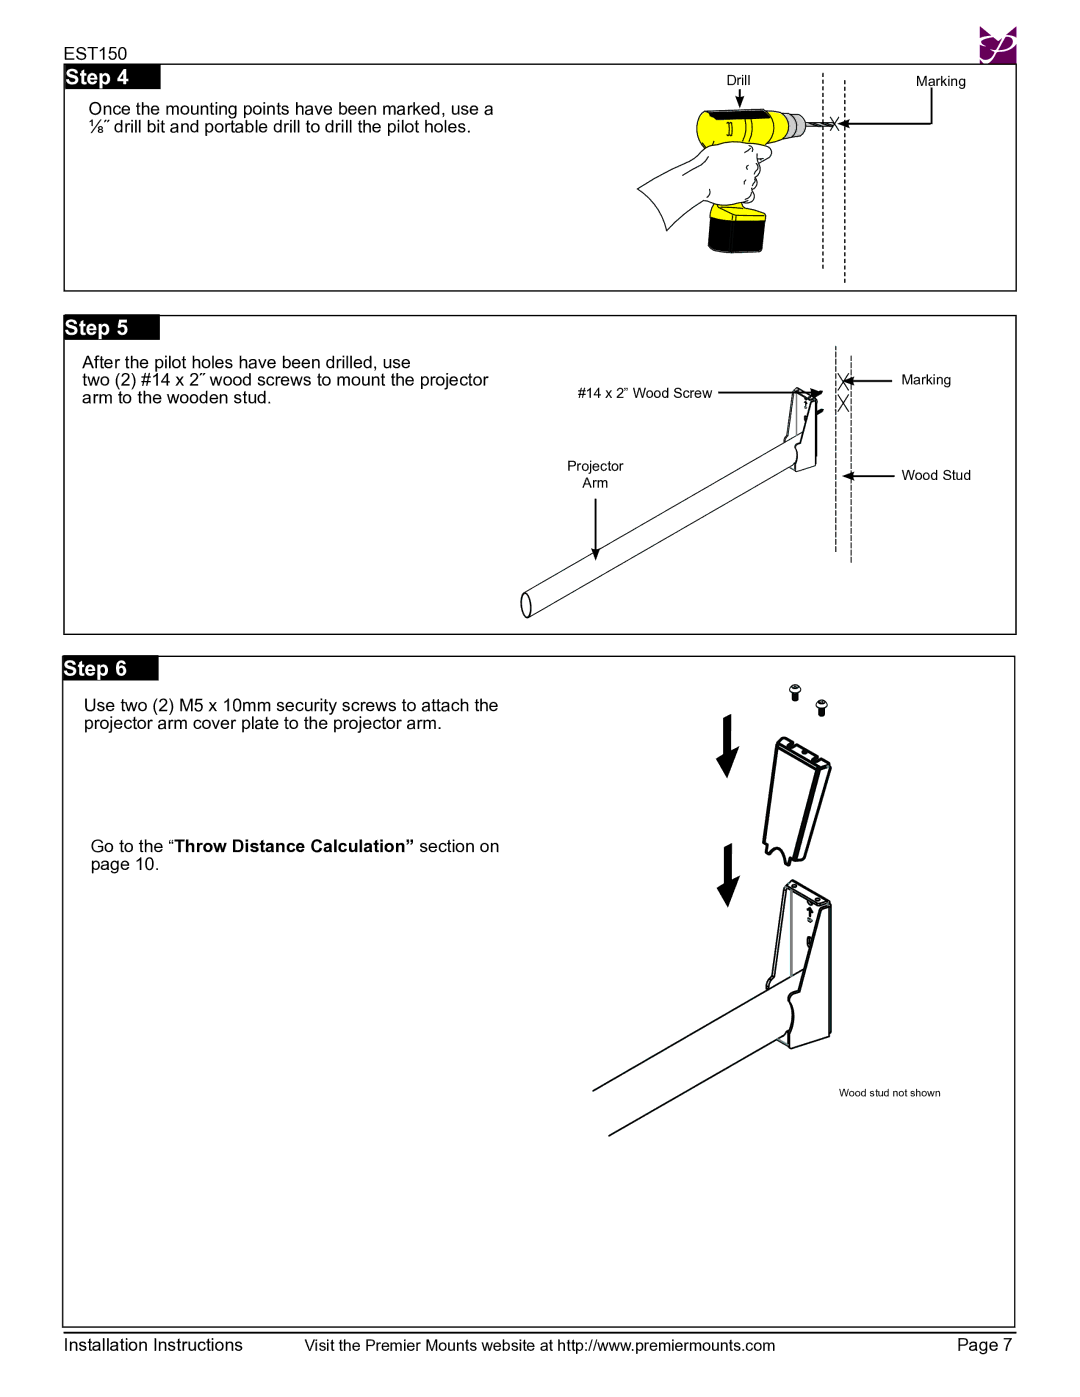
Step 5
After the pilot holes have been drilled, use
two (2) #14 x 2˝ wood screws to mount the projector arm to the wooden stud.
#14 x 2” Wood Screw ![]()
Marking
Projector | Wood Stud | |
Arm | ||
|
Step 6
Use two (2) M5 x 10mm security screws to attach the projector arm cover plate to the projector arm.
Go to the “Throw Distance Calculation” section on page 10.
Wood stud not shown
Installation Instructions | Visit the Premier Mounts website at http://www.premiermounts.com | Page 7 |