TOC | INDEX |
1.Select Copy Project from the Starter Window or the New Project Panel on the left side of the screen. Step one of the Copy Disc wizard will be displayed.
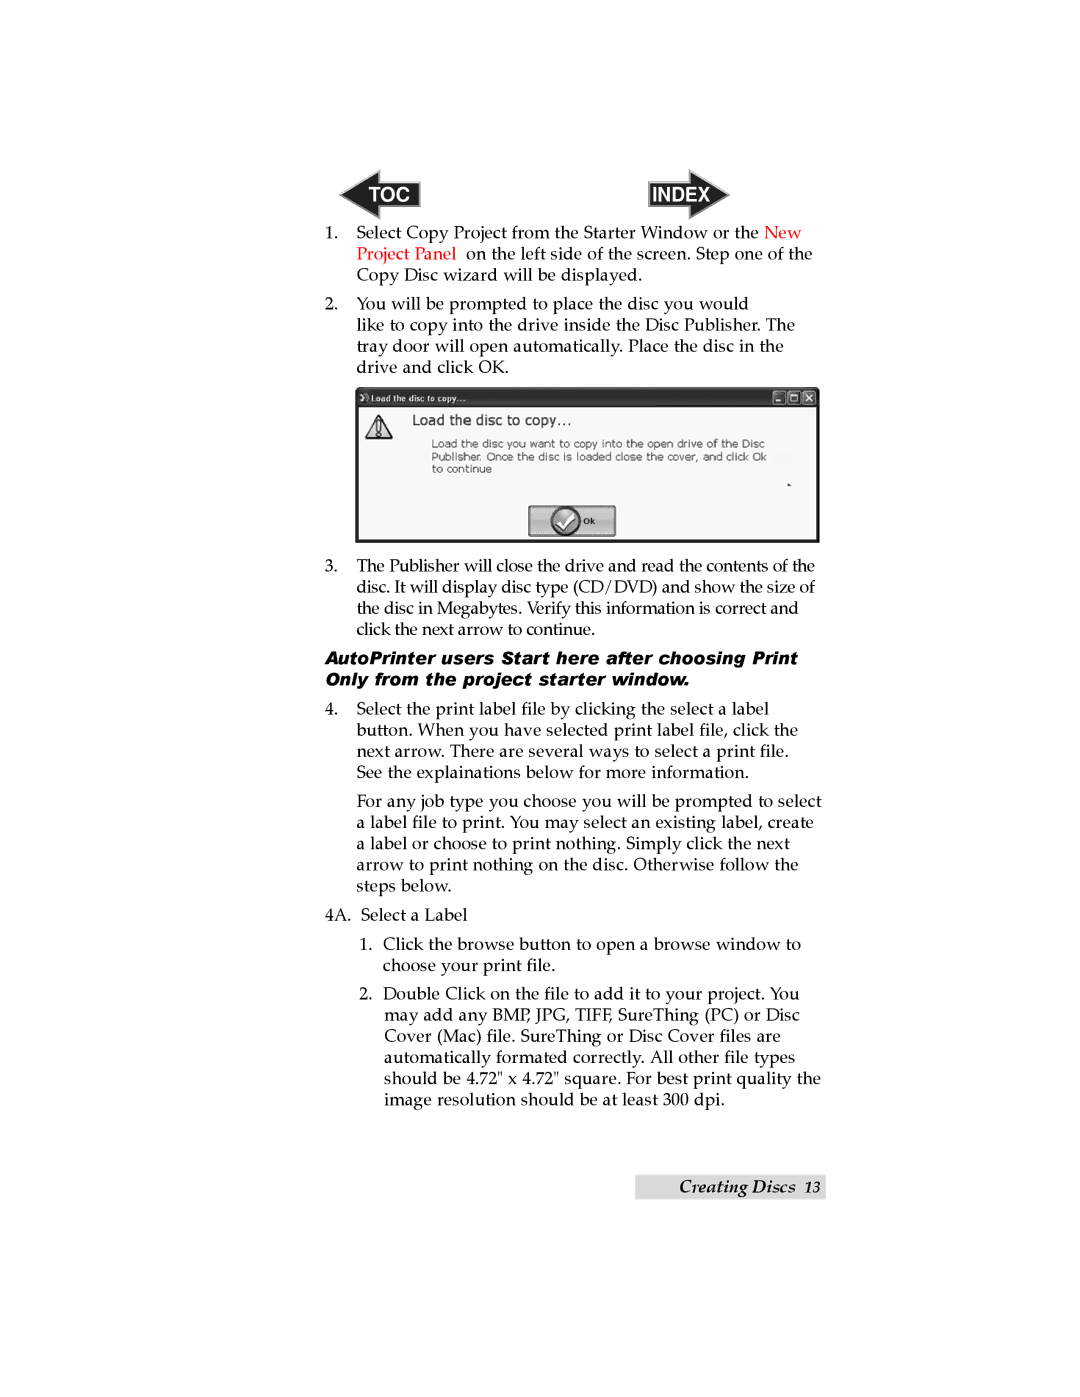
2.You will be prompted to place the disc you would
like to copy into the drive inside the Disc Publisher. The tray door will open automatically. Place the disc in the drive and click OK.
3.The Publisher will close the drive and read the contents of the disc. It will display disc type (CD/DVD) and show the size of the disc in Megabytes. Verify this information is correct and click the next arrow to continue.
AutoPrinter users Start here after choosing Print Only from the project starter window.
4.Select the print label file by clicking the select a label button. When you have selected print label file, click the next arrow. There are several ways to select a print file. See the explainations below for more information.
For any job type you choose you will be prompted to select a label file to print. You may select an existing label, create a label or choose to print nothing. Simply click the next arrow to print nothing on the disc. Otherwise follow the steps below.
4A. Select a Label
1.Click the browse button to open a browse window to choose your print file.
2.Double Click on the file to add it to your project. You may add any BMP, JPG, TIFF, SureThing (PC) or Disc Cover (Mac) file. SureThing or Disc Cover files are automatically formated correctly. All other file types should be 4.72" x 4.72" square. For best print quality the image resolution should be at least 300 dpi.
Creating Discs 13