line so you can choose the range you want. Use the < and > arrows of the Page Control Pad to make a selection. Here are the choices:
Possible Range Settings (Auto or Manual)
In feet: 5, 10, 15, 20, 30, 40, 50, 60, 80, 100, 150, 200, 250, 300, 400, 600, 800, 1000, 1500, 2000, 2500
In fathoms: 1, 2, 3, 4, 5, 8, 10, 15, 20, 25, 30, 40, 50, 60, 80, 100, 150, 200, 250, 300, 450
In meters: 2, 4, 6, 8, 10, 15, 20, 25, 30, 40, 50, 60, 80, 100, 150, 200, 300, 400, 500, 600, 800
If you are done with your setup changes, press the CLEAR button to go back to the normal display. To select the next menu item, press the V arrow of the Page Control Pad.
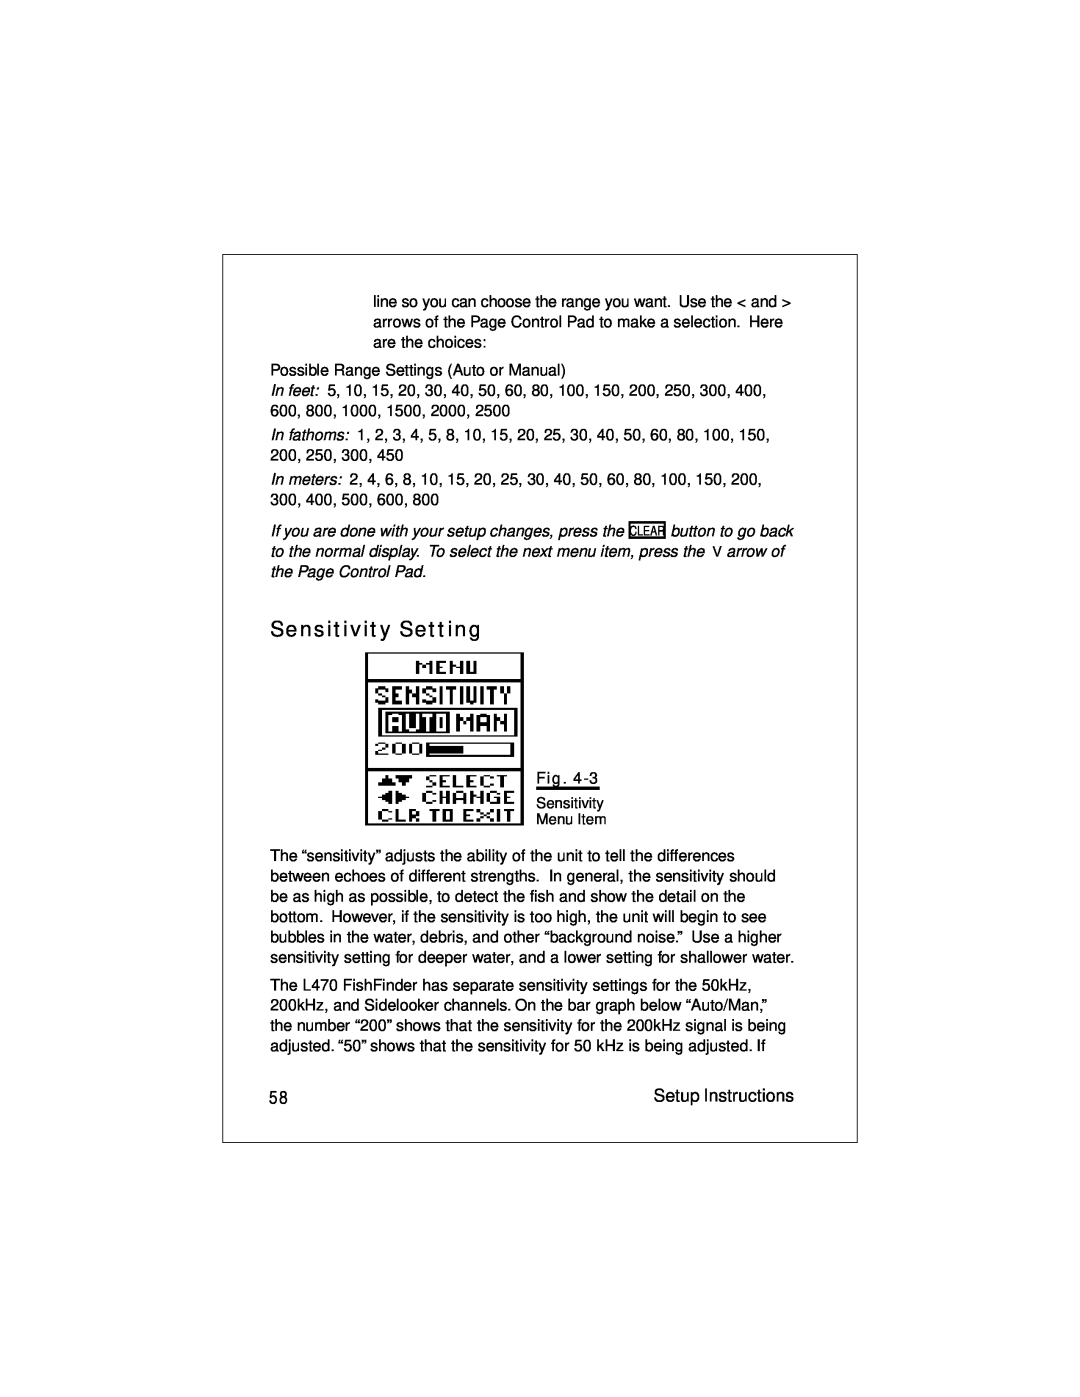
Sensitivity Setting
Fig.
Sensitivity
Menu Item
The “sensitivity” adjusts the ability of the unit to tell the differences between echoes of different strengths. In general, the sensitivity should be as high as possible, to detect the fish and show the detail on the bottom. However, if the sensitivity is too high, the unit will begin to see bubbles in the water, debris, and other “background noise.” Use a higher sensitivity setting for deeper water, and a lower setting for shallower water.
The L470 FishFinder has separate sensitivity settings for the 50kHz, 200kHz, and Sidelooker channels. On the bar graph below “Auto/Man,” the number “200” shows that the sensitivity for the 200kHz signal is being adjusted. “50” shows that the sensitivity for 50 kHz is being adjusted. If
58 | Setup Instructions |