Recording
+
+
O
Y
A
L
P
M
A
F
F
O
Y
A
LP
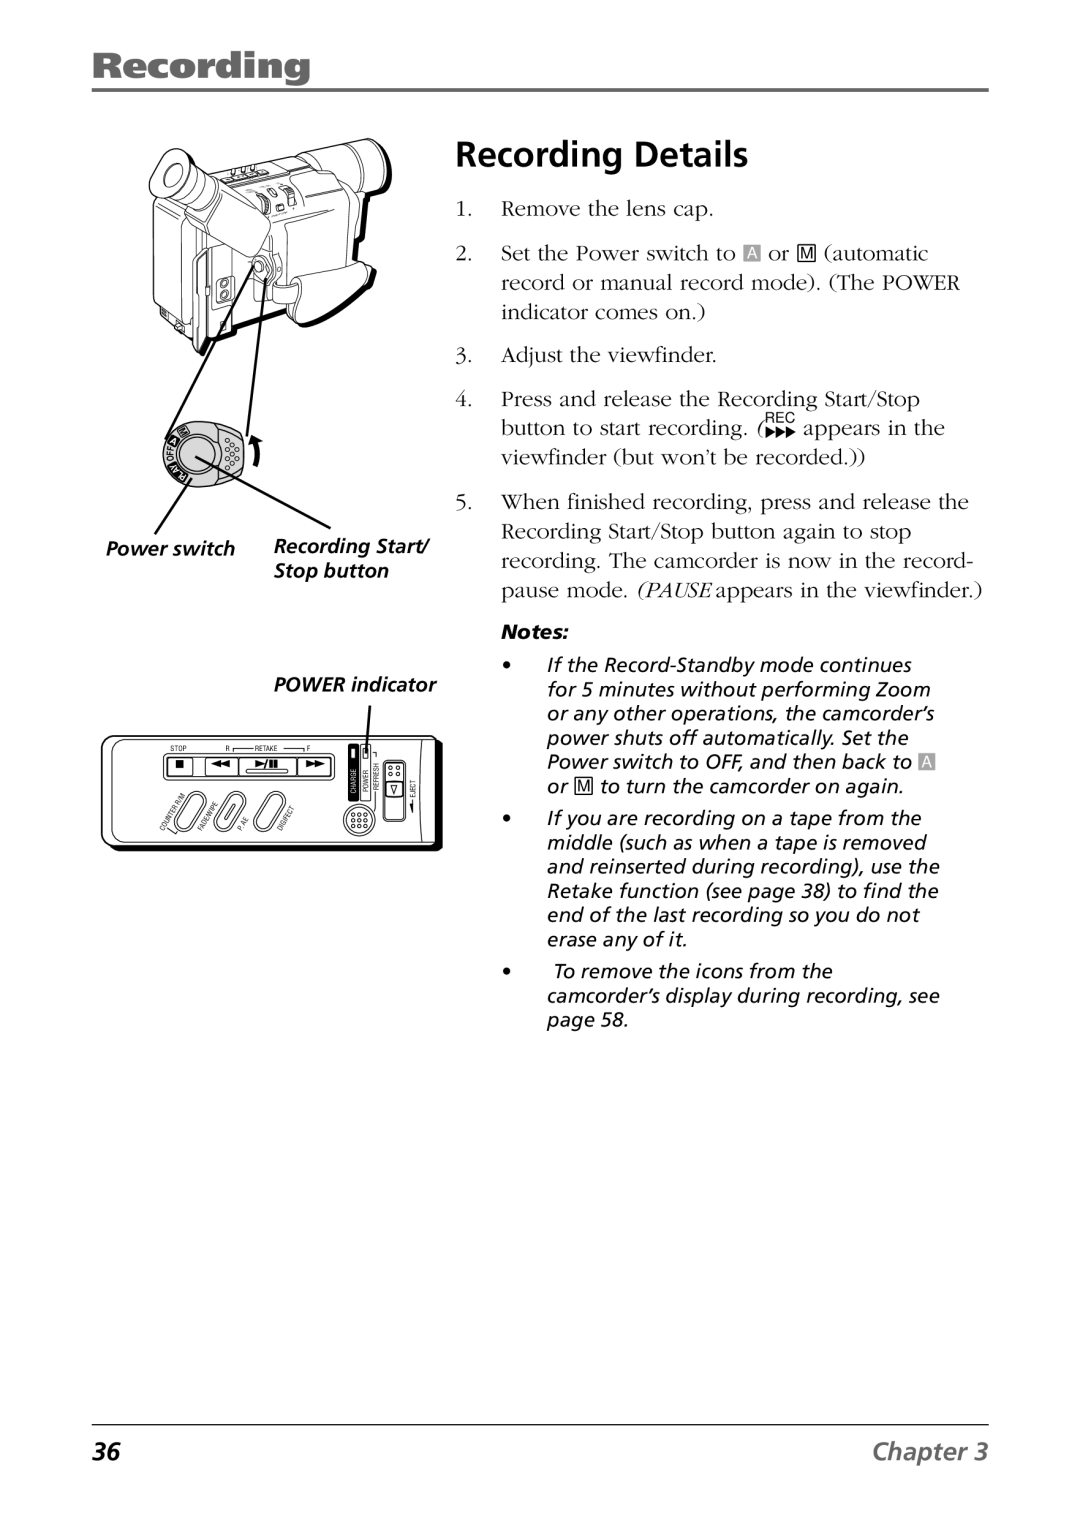
Power switch Recording Start/ Stop button
POWER indicator
STOP |
| R | RETAKE | F |
|
| |
| R/M |
|
|
| CHARGE | POWER REFRESH | EJECT |
COUNTER |
| IPE |
| DIGIFECT |
|
| |
| FADE/W |
|
|
| |||
| P . | AE |
|
| |||
Recording Details
1.Remove the lens cap.
2.Set the Power switch to A or M (automatic record or manual record mode). (The POWER indicator comes on.)
3.Adjust the viewfinder.
4.Press and release the Recording Start/Stop button to start recording. (REC appears in the
viewfinder (but won’t be recorded.))
5.When finished recording, press and release the Recording Start/Stop button again to stop recording. The camcorder is now in the record- pause mode. (PAUSE appears in the viewfinder.)
Notes:
•If the
•If you are recording on a tape from the middle (such as when a tape is removed and reinserted during recording), use the Retake function (see page 38) to find the end of the last recording so you do not erase any of it.
•To remove the icons from the
camcorder’s display during recording, see page 58.
36 | Chapter 3 |