Advanced Features
+
+
O
Y
AL
P
| MENU |
| dial |
M |
|
A |
|
F |
|
F |
|
O |
|
Y |
|
A |
|
L |
|
P |
|
Power switch | Recording |
| Start/Stop |
| button |
Animation
You can shoot a series of pictures, each slightly different, of the same object for a brief period of time.
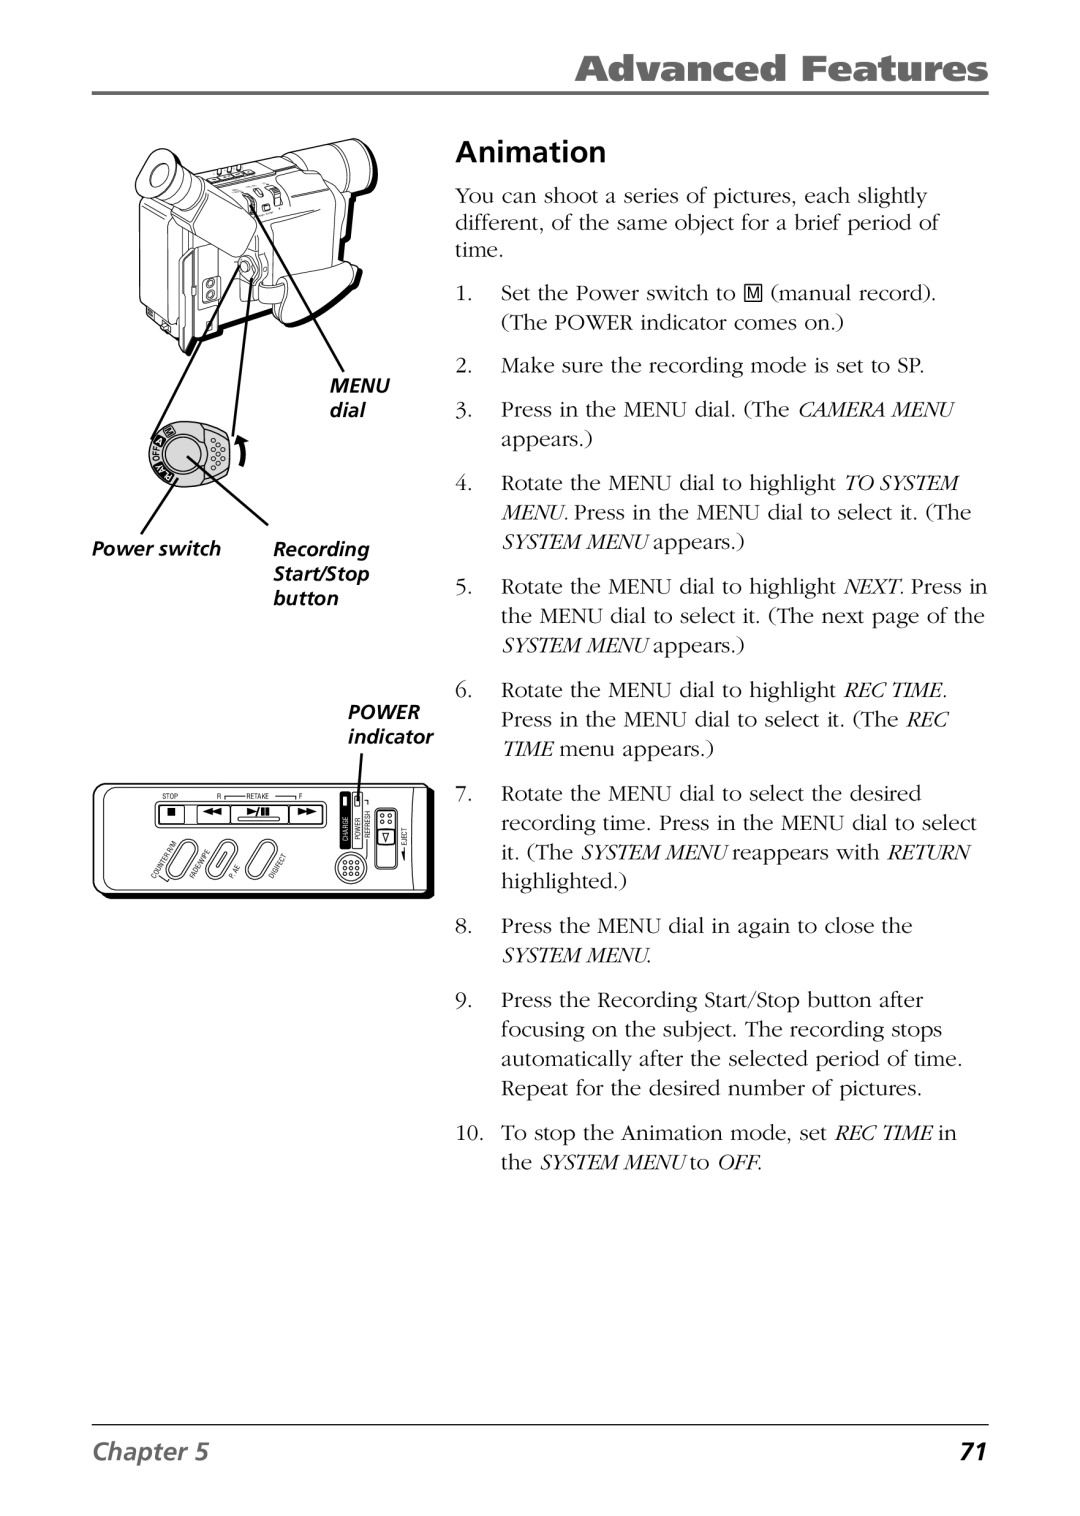
1.Set the Power switch to M (manual record). (The POWER indicator comes on.)
2.Make sure the recording mode is set to SP.
3.Press in the MENU dial. (The CAMERA MENU appears.)
4.Rotate the MENU dial to highlight TO SYSTEM MENU. Press in the MENU dial to select it. (The SYSTEM MENU appears.)
5.Rotate the MENU dial to highlight NEXT. Press in the MENU dial to select it. (The next page of the SYSTEM MENU appears.)
|
|
|
|
| POWER | |
|
|
|
|
| indicator | |
STOP |
| R | RETAKE | F |
| |
| R/M |
|
|
| CHARGE POWER REFRESH | EJECT |
COUNTER |
| IPE |
| DIGIFECT |
| |
| FADE/W |
|
| |||
| P . | AE |
| |||
6.Rotate the MENU dial to highlight REC TIME. Press in the MENU dial to select it. (The REC TIME menu appears.)
7.Rotate the MENU dial to select the desired recording time. Press in the MENU dial to select it. (The SYSTEM MENU reappears with RETURN highlighted.)
8.Press the MENU dial in again to close the
SYSTEM MENU.
9.Press the Recording Start/Stop button after focusing on the subject. The recording stops automatically after the selected period of time. Repeat for the desired number of pictures.
10.To stop the Animation mode, set REC TIME in the SYSTEM MENU to OFF.
Chapter 5 | 71 |
