Recording
White Balance (continued)
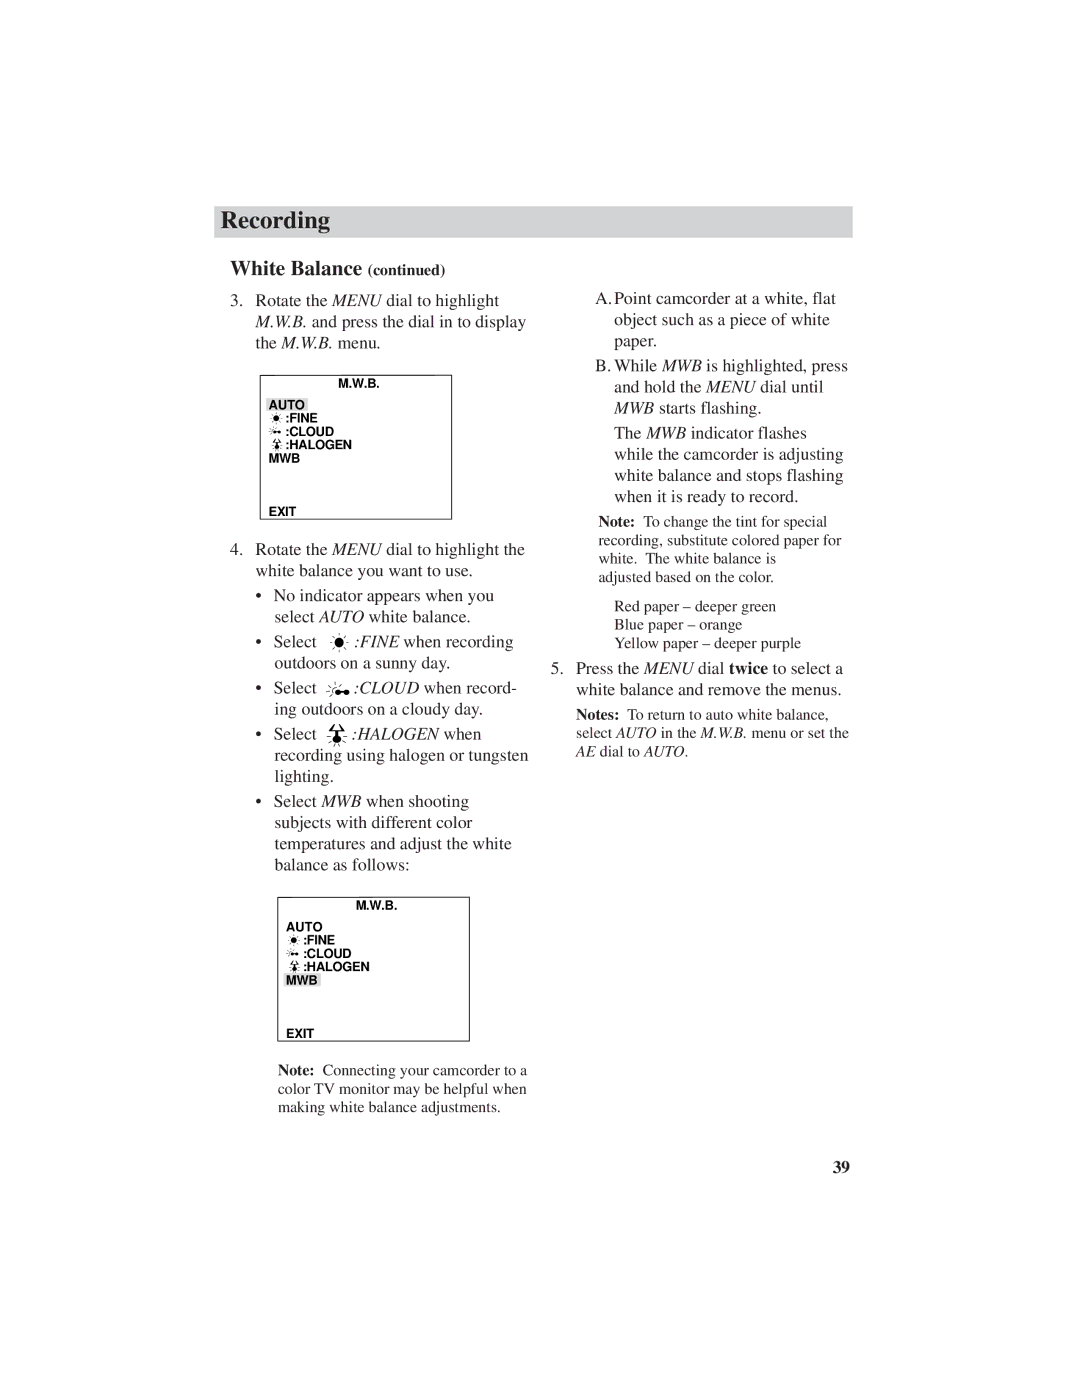
3.Rotate the MENU dial to highlight M.W.B. and press the dial in to display the M.W.B. menu.
M.W.B.
AUTO
![]() :FINE
:FINE
![]() :CLOUD
:CLOUD ![]() :HALOGEN
:HALOGEN
MWB
EXIT
4.Rotate the MENU dial to highlight the white balance you want to use.
•No indicator appears when you select AUTO white balance.
•Select ![]() :FINE when recording outdoors on a sunny day.
:FINE when recording outdoors on a sunny day.
•Select ![]()
![]() :CLOUD when record- ing outdoors on a cloudy day.
:CLOUD when record- ing outdoors on a cloudy day.
•Select  :HALOGEN when recording using halogen or tungsten
lighting.
•Select MWB when shooting subjects with different color temperatures and adjust the white balance as follows:
M.W.B.
AUTO
![]() :FINE
:FINE
![]() :CLOUD
:CLOUD ![]() :HALOGEN
:HALOGEN
MWB
EXIT
Note: Connecting your camcorder to a color TV monitor may be helpful when making white balance adjustments.
A. Point camcorder at a white, flat object such as a piece of white paper.
B. While MWB is highlighted, press and hold the MENU dial until MWB starts flashing.
The MWB indicator flashes while the camcorder is adjusting white balance and stops flashing when it is ready to record.
Note: To change the tint for special recording, substitute colored paper for white. The white balance is adjusted based on the color.
Red paper – deeper green
Blue paper – orange
Yellow paper – deeper purple
5.Press the MENU dial twice to select a white balance and remove the menus.
Notes: To return to auto white balance, select AUTO in the M.W.B. menu or set the AE dial to AUTO.
39
