Recording
Self-Timer Recording (continued)
3.Rotate the MENU dial to highlight NEXT. The second MENU appears. Keep rotating the MENU dial to highlight INT. TIME.
BACK | OFF | |
REC TIME | ||
INT. TIME |
| OFF |
TALLY LAMP | ON | |
CHARACTER | 07 | |
JLIP ID NO. | ||
DEMO MODE | OFF | |
MENU END |
| |
4.Press the MENU dial in to display the INT. TIME menu.
INT. TIME
OFF
15S
30S
1MIN
5MIN
EXIT
5.Rotate the MENU dial to highlight the desired time (15S, 30S, 1 MIN, or 5 MIN).
•Select 15S to delay the recording for 15 seconds.
•Select 30S to delay the recording for 30 seconds.
•Select 1MIN to delay the recording for one minute.
•Select 5MIN to delay the recording for five minutes.
•Select OFF if you do not want the camcorder to delay recording.
6.Press the MENU dial twice to exit the menu.
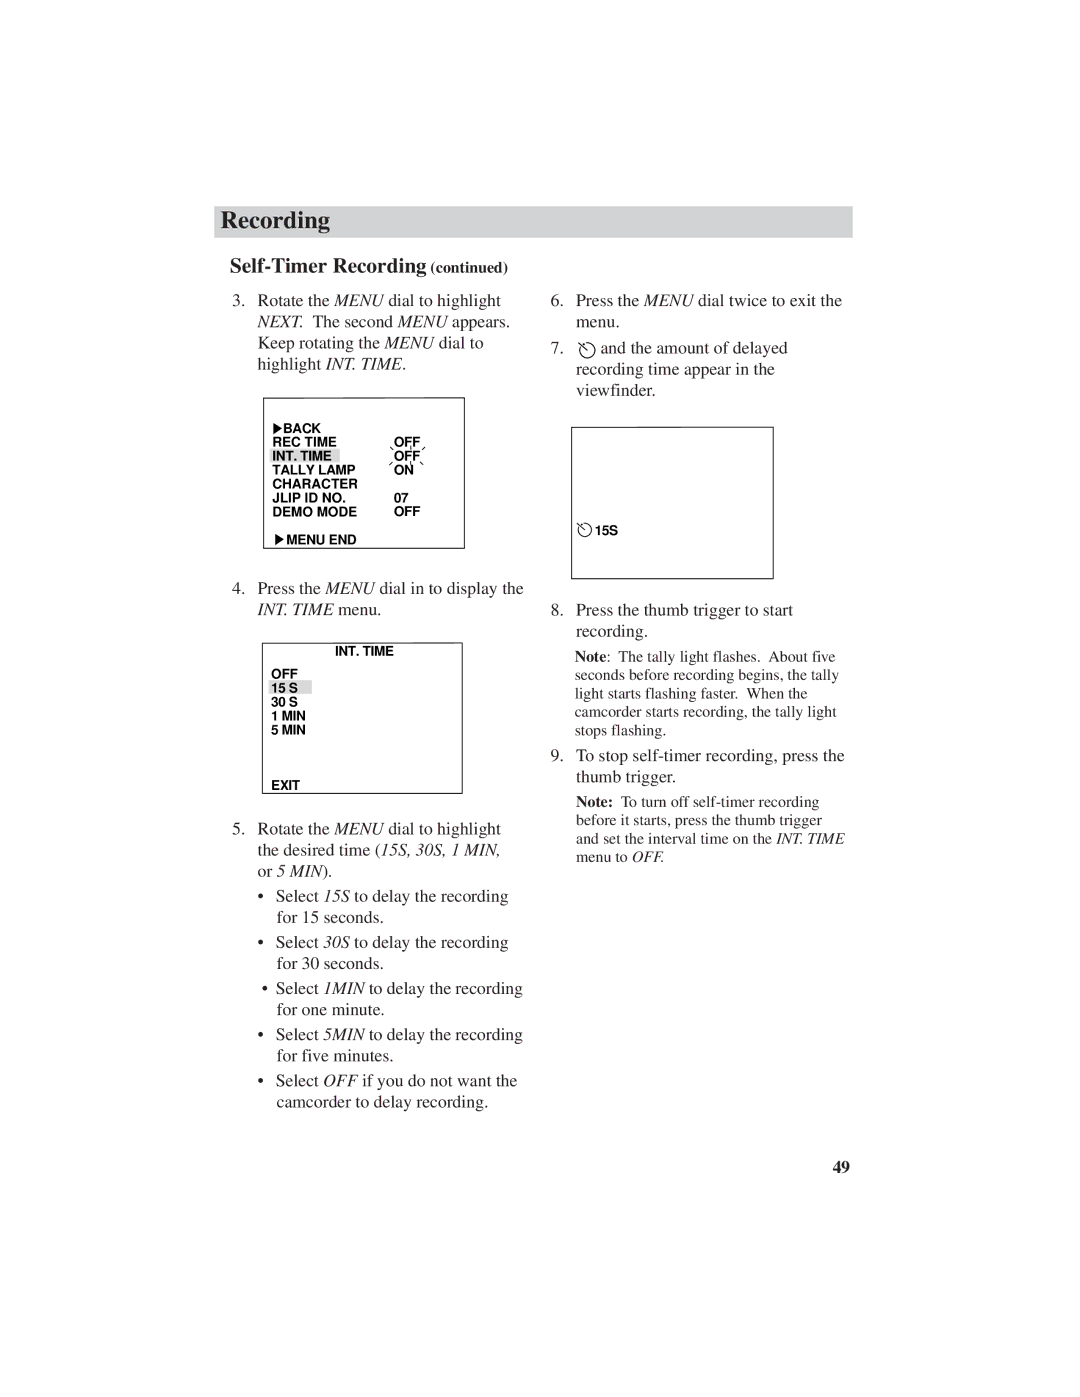
7.![]() and the amount of delayed recording time appear in the
and the amount of delayed recording time appear in the
viewfinder.
![]() 15S
15S
8.Press the thumb trigger to start recording.
Note: The tally light flashes. About five seconds before recording begins, the tally light starts flashing faster. When the camcorder starts recording, the tally light stops flashing.
9.To stop
Note: To turn off
49
