Using the TV’s Menu System
0Go Back
1Picture Preset Mode
2Picture Settings
3Screen Format
4Advanced Picture
5Screen Adjust
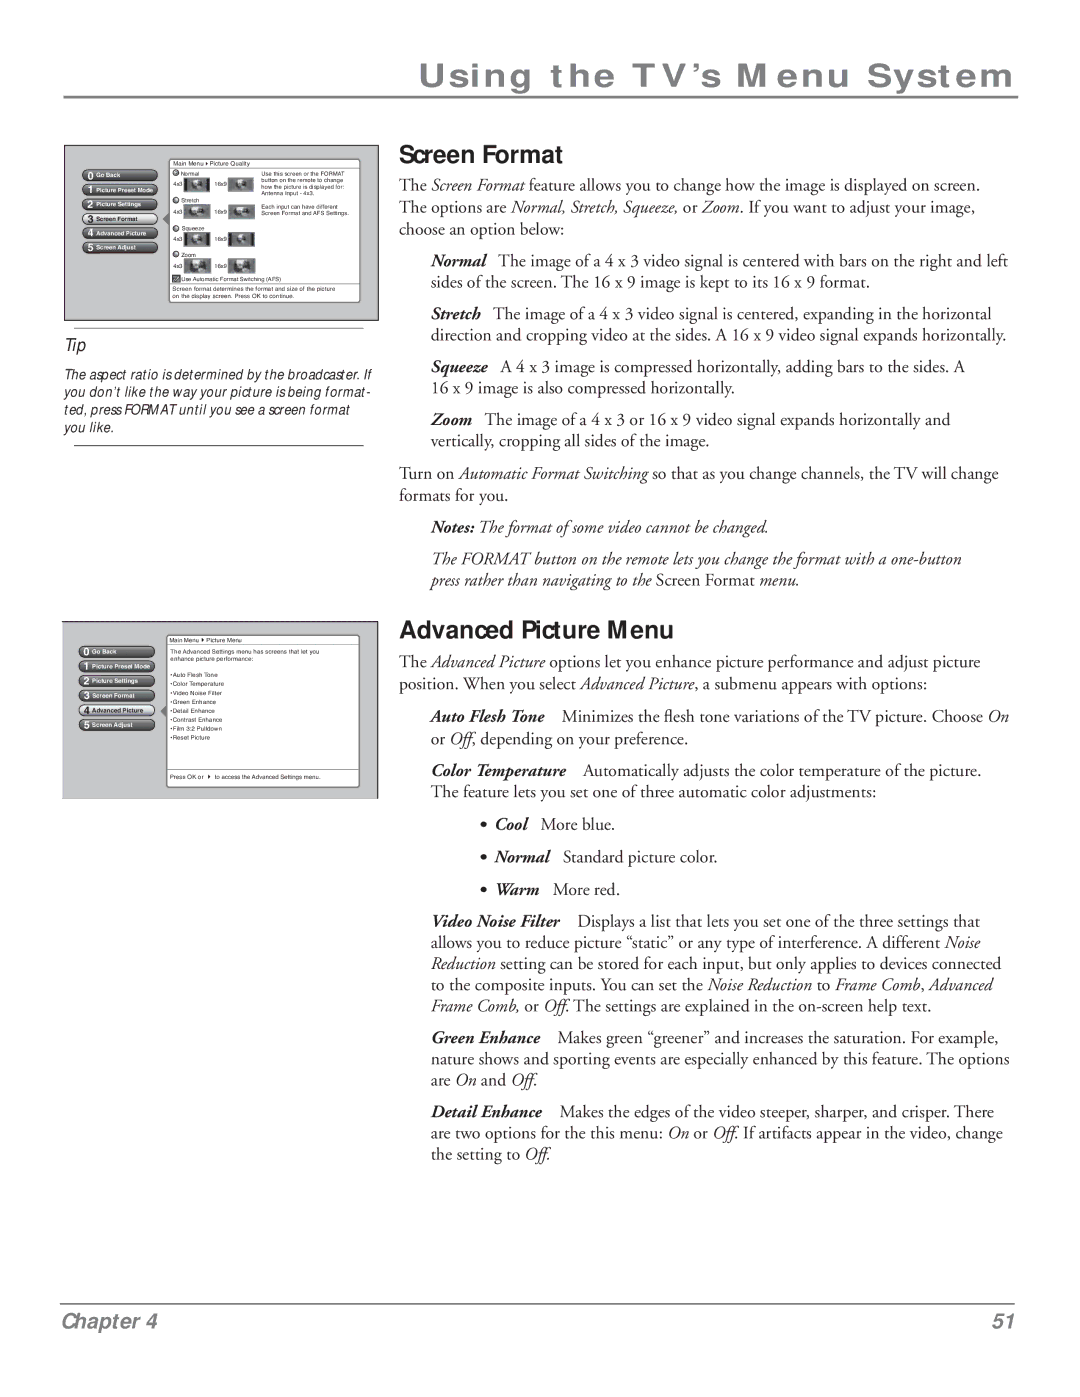
Main Menu4Picture Quality
Normal |
|
| Use this screen or the FORMAT |
4x3 | 16x9 |
| button on the remote to change |
| how the picture is displayed for: | ||
|
|
| Antenna Input - 4x3. |
Stretch |
|
| Each input can have different |
4x3 | 16x9 |
| |
| Screen Format and AFS Settings. |
![]() Squeeze
Squeeze
4x3 16x9
![]() Zoom
Zoom
4x3 16x9
![]() Use Automatic Format Switching (AFS)
Use Automatic Format Switching (AFS)
Screen format determines the format and size of the picture on the display screen. Press OK to continue.
Screen Format
The Screen Format feature allows you to change how the image is displayed on screen. The options are Normal, Stretch, Squeeze, or Zoom. If you want to adjust your image, choose an option below:
Normal The image of a 4 x 3 video signal is centered with bars on the right and left sides of the screen. The 16 x 9 image is kept to its 16 x 9 format.
Tip
The aspect ratio is determined by the broadcaster. If you don’t like the way your picture is being format- ted, press FORMAT until you see a screen format you like.
Stretch The image of a 4 x 3 video signal is centered, expanding in the horizontal direction and cropping video at the sides. A 16 x 9 video signal expands horizontally.
Squeeze A 4 x 3 image is compressed horizontally, adding bars to the sides. A 16 x 9 image is also compressed horizontally.
Zoom The image of a 4 x 3 or 16 x 9 video signal expands horizontally and vertically, cropping all sides of the image.
Turn on Automatic Format Switching so that as you change channels, the TV will change formats for you.
Notes: The format of some video cannot be changed.
The FORMAT button on the remote lets you change the format with a
0Go Back
1Picture Preset Mode
2Picture Settings
3Screen Format
4Advanced Picture
5Screen Adjust
Main Menu4Picture Menu
The Advanced Settings menu has screens that let you enhance picture performance:
•Auto Flesh Tone
•Color Temperature
•Video Noise Filter
•Green Enhance
•Detail Enhance
•Contrast Enhance
•Film 3:2 Pulldown
•Reset Picture
Press OK or 4 to access the Advanced Settings menu.
Advanced Picture Menu
The Advanced Picture options let you enhance picture performance and adjust picture position. When you select Advanced Picture, a submenu appears with options:
Auto Flesh Tone Minimizes the flesh tone variations of the TV picture. Choose On or Off, depending on your preference.
Color Temperature Automatically adjusts the color temperature of the picture. The feature lets you set one of three automatic color adjustments:
•Cool More blue.
•Normal Standard picture color.
•Warm More red.
Video Noise Filter Displays a list that lets you set one of the three settings that allows you to reduce picture “static” or any type of interference. A different Noise Reduction setting can be stored for each input, but only applies to devices connected to the composite inputs. You can set the Noise Reduction to Frame Comb, Advanced Frame Comb, or Off. The settings are explained in the
Green Enhance Makes green “greener” and increases the saturation. For example, nature shows and sporting events are especially enhanced by this feature. The options are On and Off.
Detail Enhance Makes the edges of the video steeper, sharper, and crisper. There are two options for the this menu: On or Off. If artifacts appear in the video, change the setting to Off.
Chapter 4 | 51 |