RHFE-431FA specifications
The Rinnai RHFE-431FA is an advanced heating appliance designed to provide efficient warmth and comfort in residential spaces. With its sleek design and powerful performance, this model is a top choice for energy-conscious consumers seeking both functionality and aesthetics.One of the standout features of the RHFE-431FA is its high heating efficiency, which helps reduce energy costs while ensuring a consistent and comfortable indoor climate. It operates using advanced gas technology, providing instant heat without the need for a cumbersome heating system. This unit is capable of delivering up to 4.2 kW of heating power, making it suitable for a variety of room sizes.
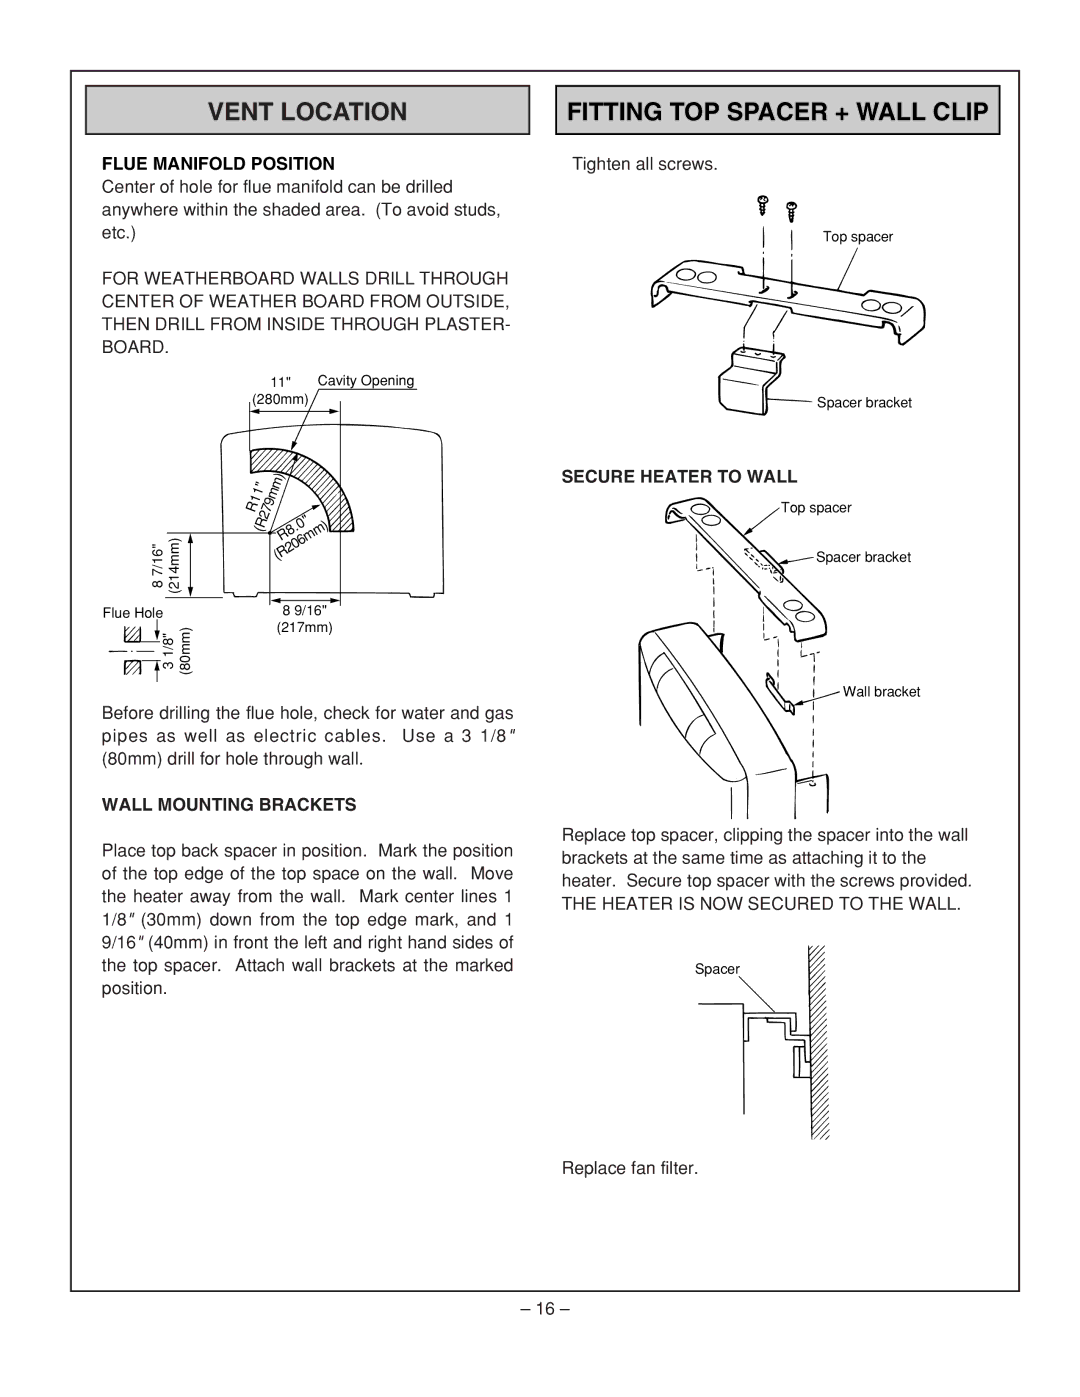
The unit's compact size and wall-mounted design allow for flexible installation options, blending seamlessly into any decor. The stylish front panel adds a modern touch while maintaining an unobtrusive presence. Additionally, the RHFE-431FA is available in multiple color options, ensuring that homeowners can choose a finish that best matches their interior design.
Equipped with Rinnai's advanced convection heating technology, the RHFE-431FA generates warmth that rises and circulates throughout the room efficiently. This method ensures that the heat is evenly distributed, eliminating cold spots and providing a comfortable living environment. The built-in fan helps to expedite heat distribution, making the unit effective in both small and larger areas.
The intelligent control system of the RHFE-431FA includes a user-friendly digital display, allowing for easy temperature adjustments and operational settings. The unit can be programmed to maintain specific temperatures, promoting energy savings when the space is unoccupied. Additionally, the unit features a child lock mechanism for added safety, making it an excellent choice for families.
Rinnai places a strong emphasis on safety, and the RHFE-431FA is no exception. This model is designed with multiple safety features, including an automatic shut-off function, ensuring peace of mind for users. Its silent operation also makes it a perfect addition to bedrooms or quiet spaces.
In summary, the Rinnai RHFE-431FA is a versatile and efficient heating solution that combines modern design, advanced technology, and safety features. Whether for a cozy family room, a bedroom, or any other space, this model promises to deliver comfort and warmth while being mindful of energy consumption.

