6. Tones and related functions
6.1 Selecting Tones
The
Selecting “normal” Tones
1.Press the TONE button of the Group that contains the Tone you need.
The button’s indicator light will go on, and a Tone select screen (e.g. Whole Mode Tone) will be dis- played.
Each Tone Group contains several Tones.
2.Select a Tone by pressing the buttons to the side of the display screen.
The name of the Tone selected will be highlighted on the display. Play a few notes on the keyboard to con- firm that the Tone is what you had in mind.
The Tone Select screen is composed of multiple pages. Use <√√PAGE> and <PAGE®®> to turn to another page.
Note: If you want to try out several Tones from a Tone Group, pressing the [HOLD] button will lock the Tone Select screen and keep it from disappearing after a few seconds.
Note: See “Normal Tones” at the end of this manual for the number and kinds of Tones each Group contains.
You may wonder why we use the term “Normal Tones” rather than just “Tones”. That is because the instruc- tions above do not give you access to all Tones the
Note: See also “Selecting Tones for the Upper and Lower parts” on page 22 for how to assign Tones in Split mode.
Selecting Expansion Tones
Expansion Tones can only be assigned to the Upper part of the keyboard (Whole Keyboard, Split, and Arranger modes).
Caution— Expansion Tones are only temporarily selected and cannot be written to a Music Assistant memory (see page 45). Whenever you select another mode (for example, if you change from Whole mode to Split mode), the Upper part returns to last “nor- mal” Tone you selected.
1.Press [UTILITY] and use <√√PAGE> or <PAGE®®> to select the following display page.
2.Use the buttons to the left and right of the display to select a Tone.
See “Expansion Tones” at the end of this manual for a list of the available Tones.
Note: You can use Expansion Tones for recording the mel- ody with the
Drum sounds and sound effects — [DRUMS/SFX]
Instead of playing melodies, you can also “drum” on the
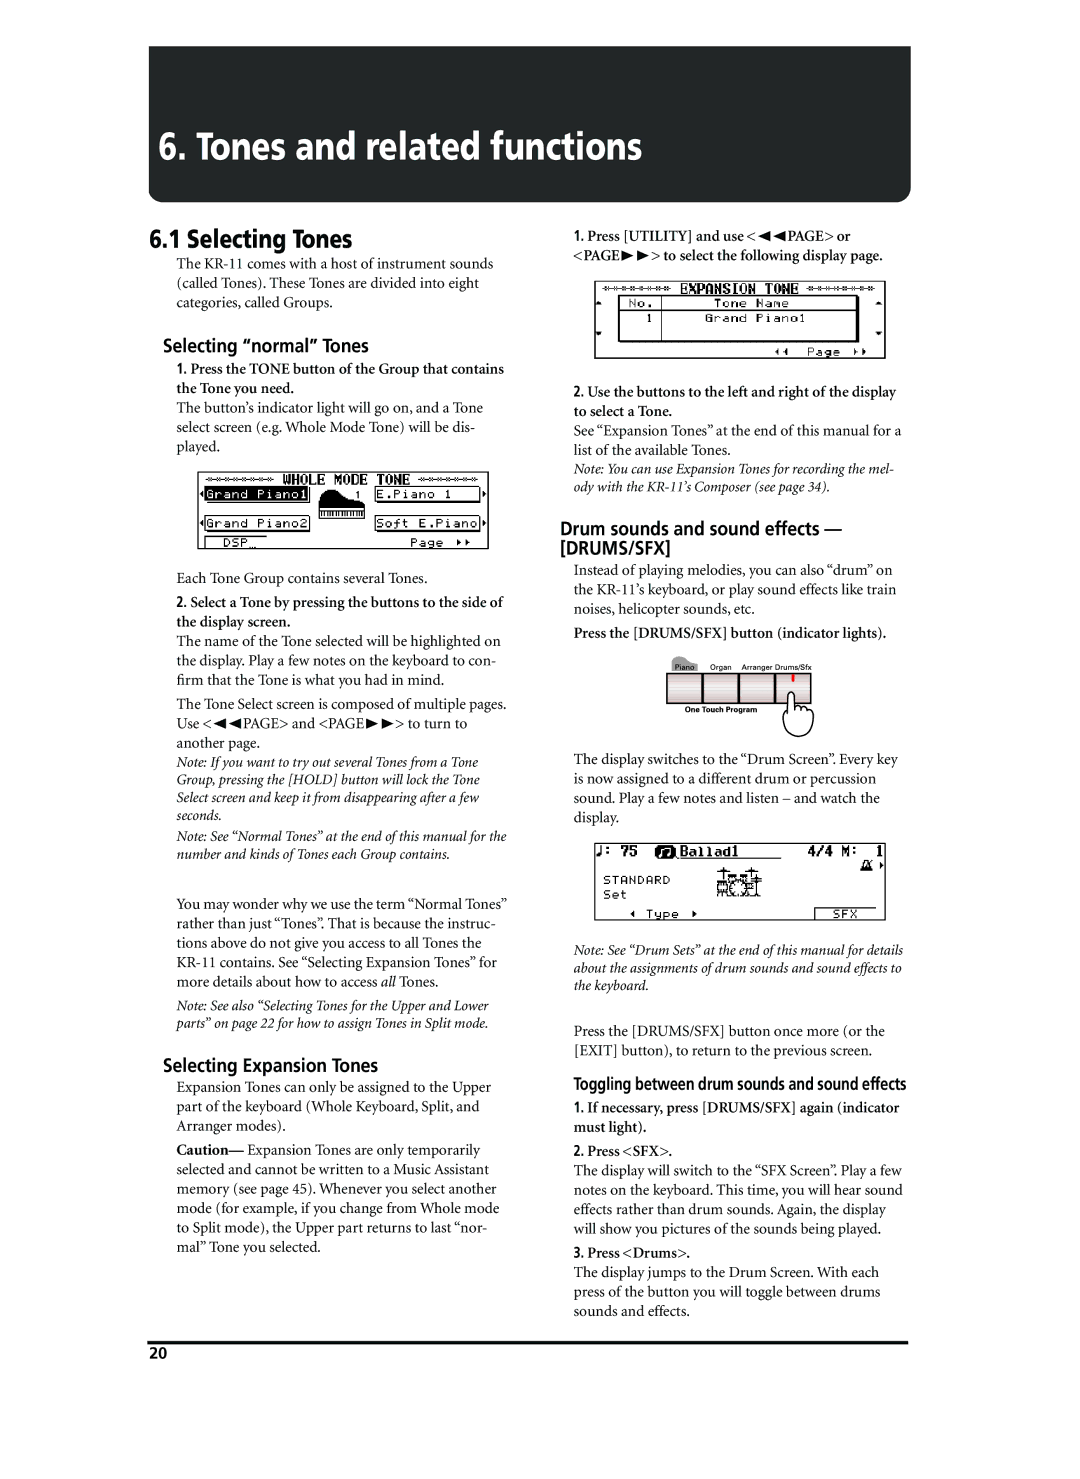
Press the [DRUMS/SFX] button (indicator lights).
The display switches to the “Drum Screen”. Every key is now assigned to a different drum or percussion sound. Play a few notes and listen – and watch the display.
Note: See “Drum Sets” at the end of this manual for details about the assignments of drum sounds and sound effects to the keyboard.
Press the [DRUMS/SFX] button once more (or the [EXIT] button), to return to the previous screen.
Toggling between drum sounds and sound effects
1.If necessary, press [DRUMS/SFX] again (indicator must light).
2.Press <SFX>.
The display will switch to the “SFX Screen”. Play a few notes on the keyboard. This time, you will hear sound effects rather than drum sounds. Again, the display will show you pictures of the sounds being played.
3.Press <Drums>.
The display jumps to the Drum Screen. With each press of the button you will toggle between drums sounds and effects.
20