Note: When using Octave Shift, you may sometimes notice that notes to the far right of the keyboard sound in the “wrong” octave. That is because all Tones have an upper limit beyond which they cannot be transposed.
Note: You cannot use Octave Shift in Whole mode (see below).
6.2 Keyboard modes
Whole: one Tone for the entire keyboard
In Whole mode, one Tone is assigned to the entire key- board, thus allowing you to play piano or other parts involving both your left and right hand. That explains why Whole is automatically selected when you press the One Touch Program [PIANO] button.
Press the [WHOLE] button.
The button’s indicator light will go on, and the Tone selected for the Upper part will be assigned to the entire keyboard.
Note: If you press the [WHOLE] button while using the Arranger, the
Split: different Tones in the left and right hand
It is also possible to split the keyboard, so that you can play two different sounds with your left and right hand, e.g. a bass and a piano sound. The key (or note) where the keyboard is divided is called the split point. You are free to choose another split point, but do remember that the
Organ playing usually involves two different sounds, so the keyboard is automatically split whenever you press the One Touch Program [ORGAN] button and select “Jazz Organ”.
Here is how to split the keyboard:
Press the SPLIT [LOWER] or [UPPER] button.
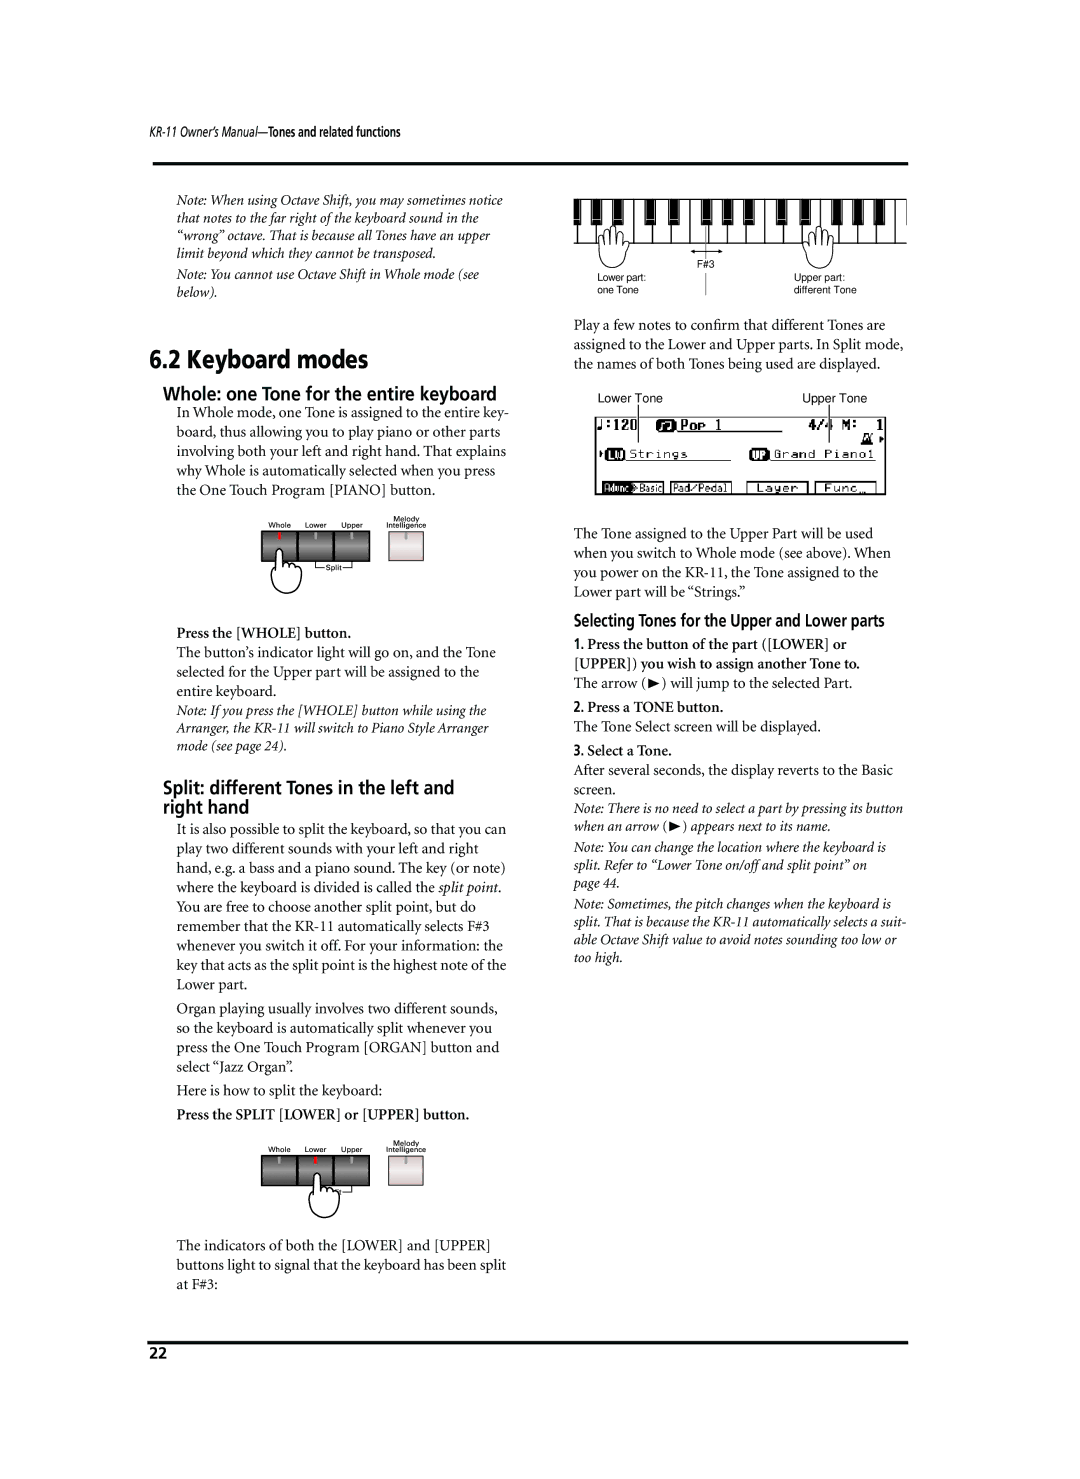
The indicators of both the [LOWER] and [UPPER] buttons light to signal that the keyboard has been split at F#3:
| F#3 |
Lower part: | Upper part: |
one Tone | different Tone |
Play a few notes to confirm that different Tones are assigned to the Lower and Upper parts. In Split mode, the names of both Tones being used are displayed.
Lower Tone | Upper Tone | ||
|
|
|
|
|
|
|
|
The Tone assigned to the Upper Part will be used when you switch to Whole mode (see above). When you power on the
Selecting Tones for the Upper and Lower parts
1.Press the button of the part ([LOWER] or [UPPER]) you wish to assign another Tone to. The arrow (®) will jump to the selected Part.
2.Press a TONE button.
The Tone Select screen will be displayed.
3.Select a Tone.
After several seconds, the display reverts to the Basic screen.
Note: There is no need to select a part by pressing its button when an arrow (®) appears next to its name.
Note: You can change the location where the keyboard is split. Refer to “Lower Tone on/off and split point” on page 44.
Note: Sometimes, the pitch changes when the keyboard is split. That is because the
22