Main features
KR-11
Contents
13. Connecting MIDI instruments 14. Appendix
2. Panel descriptions 3. Before using the KR-11
1. Important notes
Do not open or perform any internal modifica- tions on the unit
KR-11 Owner’s Manual-Contents
up and eventually melt through
Power Supply
Placement
Maintenance
Additional precautions
Handling floppy disks
KR-11 Owner’s Manual-Important notes
2. Panel descriptions
2.1 Front panel
2.2 Connections
A B C DE
3. Before using the KR-11
3.2 Setting up the music stand
Connecting the Pedal Cable
Connecting the power cord
3.5 Connecting Headphones
Notes on using headphones
3.4 Opening and closing the lid
3.6 Turning the power on/off
3.7 Adjusting the sound’s volume and brilliance
About the adjuster
3.8 About the pedals
3.9 Connecting external amplifiers and other devices
Receiving audio signals from external sources
Sending audio to external equipment
Symbols used in this owner’s manual
4. Basic operation and display
The Basic/Home screen
Navigating through the display pages
Using Game
5. Overview of the KR-11
Tone and Style demo - Sound/Style
Choosing the display language
5.2 Performance functions
Brilliance knob
One Touch Program Selecting the “instrument type”
Piano music - One Touch Program PIANO
Accompaniment - One Touch Program ARRANGER
Organ music - One Touch Program ORGAN
Example “When The Saints Go Marching In”
1. Press the One Touch Program ARRANGER button
2. Press the Music Style Big Band/Swing button
5. At the end of the song, press the INTRO/ ENDING button
5.3 Playing back songs on disk
Selecting and playing back Songs
Listening to all songs
Rewinding and fast forwarding
5.4 Pitch Bend and Transpose
KR-11 - Pitch Bend and Transpose
6. Tones and related functions
6.1 Selecting Tones
Selecting “normal” Tones
Selecting Expansion Tones
Adding effects to Tones
Octave Shift changing the pitch by octaves
Selecting Drum Set Types
Reverberation REV
6.2 Keyboard modes
Whole one Tone for the entire keyboard
Split different Tones in the left and right hand
Selecting Tones for the Upper and Lower parts
Layer using two Tones simultaneously
1. Press the TONE PIANO button and select the desired piano Tone
2. Press Layer on the Basic screen
3. Press the TONE STRINGS button
7.1 What is an Arranger?
Settings
7. Playing with accompaniment Arranger
Piano Style Arranger - chord recognition on the entire keyboard
Using Style disks User Styles
7.2 Selecting Music Styles
7.3 Starting and Stopping Styles
Starting a Music Style
Stopping a Music Style
Starting automatically Sync Start
7.5 Accompaniment and melody volume balance
Adjusting the volume of each part - Part Volume
Volume of the Rhythm, Bass, Accomp, and Chord/Bass Tones
7.4 Style tempo
7.6 Switching Style arrangements divisions
Volume of the Drums, SFX, Lower, Upper, or Layer Tone
Basic/Advanced Level
Original/Variation Accompaniment pattern
7.7 Easy fingering - Chord Intelligence
Fill-Ins transitions between Original and Variation
7.8 Melody Intelligence
What is a track?
8. Recording and Playback
8.1 Recording
Normal recording
Recording Minus-One performances
Correcting minor mistakes
Notes about correcting mistakes
8.2 Playing back a Composer song
8.3 Track Mute Muting specific tracks
8.4 Playing back songs without tempo changes
8.5 Erasing the Composer song
9. Composer Menu
8.6 Saving a song to disk
9.1 16-track Sequencer
Functions of the Composer Menu
9.2 Chord Sequencer
Muting or playing selected tracks
Tracks vs. MIDI channels
9.3 Recording Mode
Recording method Rec Mode
9.4 Formatting disks
Stopping a recording Rec Stop
9.5 Style Composer
Editing your User Style
9.6 Style Converter
Muting parts of a division
Setup tempo and volume
9.7 Saving User Styles
9.8 Song Edit
Steps for editing
Quantize timing corrections
Erase removing data from a track or song
Copying measures
Delete removing measures
Insert adding blank measures
Transpose changing the key
Track Exchange/Track Copy swapping and copy- ing tracks
Operating procedure for the Function Menu
Metronome volume and beat
Tuning
10. Function Menu
Marker function repeatedly playing back the same section
Using the Arranger
Auto changing the Arranger defaults
10.2 Organ screen functions
10.3 Basic screen functions
11.1 Music Assistant registering panel settings
Chord Tone Setting
11. Music Assistant, Pad buttons, pedals
Loading a Music Assistant memory
Saving Music Assistant settings to disk
Loading a Music Assistant set from disk
11.2 Performance Pad buttons additional or frequently used functions
11.3 Pedal functions
Metronome ON/OFF- This switches the metronome on or off
1. On the Basic screen, press Pad/Pdl 2. Press Page
12.1 Operating procedure
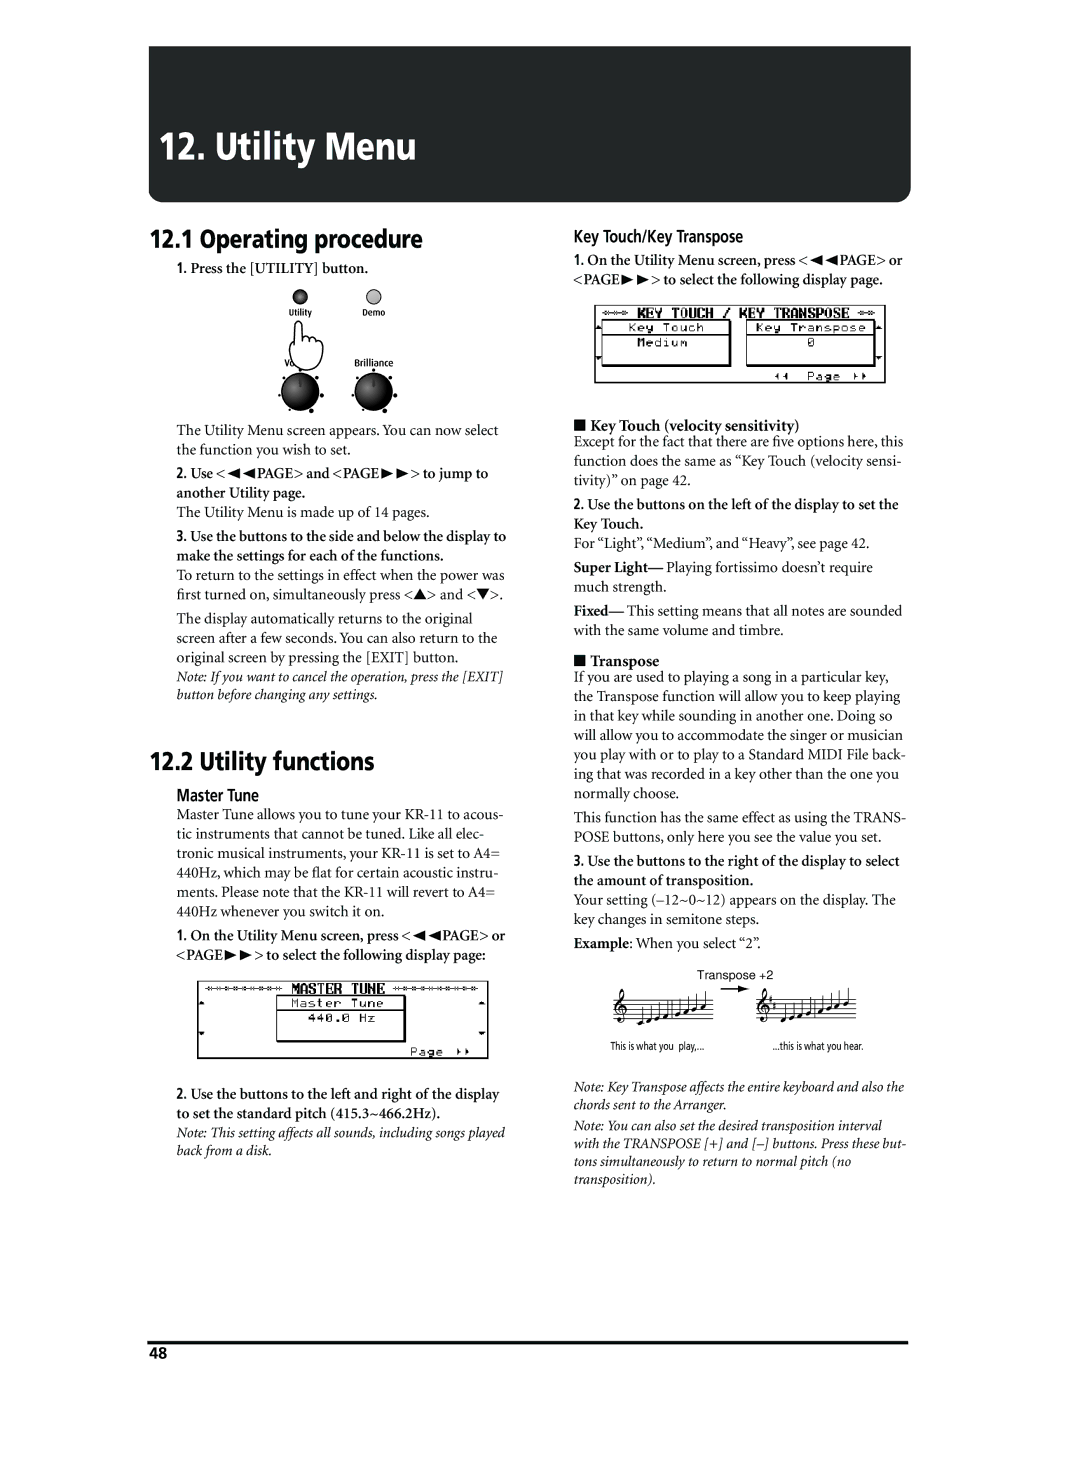
12. Utility Menu
12.2 Utility functions
Master Tune
Metronome Volume and Beat
Lyric switching off the display of lyrics
Expansion Tone
Pitch Bend Range
Program Change and Bank Select
MIDI TX MIDI Ch./Local Control
Music Assistant Arranger Update
Memory Backup
Factory Preset initialization
Link to 16TRK Sequencer
13. Connecting MIDI instruments
14. Appendix
14.1 DSP effects
14.2 Specifications
Tones, Drum Sets, Music Styles
Normal Tones
KR-11 Owner’s Manual-Tones, Drum Sets, Music Styles
Piano
Internal Music Styles
KR-11 - Tones, Drum Sets, Music Styles
Pop/Rock
Oldies/Country
Drum Sets
KR-11 Owner’s Manual-Tones, Drum Sets, Music Styles
Claves
SFX Set
KR-11 - Tones, Drum Sets, Music Styles
Chord Intelligence
KR-11 Owner’s Manual-Tones, Drum Sets, Music Styles
KR-11 - Tones, Drum Sets, Music Styles
MIDI Implementation Chart
Mode 3, 4 M
KR-11 Owner’s Manual-Tones, Drum Sets, Music Styles
O 123
KR-11 - Tones, Drum Sets, Music Styles
KR-11 Owner’s Manual-Tones, Drum Sets, Music Styles
Distributors Information
KR-11 - Tones, Drum Sets, Music Styles
AFRICA
ASIA
KR-11 Owner’s Manual-Tones, Drum Sets, Music Styles