3Load labels into the
4When you print, set the paper source, type, and size
properly in the software application. For details, see the Software Section.
For details about setting on the control panel, see page 3.2.
5After printing, close the
Printing on Transparencies
Guidelines
•Only use transparencies recommended for use in laser printers.
•Ensure that transparencies are not wrinkled, curled, or have any torn edges.
•Hold the transparencies by the edges and avoid touching the print side. Oils from your fingers can cause print quality problems.
•Be careful not to scratch or leave fingerprints on the print side.
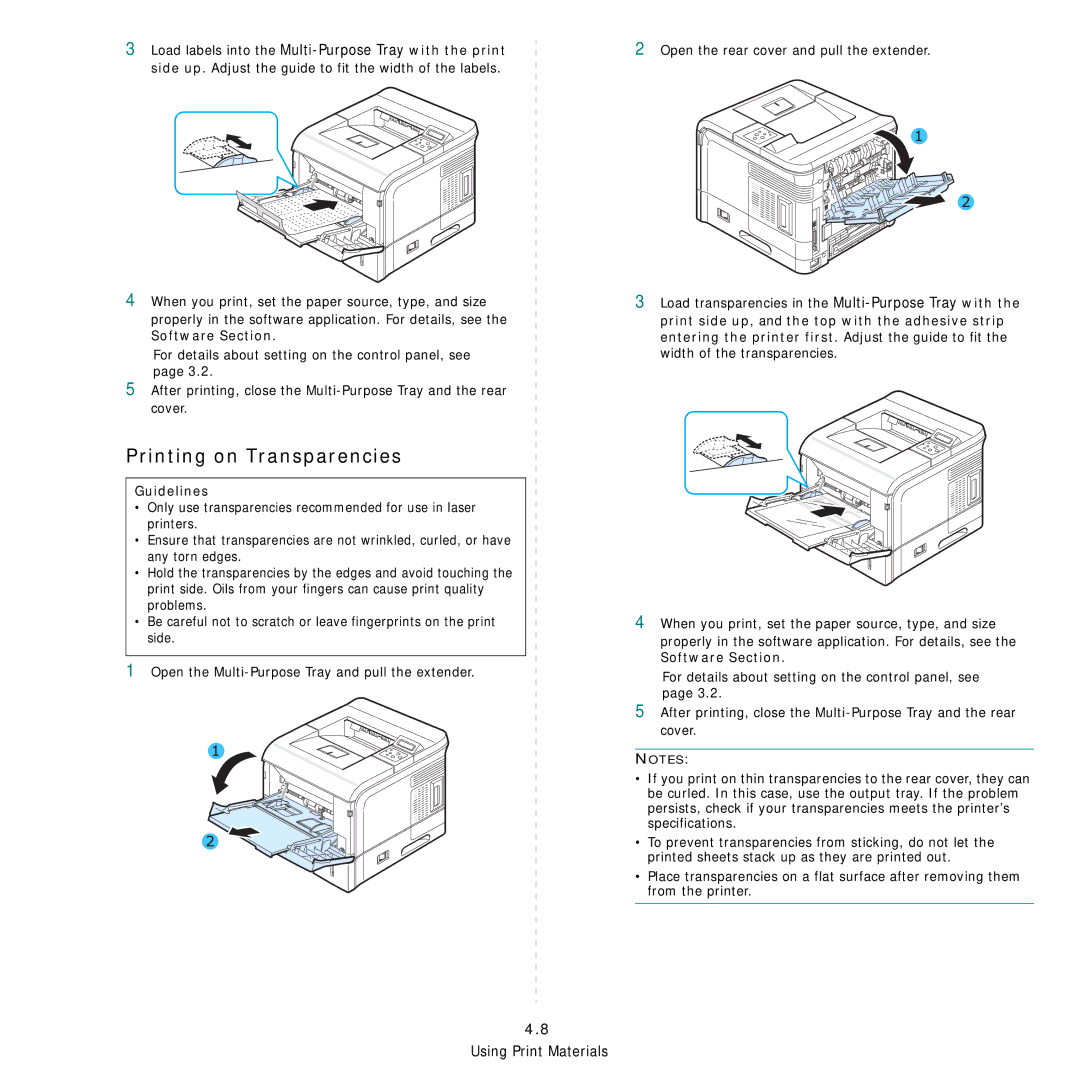
1Open the
2Open the rear cover and pull the extender.
3Load transparencies in the
4When you print, set the paper source, type, and size
properly in the software application. For details, see the Software Section.
For details about setting on the control panel, see page 3.2.
5After printing, close the
NOTES:
•If you print on thin transparencies to the rear cover, they can be curled. In this case, use the output tray. If the problem persists, check if your transparencies meets the printer’s specifications.
•To prevent transparencies from sticking, do not let the printed sheets stack up as they are printed out.
•Place transparencies on a flat surface after removing them from the printer.