Clearing Paper Jams
NOTE: When removing paper that is jammed in the printer, if possible always pull the paper in the direction that it normally moves so as not to damage internal components. Always pull firmly and evenly; do not jerk the paper. If the paper tears, ensure that all fragments of paper are removed; otherwise a jam will occur again.
When a paper jam occurs, the display on the control panel shows the message indicating the corresponding location of the paper jam. Refer to the table below to locate the paper jam and to clear it:
Message | Location of Jam | Go To |
|
|
|
Paper Jam0 | In the paper feed area | below |
|
|
|
Paper Jam1 | Around the toner | page 7.6 |
| cartridge |
|
|
|
|
Paper Jam2 | In the paper exit area | page 7.7 |
|
|
|
Duplex Jam (1, 2) | In the duplex area | page 7.7 |
|
|
|
Duplex Jam 1 | In the duplex area | page 7.7 |
|
|
|
Duplex Jam 2 | In the duplex area | page 7.8 |
|
|
|
To resume printing after clearing paper jams, you must open and close the top cover.
In the Paper Feed Area (Paper Jam 0)
In the Tray (Paper Jam 0)
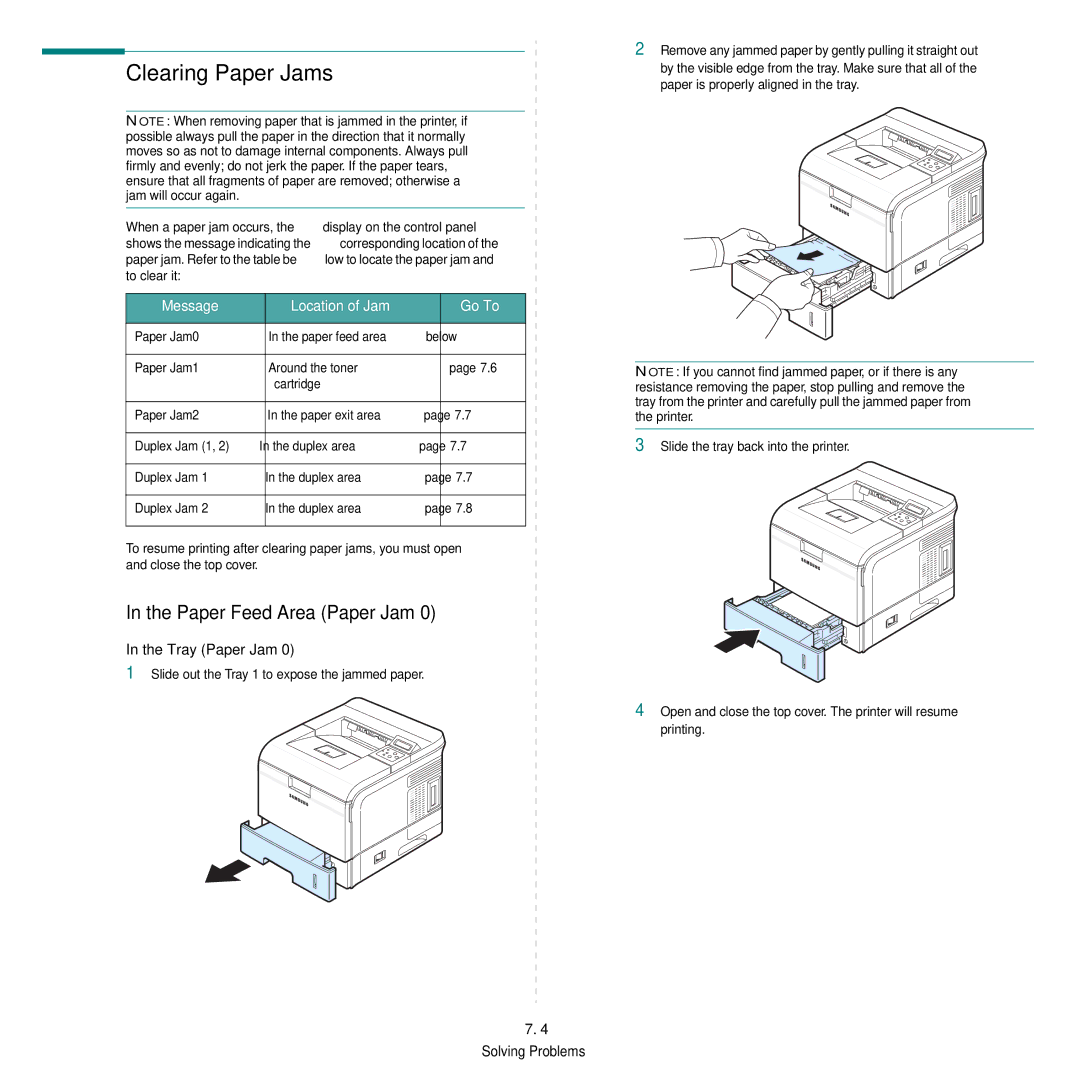
1Slide out the Tray 1 to expose the jammed paper.
2Remove any jammed paper by gently pulling it straight out by the visible edge from the tray. Make sure that all of the paper is properly aligned in the tray.
NOTE: If you cannot find jammed paper, or if there is any resistance removing the paper, stop pulling and remove the tray from the printer and carefully pull the jammed paper from the printer.
3Slide the tray back into the printer.
4Open and close the top cover. The printer will resume printing.
