1 Turn the power on. |
|
|
|
|
|
|
|
| |
|
|
|
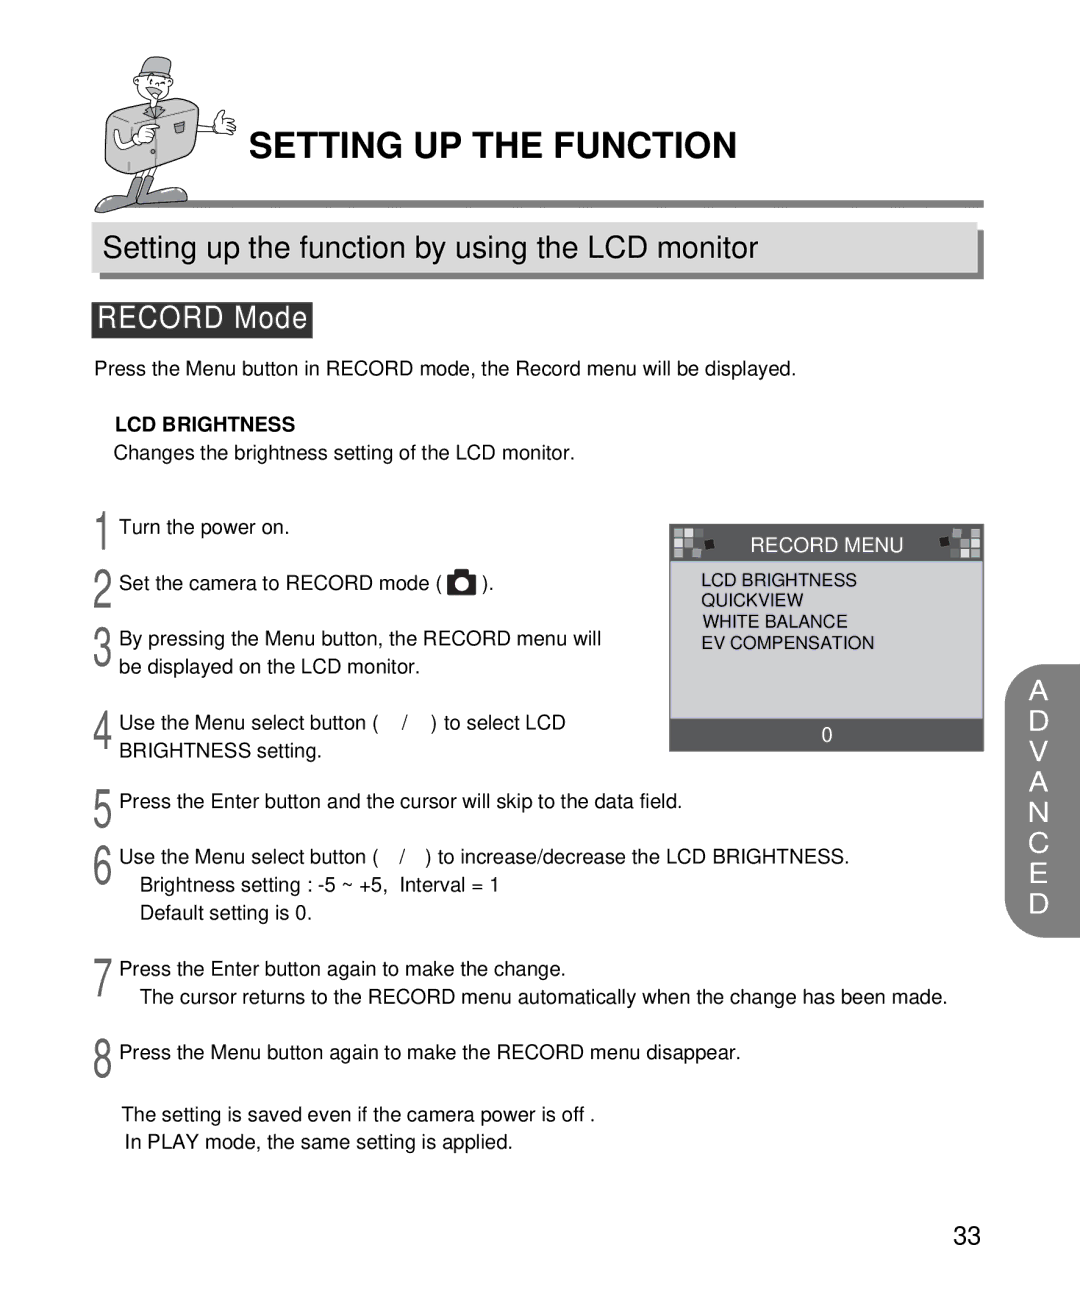
| RECORD MENU |
|
|
| ||
|
|
|
|
|
|
| |||
2 |
|
|
|
|
|
|
|
|
|
Set the camera to RECORD mode ( ). |
|
| LCD BRIGHTNESS | ||||||
|
|
|
|
| QUICKVIEW | ||||
| By pressing the Menu button, the RECORD menu will |
|
| WHITE BALANCE | |||||
|
|
| EV COMPENSATION | ||||||
3 be displayed on the LCD monitor. |
|
|
|
|
|
|
| ||
| Use the Menu select button ( | / ) to select LCD |
|
|
|
|
|
|
|
|
| 0 |
|
|
| ||||
4 BRIGHTNESS setting. |
|
|
|
|
| ||||
|
|
|
|
|
|
|
| ||
5 Press the Enter button and the cursor will skip to the data field. |
|
|
|
|
|
| |||
6 | Use the Menu select button ( | / ) to increase/decrease the LCD BRIGHTNESS. | |||||||
Brightness setting : | Interval = 1 |
|
|
|
|
|
| ||
| Default setting is 0. |
|
|
|
|
|
|
|
|
7 | Press the Enter button again to make the change. |
|
|
|
|
|
| ||
The cursor returns to the RECORD menu automatically when the change has been made. | |||||||||
8 Press the Menu button again to make the RECORD menu disappear.
The setting is saved even if the camera power is off .
In PLAY mode, the same setting is applied.
33
