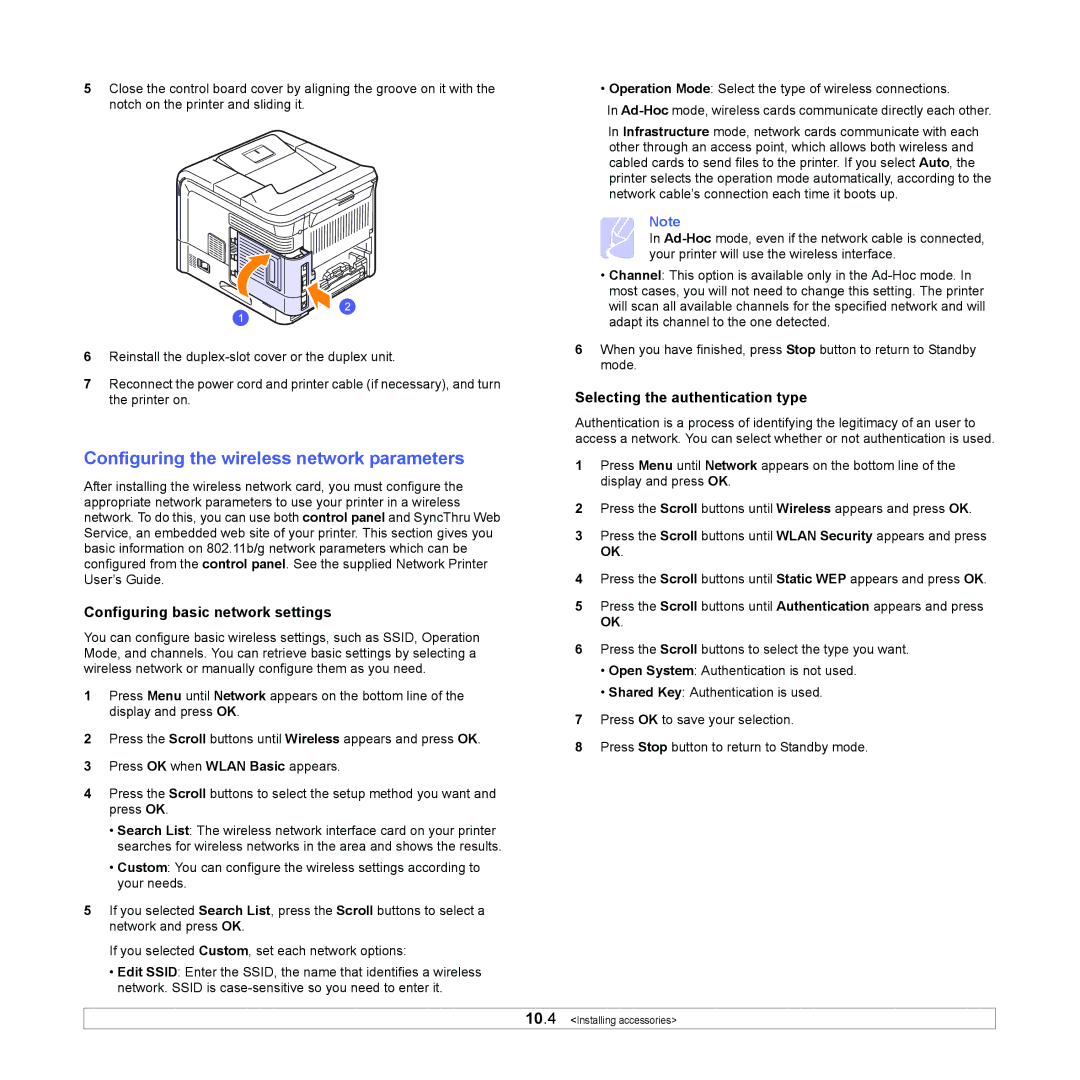
5Close the control board cover by aligning the groove on it with the notch on the printer and sliding it.
6Reinstall the
7Reconnect the power cord and printer cable (if necessary), and turn the printer on.
Configuring the wireless network parameters
After installing the wireless network card, you must configure the appropriate network parameters to use your printer in a wireless
• Operation Mode: Select the type of wireless connections.
In
In Infrastructure mode, network cards communicate with each other through an access point, which allows both wireless and cabled cards to send files to the printer. If you select Auto, the printer selects the operation mode automatically, according to the network cable’s connection each time it boots up.
Note
In
•Channel: This option is available only in the
6When you have finished, press Stop button to return to Standby mode.
Selecting the authentication type
Authentication is a process of identifying the legitimacy of an user to access a network. You can select whether or not authentication is used.
1Press Menu until Network appears on the bottom line of the display and press OK.
network. To do this, you can use both control panel and SyncThru Web Service, an embedded web site of your printer. This section gives you basic information on 802.11b/g network parameters which can be configured from the control panel. See the supplied Network Printer User’s Guide.
Configuring basic network settings
2Press the Scroll buttons until
3Press the Scroll buttons until OK.
4Press the Scroll buttons until
5Press the Scroll buttons until OK.
Wireless appears and press OK. WLAN Security appears and press
Static WEP appears and press OK. Authentication appears and press
You can configure basic wireless settings, such as SSID, Operation Mode, and channels. You can retrieve basic settings by selecting a wireless network or manually configure them as you need.
1Press Menu until Network appears on the bottom line of the display and press OK.
2Press the Scroll buttons until Wireless appears and press OK.
3Press OK when WLAN Basic appears.
4Press the Scroll buttons to select the setup method you want and press OK.
•Search List: The wireless network interface card on your printer searches for wireless networks in the area and shows the results.
•Custom: You can configure the wireless settings according to your needs.
5If you selected Search List, press the Scroll buttons to select a network and press OK.
If you selected Custom, set each network options:
•Edit SSID: Enter the SSID, the name that identifies a wireless network. SSID is
6Press the Scroll buttons to select the type you want.
•Open System: Authentication is not used.
•Shared Key: Authentication is used.
7Press OK to save your selection.
8Press Stop button to return to Standby mode.
10.4 <Installing accessories>