O P E R AT I O N
Adjust Red Convergence
4
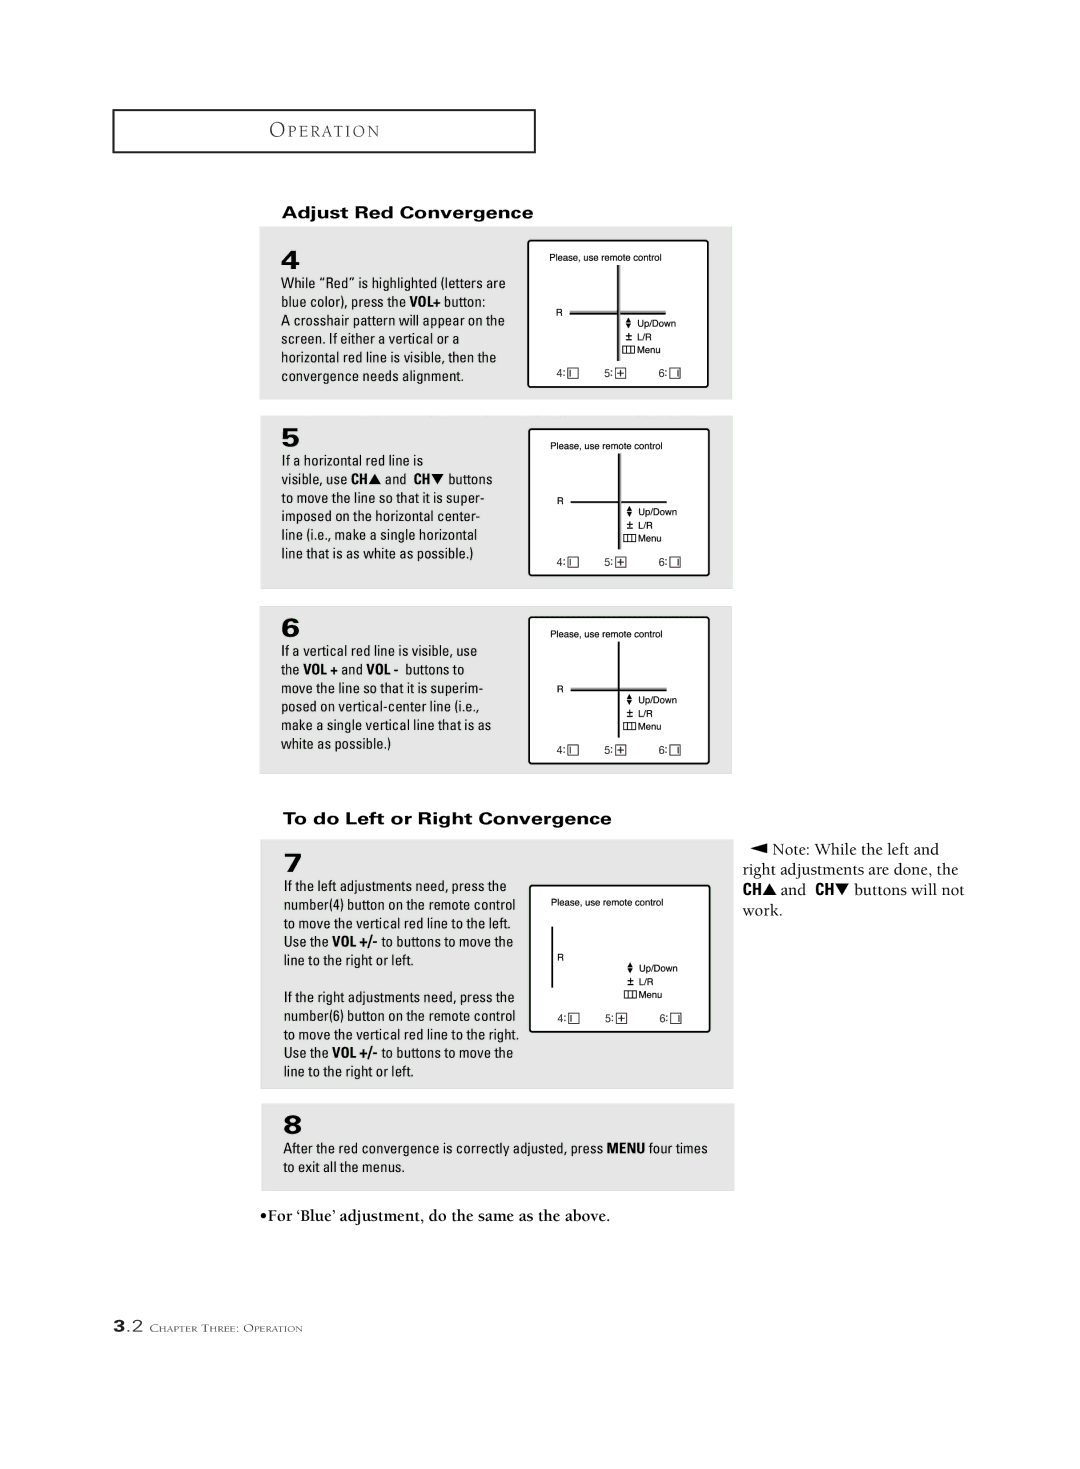
While “Red” is highlighted (letters are blue color), press the VOL+ button:
A crosshair pattern will appear on the screen. If either a vertical or a horizontal red line is visible, then the convergence needs alignment.
5
If a horizontal red line is
visible, use CH▲ and CH▼ buttons to move the line so that it is super- imposed on the horizontal center- line (i.e., make a single horizontal line that is as white as possible.)
6
If a vertical red line is visible, use the VOL + and VOL - buttons to move the line so that it is superim- posed on
To do Left or Right Convergence
7
If the left adjustments need, press the number(4) button on the remote control to move the vertical red line to the left. Use the VOL +/- to buttons to move the line to the right or left.
If the right adjustments need, press the number(6) button on the remote control to move the vertical red line to the right. Use the VOL +/- to buttons to move the line to the right or left.
8
After the red convergence is correctly adjusted, press MENU four times to exit all the menus.
•For ‘Blue’ adjustment, do the same as the above.
▼ | Note: While the left and |
right adjustments are done, the CH▲ and CH▼ buttons will not work.
3.2 CHAPTER THREE: OPERATION
