Three ways to scan
You can also adjust the brightness and contrast by sampling portions of the image in the preview window. The three Sampler buttons correspond to the Black, Mid tones, and White portions of an image.
To use the Sampler buttons:
1.Click one of the buttons.
The pointer automatically moves onto the image and becomes a sampler pointer.
2.Place the pointer on the portion of the image for that sample and click.
For example, if you selected the Black sampler button, place the pointer on the blackest part of the image.
3.Repeat with each of the other Sampler buttons.
4.Click [Adjust].
The image changes to show your new settings.
5.If the image is not what you want, click [Reset] to return the image to its original brightness and contrast.
Adjusting gamma, saturation, and color hue
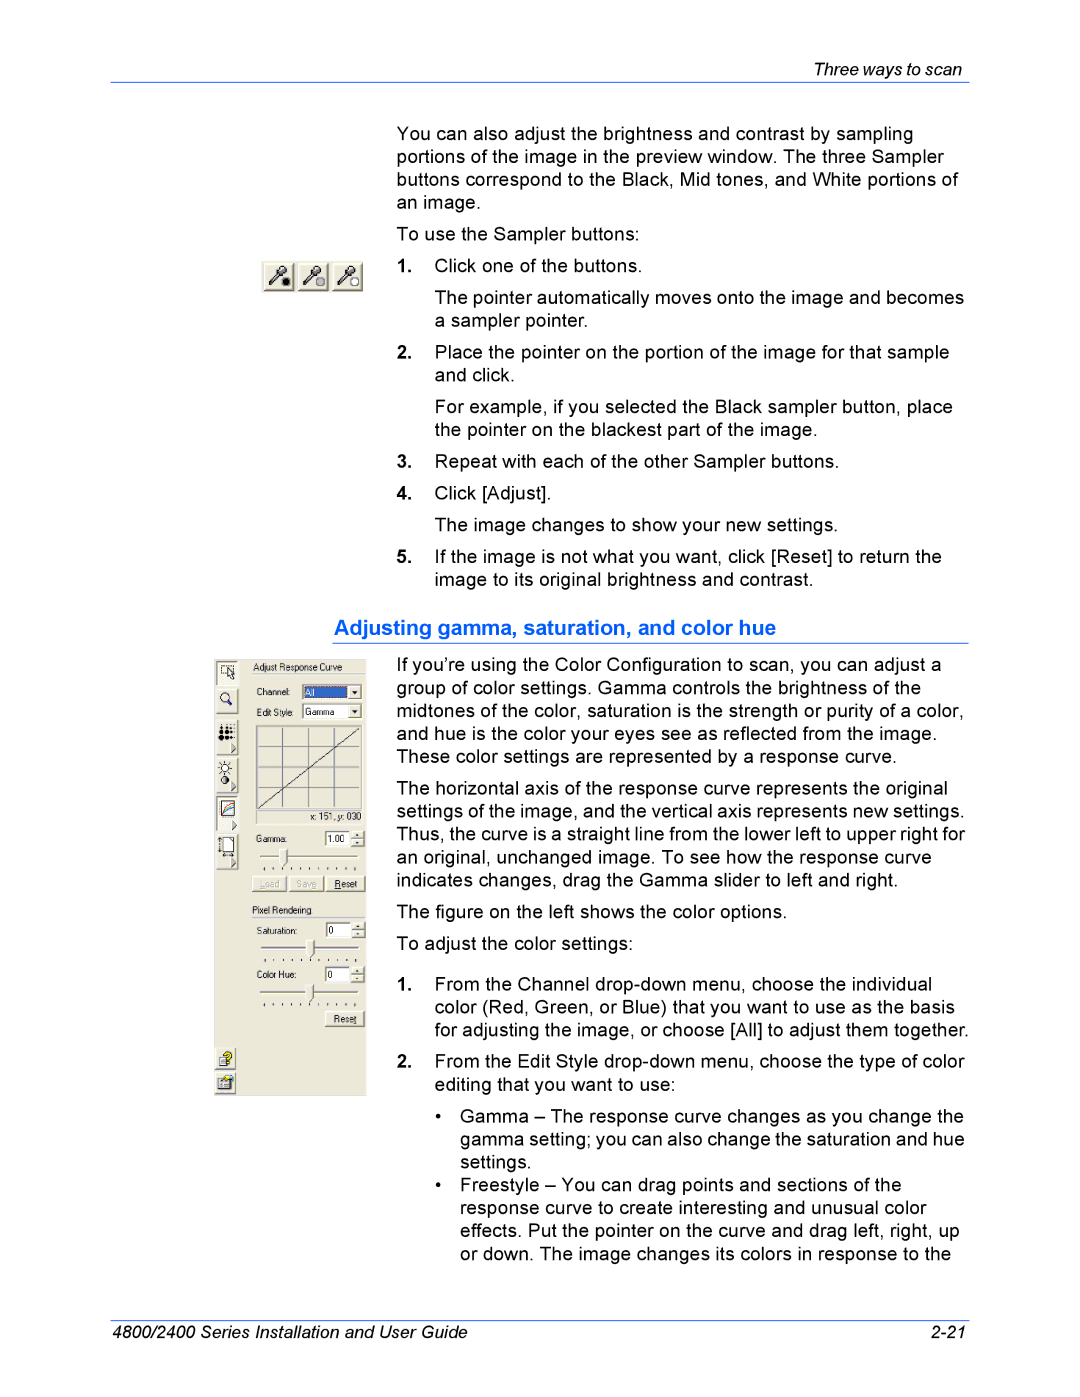
If you’re using the Color Configuration to scan, you can adjust a group of color settings. Gamma controls the brightness of the midtones of the color, saturation is the strength or purity of a color, and hue is the color your eyes see as reflected from the image. These color settings are represented by a response curve.
The horizontal axis of the response curve represents the original settings of the image, and the vertical axis represents new settings. Thus, the curve is a straight line from the lower left to upper right for an original, unchanged image. To see how the response curve indicates changes, drag the Gamma slider to left and right.
The figure on the left shows the color options. To adjust the color settings:
1.From the Channel drop-down menu, choose the individual color (Red, Green, or Blue) that you want to use as the basis for adjusting the image, or choose [All] to adjust them together.
2.From the Edit Style drop-down menu, choose the type of color editing that you want to use:
•Gamma – The response curve changes as you change the gamma setting; you can also change the saturation and hue settings.
•Freestyle – You can drag points and sections of the response curve to create interesting and unusual color effects. Put the pointer on the curve and drag left, right, up or down. The image changes its colors in response to the
4800/2400 Series Installation and User Guide |
