Getting started with your new scanner
Please see the Readme file in the PaperPort directory on your computer’s hard drive. The Readme file contains additional information that may help you diagnose problems connecting the scanner. Also see “Installation troubleshooting” on page
NOTE: The scanning lamp under the scanner’s glass needs to warm up before you can scan. A status message lets you know when the lamp is ready. The lamp then remains ready so you don’t have to wait for it to warm up each time you want to scan. To conserve electricity and prolong the life of the scanner, you can set the length of time for the lamp to remain lit before powering down. See “Setting preferences” on page
To connect the scanner:
1.After checking for all the above problems,
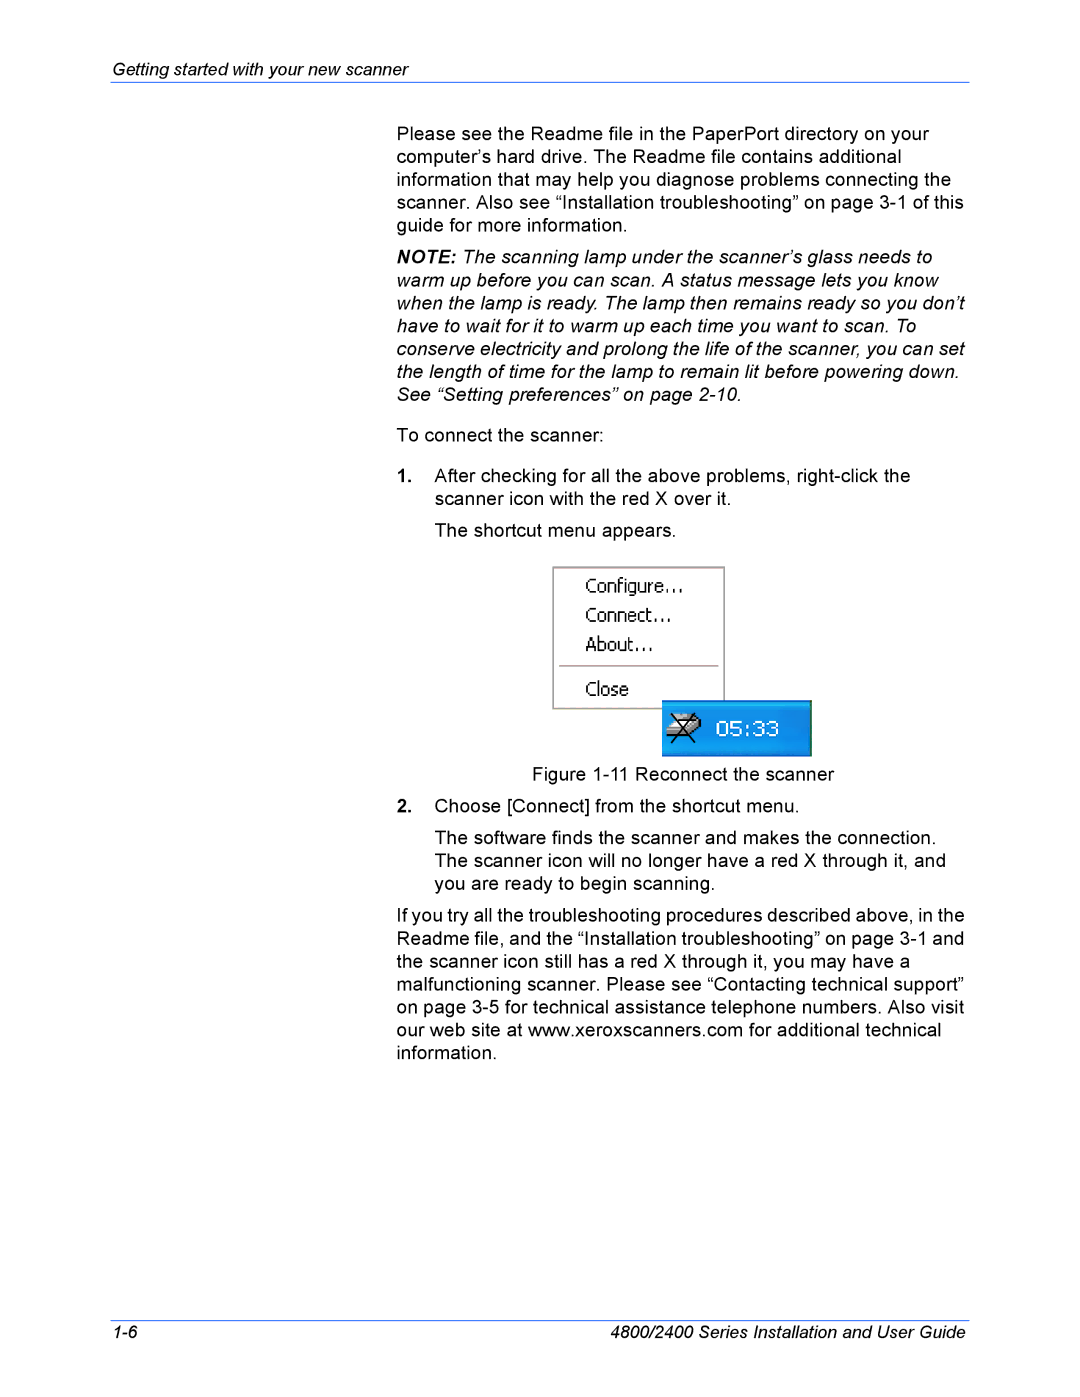
The shortcut menu appears.
Figure 1-11 Reconnect the scanner
2.Choose [Connect] from the shortcut menu.
The software finds the scanner and makes the connection. The scanner icon will no longer have a red X through it, and you are ready to begin scanning.
If you try all the troubleshooting procedures described above, in the Readme file, and the “Installation troubleshooting” on page
4800/2400 Series Installation and User Guide |