Three ways to scan
new curve. The x and y numbers at the bottom of the response curve indicate the exact position of the pointer on the curve. The Gamma slider remains fixed when you use the Freestyle option.
3.Drag the Gamma, Saturation, and Color Hue sliders to the left to decrease the settings or to the right to increase the settings.
You can also type a number directly into the setting boxes, or click the up and down arrows next to the boxes.
4.Click [Reset] to return the settings to their original numbers.
The upper Reset button is for the gamma setting, the lower one is for saturation and hue.
5.To save the settings of a response curve, click [Save].
Saving is available for settings created with the Freestyle editing option so you can load and reuse the exact settings on other images. This is especially helpful for complex Freestyle response curves.
A dialog box appears that lists the names of previously saved settings. Type a name for your new settings and click [OK].
6.To reuse a saved response curve setting, click [Load].
A dialog box lists the names of your previously saved settings. Select the one you want and click [OK].
Adjusting output size
The item you’re scanning may not fill the scanner glass. In that case you can preview the item and use the Auto Trim option to automatically eliminate the unwanted sections of the image.
You can also adjust the output size to scan only specific sections of an image. For example, if you’re scanning a photograph and want to focus on one section, adjusting the output size removes the rest of the photograph from the final scanned image.
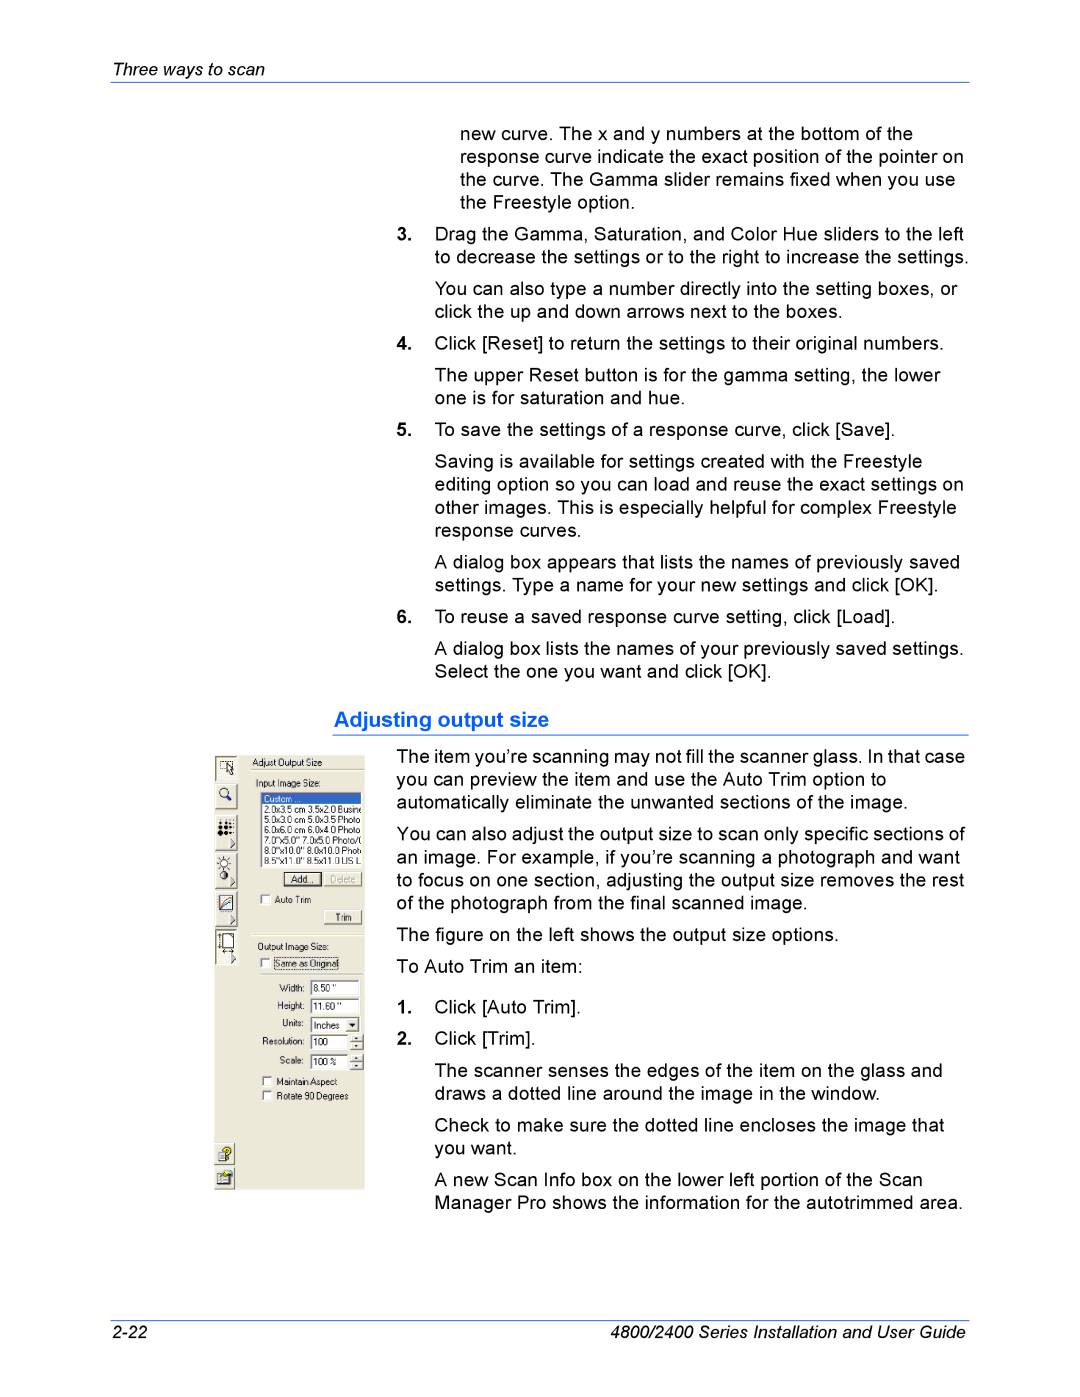
The figure on the left shows the output size options. To Auto Trim an item:
1.Click [Auto Trim].
2.Click [Trim].
The scanner senses the edges of the item on the glass and draws a dotted line around the image in the window.
Check to make sure the dotted line encloses the image that you want.
A new Scan Info box on the lower left portion of the Scan Manager Pro shows the information for the autotrimmed area.
4800/2400 Series Installation and User Guide |
