Note
[Date/Time Change]
Pressing “OK” after you change date and time, you will be asked by a
if you really confirm the change. Here, press ”Yes” to change the time. Since Date/Time does not change in backup process, be sure to stop the backup process before you change Date/Time. If the date or time is changed, the system reboots.
![]() Caution
Caution
[Date/Time Change]
If the Date/Time changes to the original value, the data recorded before the change may be deleted. For example, if the time is changed from 8 am to 7 am, all the data recorded between 7 am and 8 am will be deleted.
●Time Zone
Set the local time zone based on the Greenwich Mean Time (GMT).
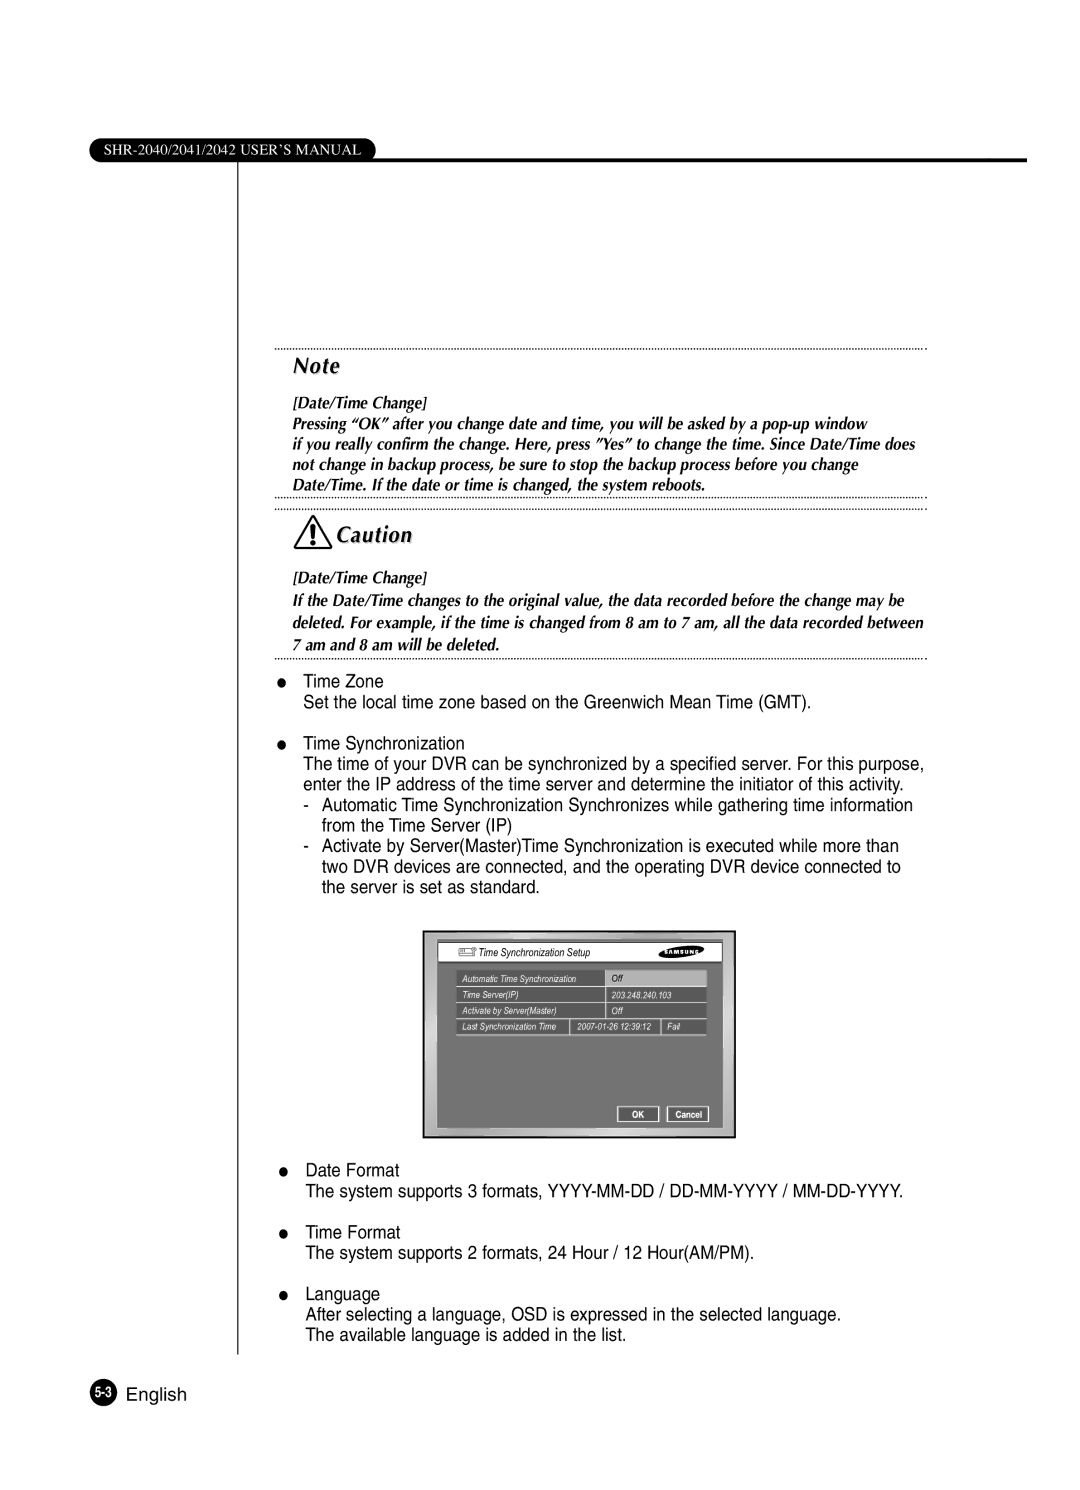
●Time Synchronization
The time of your DVR can be synchronized by a specified server. For this purpose, enter the IP address of the time server and determine the initiator of this activity.
-Automatic Time Synchronization Synchronizes while gathering time information from the Time Server (IP)
-Activate by Server(Master)Time Synchronization is executed while more than two DVR devices are connected, and the operating DVR device connected to the server is set as standard.
Time Synchronization Setup |
| |
Automatic Time Synchronization | Off |
|
Time Server(IP) | 203.248.240.103 | |
Activate by Server(Master) | Off |
|
Last Synchronization Time | Fail | |
●Date Format
The system supports 3 formats,
●Time Format
The system supports 2 formats, 24 Hour / 12 Hour(AM/PM).
●Language
After selecting a language, OSD is expressed in the selected language. The available language is added in the list.