USING THE
 1-HOUR OFF TIMER 
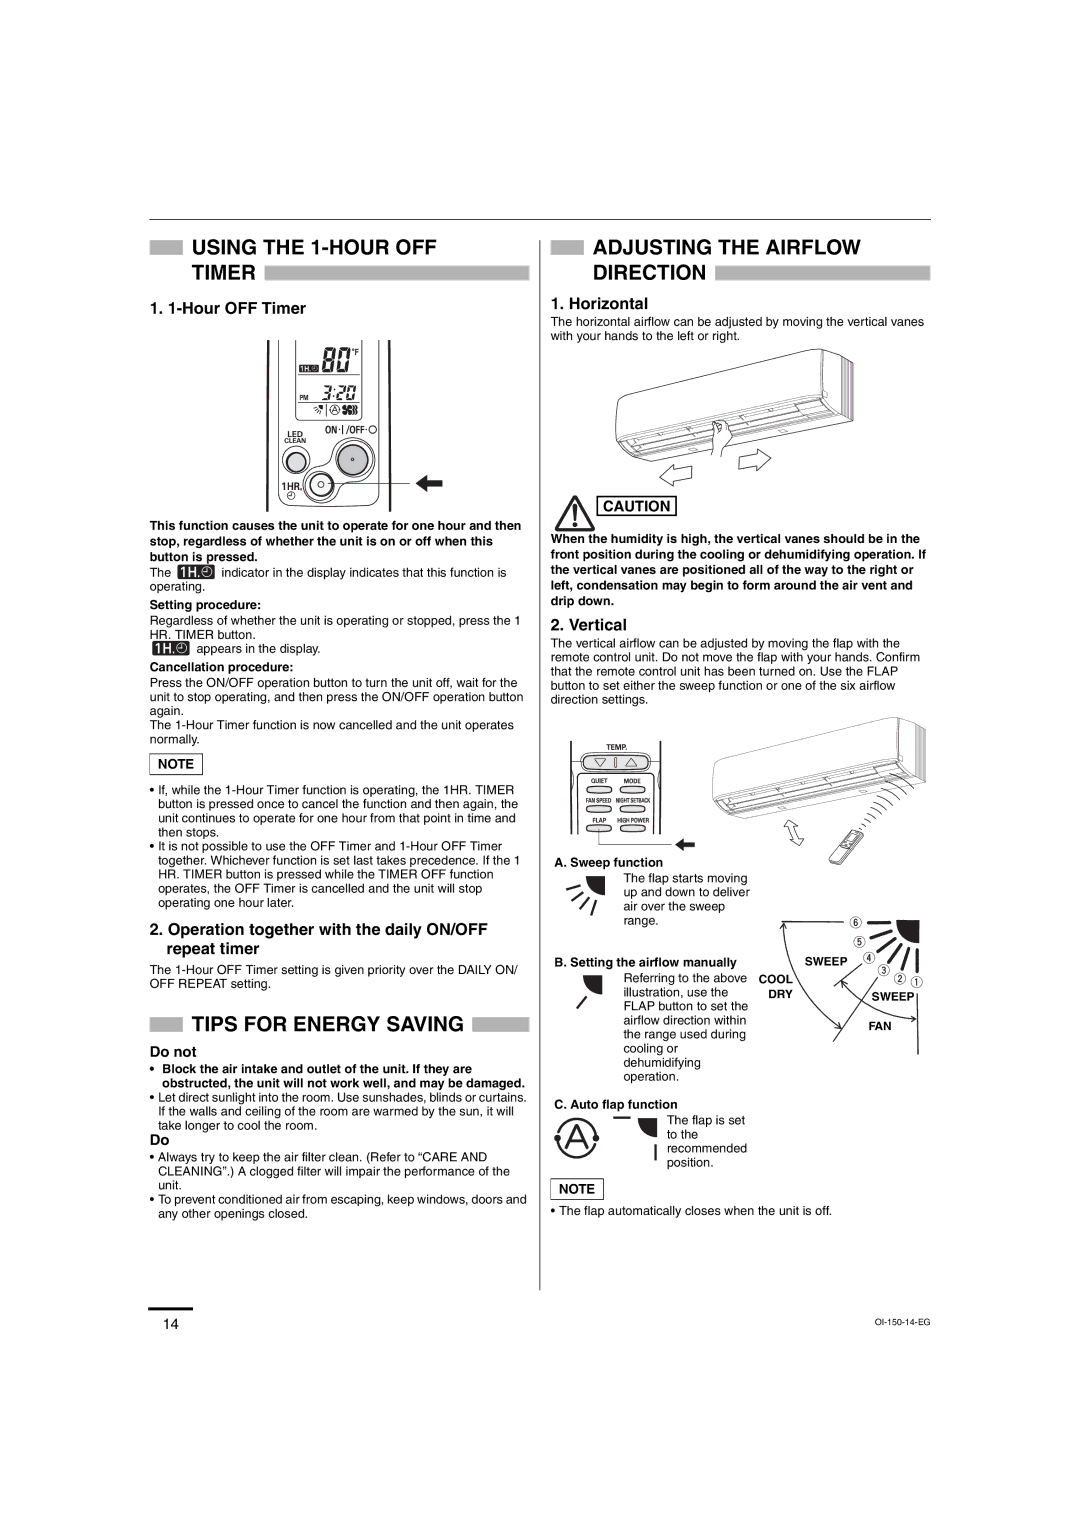
1. 1-Hour OFF Timer
This function causes the unit to operate for one hour and then stop, regardless of whether the unit is on or off when this button is pressed.
The ![]() indicator in the display indicates that this function is operating.
indicator in the display indicates that this function is operating.
Setting procedure:
Regardless of whether the unit is operating or stopped, press the 1 HR. TIMER button.
![]() appears in the display.
appears in the display.
Cancellation procedure:
Press the ON/OFF operation button to turn the unit off, wait for the unit to stop operating, and then press the ON/OFF operation button again.
The
NOTE
•If, while the
•It is not possible to use the OFF Timer and
2.Operation together with the daily ON/OFF repeat timer
The
 TIPS FOR ENERGY SAVING
Do not
•Block the air intake and outlet of the unit. If they are obstructed, the unit will not work well, and may be damaged.
•Let direct sunlight into the room. Use sunshades, blinds or curtains. If the walls and ceiling of the room are warmed by the sun, it will take longer to cool the room.
Do
•Always try to keep the air filter clean. (Refer to “CARE AND CLEANING”.) A clogged filter will impair the performance of the unit.
•To prevent conditioned air from escaping, keep windows, doors and any other openings closed.
 ADJUSTING THE AIRFLOW DIRECTION
1. Horizontal
The horizontal airflow can be adjusted by moving the vertical vanes with your hands to the left or right.
![]()
![]() CAUTION
CAUTION
When the humidity is high, the vertical vanes should be in the front position during the cooling or dehumidifying operation. If the vertical vanes are positioned all of the way to the right or left, condensation may begin to form around the air vent and drip down.
2. Vertical
The vertical airflow can be adjusted by moving the flap with the remote control unit. Do not move the flap with your hands. Confirm that the remote control unit has been turned on. Use the FLAP button to set either the sweep function or one of the six airflow direction settings.
A. Sweep function
The flap starts moving up and down to deliver air over the sweep range.
B. Setting the airflow manually |
| SWEEP |
Referring to the above | COOL |
|
illustration, use the | DRY | SWEEP |
FLAP button to set the |
|
|
airflow direction within |
| FAN |
the range used during |
| |
|
| |
cooling or |
|
|
dehumidifying |
|
|
operation. |
|
|
C. Auto flap function
The flap is set to the recommended position.
NOTE
• The flap automatically closes when the unit is off.
14 | |
|