RECORDING
Preparations
•This instruction manual explains the basic instruction of this unit using the remote control unit.
•Turn on the TV and select the video input source. Refer to your TV’s owner manual.
•Check that the disc has enough available space for recording.
•Set “Record Mode” and “Auto Chapter” (See pages E23 and E24).
•Select “Stereo” in “MTS
•Do not touch the disc tray while it is moving.
•Never place anything except a disc on the disc tray. Foreign objects can damage the unit.
•Do not apply excessive force to the disc tray.
•Only one disc must be placed on the disc tray at a time.
When operation buttons are pressed, that operation is displayed on the TV screen. The display turns off after several seconds.
1.Press [POWER] to turn the power on.
•“SANYO” logo appears on the TV screen.
•“POWER ON”
2.Press [OPEN/CLOSE] to open the disc tray.
•“OPEN” appears.
Note:
To open or close the disc tray, be sure to press [OPEN/ CLOSE]. Do not press the disc tray with your hand.
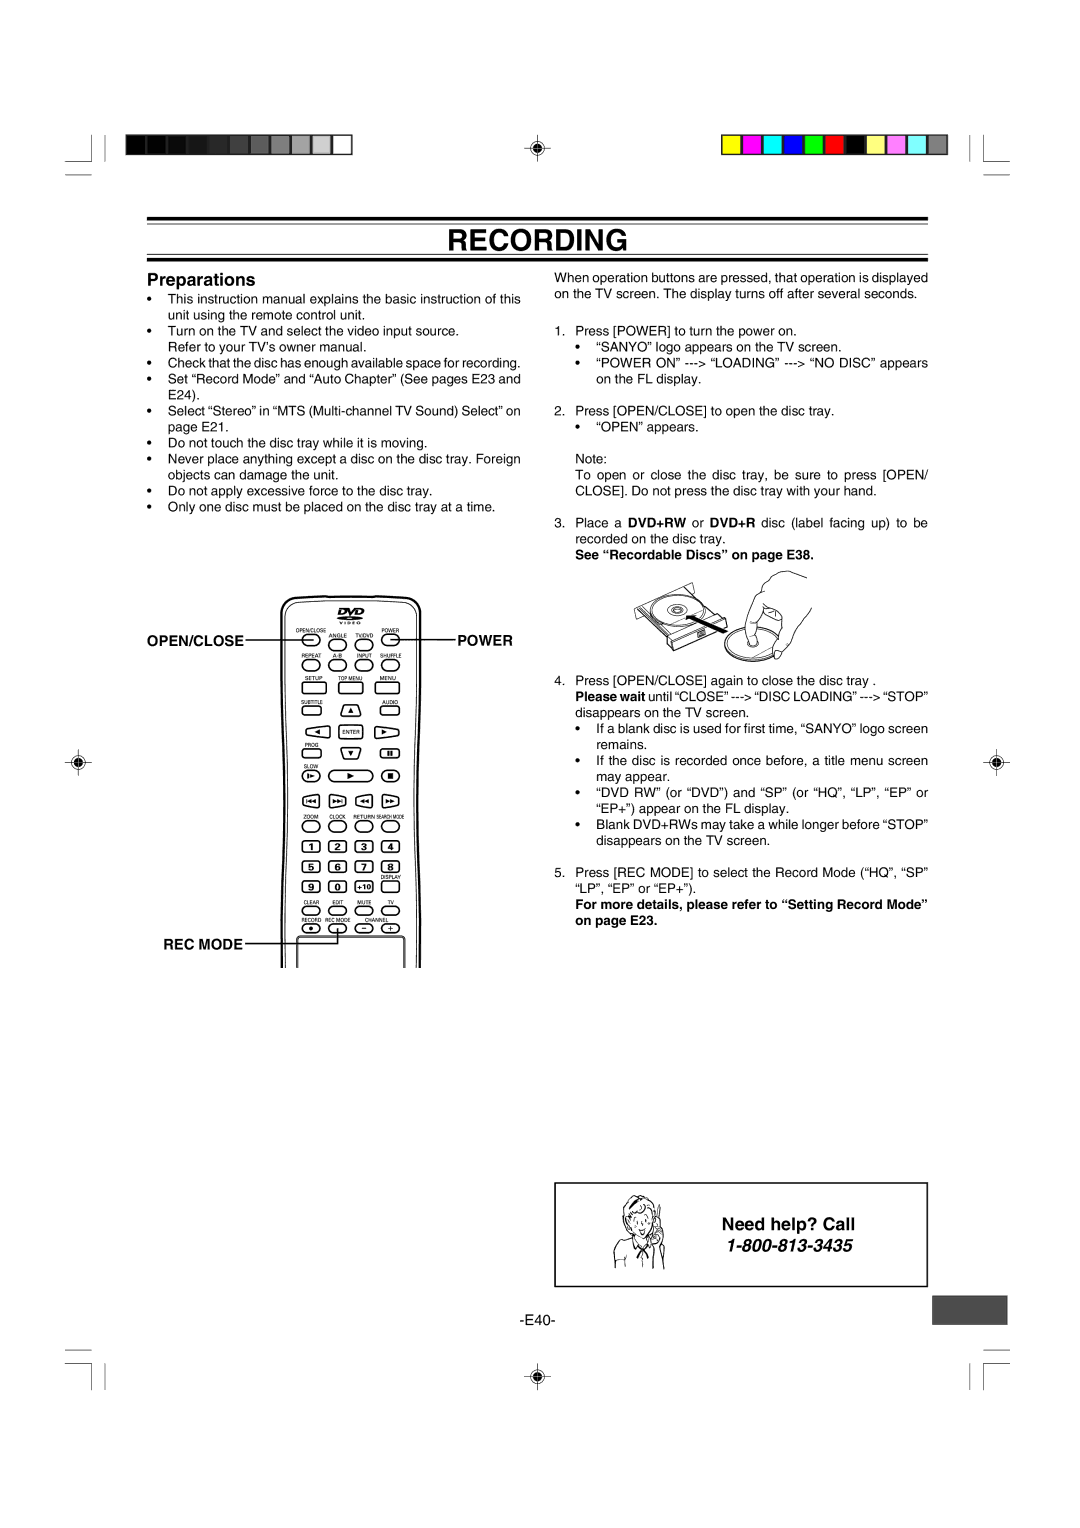
3.Place a DVD+RW or DVD+R disc (label facing up) to be recorded on the disc tray.
See “Recordable Discs” on page E38.
OPEN/CLOSE


 POWER
POWER
4. Press [OPEN/CLOSE] again to close the disc tray .
Please wait until “CLOSE”
• If a blank disc is used for first time, “SANYO” logo screen remains.
• If the disc is recorded once before, a title menu screen may appear.
• “DVD RW” (or “DVD”) and “SP” (or “HQ”, “LP”, “EP” or “EP+”) appear on the FL display.
• Blank DVD+RWs may take a while longer before “STOP” disappears on the TV screen.
5. Press [REC MODE] to select the Record Mode (“HQ”, “SP” “LP”, “EP” or “EP+”).
For more details, please refer to “Setting Record Mode” on page E23.
REC MODE
Need help? Call